.................................. Return to Sumner's Home Page....
Return to N Scale RR Main Menu.............. Return to Misc. Menu
=========================================
..............Previous Page..............................Next Page If There Is One
=========================================
…...................................... --- Layout Creeper ---
=========================================
So it is 3:00 AM and like usual I'm laying there not able to sleep and my mind in high gear. For some reason I think this wouldn't be such a bad position to be in under the layout vs. on my knees trying to twist my body into a position that I can do some wiring or install another servo and mount. Being a car guy also and having used a creeper I thought one of those isn't going to work very well but what if I made a custom one that would get me into a more comfortable position?
I had some lumber in the shop, a piece of plywood that was about the right size to lay on and some casters I'd bought years ago and never used, along with a piece of foam that was left over from making cushions in by boating days. With that in hand I started on making a layout creeper. The following is what I did and what fits my body and a few hours later it was ready to tryout. If you go down this road make yours from what you have and make it fit you and the layout.
I had some dollies that you can use to put a car on and roll it around so used two of them to mock-up a creeper. I could of just as easily mounted the body board on a stack of wood that didn't move at this point.
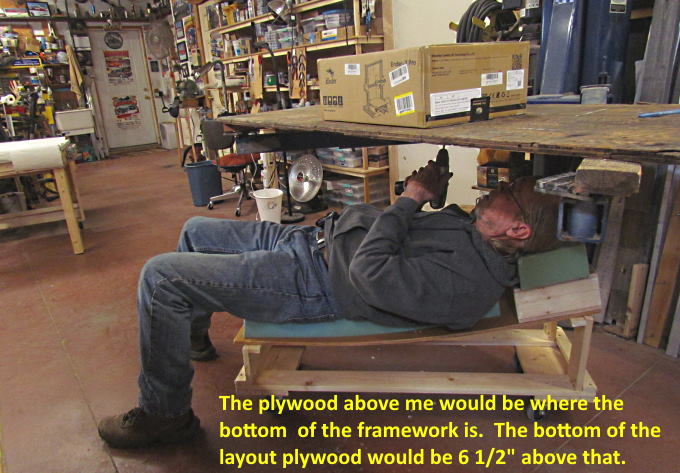
The bottom of the layout's framework will be 37” above the floor and the bottom of the plywood with 1 inch of foam will be at 43 ½ inches above the floor with the surface of the layout at 45 inches. I wanted the creeper high enough that I was close to the plywood but not so close that it would be uncomfortable to work under there. This is where you need to adjust things to your situation. Do a mock-up and see how it feels.
I ended up with what you see above. The plywood was some leftover signboard. It is 1/2” plywood that has a paper surface attach to it so you can paint a sign on it and will hold up in an exterior location. I used signboard for the signs on the front of my trading post. I had it so used it. If I wouldn't of had it I would of use regular 1/2” plywood. Likewise I also had the two pieces of foam laying around. I played around with the headrest area to the point it was comfortable when laying down.
I made up some quick rough sketches of what I thought I wanted with the option to change them along the way or later.
I'll let the pictures do the talking for a bit here as it is all pretty obvious what is happening.

.
Casters I bought at Harbor Freight years ago.
.
I placed the new creeper next to the mock-up so that I could see how high the risers for the platform had to be to end up with the same platform height and angle. The angle for me made this work better than if the platform was flat. Puts you at a better work angle.
.
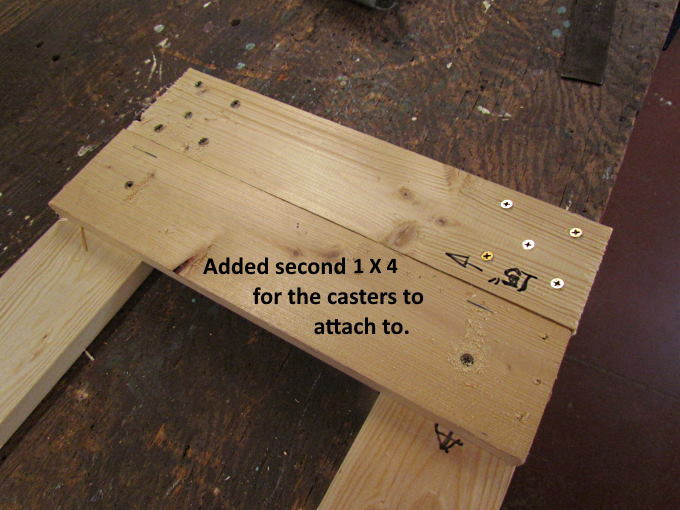
There is a number of ways you could make the risers. This proved to be quick and worked well. The horizontal boards are 1 X 2's on both ends and I used 1 X 4's for the verticals on this end and …..
…... a 1 X 6 on this end.
The platform was screwed to the platform next and then the headrest was made and screwed to the platform. I thought I was going to have to also add a diagonal brace from the bottom of the right riser to the top of the left riser but everything seems to be solid. It could always be added later if that proved to be necessary.
.
.
.
.
.
.

In the image above I have the plywood on the lift set to where the under side of the framework would be to simulate moving under the layout edges. The under side of the layout plywood will be 6 1/2” above that. There will be 1 inch of foam on top of the 1/2” plywood giving a 45” height for the layout top.
I'm happy with the outcome and it tool less than 3 hours to build. To avoid going under the layout as much as possible I'm still going to run the main buss around the perimeter of the layout like I did on the test track ( HERE ) and drop and pull feeders to it so that I'm not soldering under the layout. I'll still have to go under there at times for a moment to screw ….

…. servo mounts on ( HERE ) and I'm sure for other reasons. I think the creeper will really come in handy for that work.

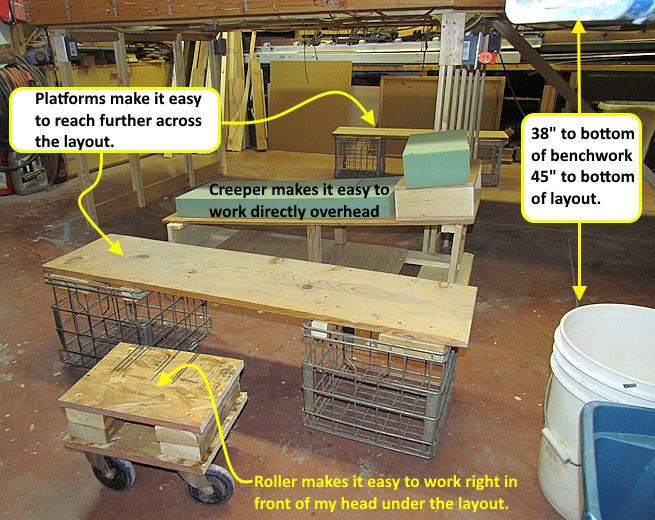
For info on the work platform and the sitting roller/creeper shown above go ( HERE).
=========================================
e....................................................Next Page If There Is One