.................................. Return to Sumner's Home Page....
Return to N Scale RR Main Menu........... Return to Rotary Plow Menu
=========================================
...............Previous Page.............................Next Page If There Is One
=========================================
…......--- U.P. N Scale Rotary Snowplow Build Pt. 5 --- …...................
=========================================
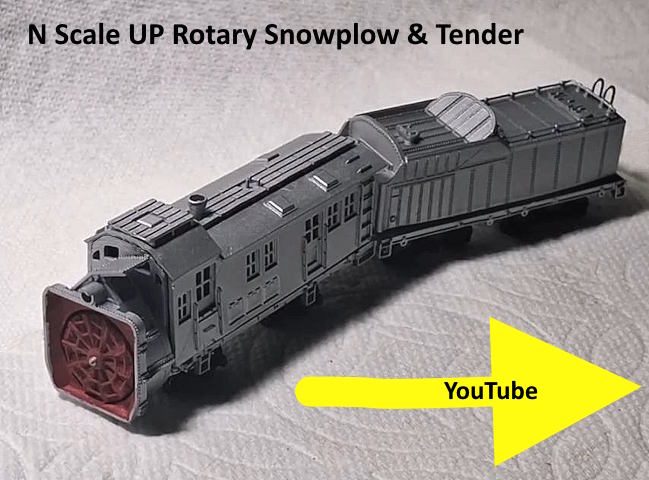
I put together a final video on the plow/tender ( HERE ).
You can find the print files ( HERE ).
=========================================
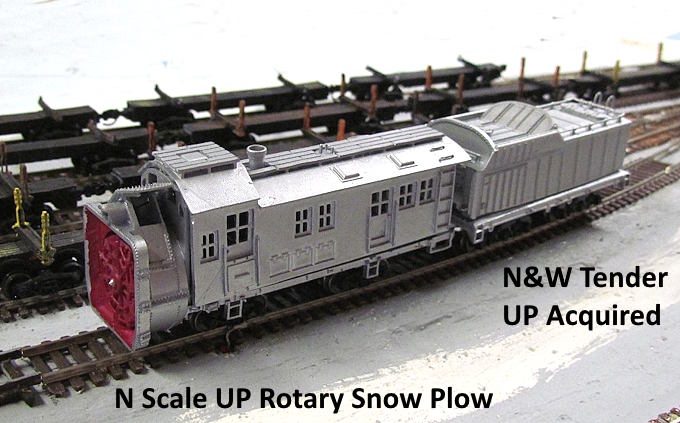
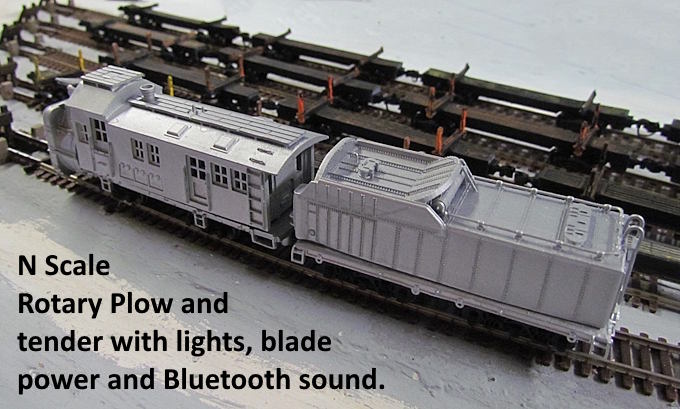
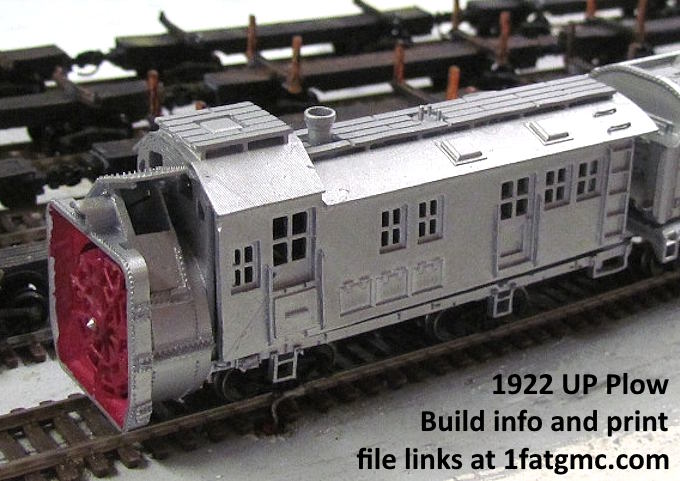
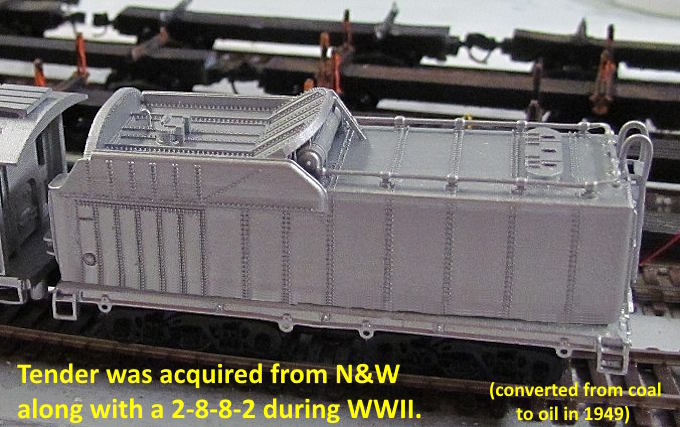
Snowplow and tender are finished except for weathering and decals at some point hopefully.
The following is mostly how to put Bluetooth sound into the tender. I went this way as it wasn't that expensive and I could copy different snowplow sounds from the internet and use Audacity to make different sound files (Start, Start to Run, Run & Shutdown). I saved the sound files to my phone and play them to the plow with the free Samsung Music app I have on one phone and another free music app I have on another older phone I use for the shop speakers.
One has the option to print/build only the plow and/or tender and leave it there. There is also the option to add blade power, lighting and sound if one desires. Make it your snowplow.
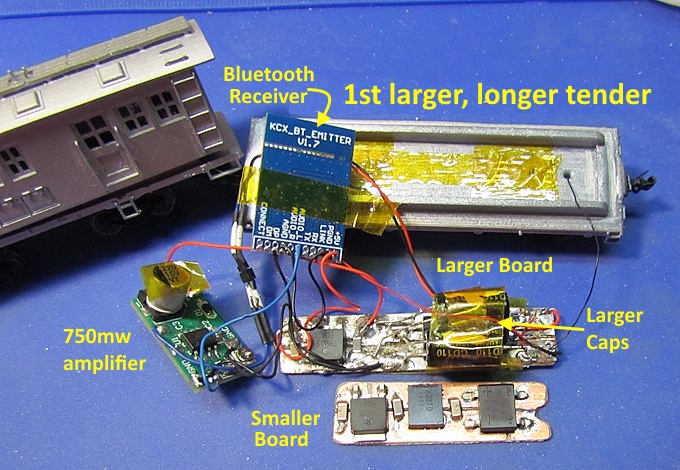
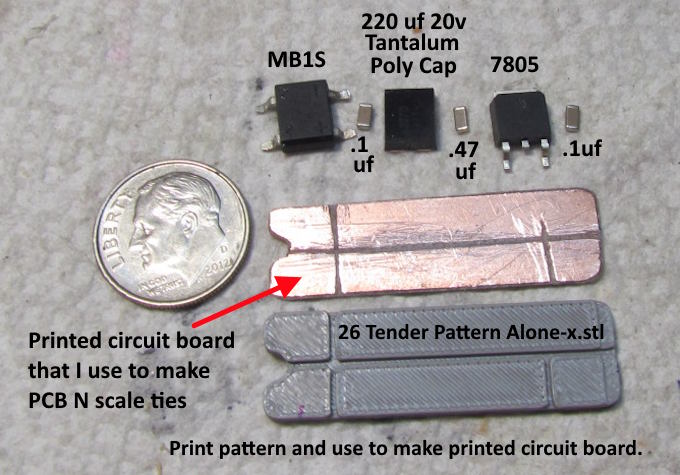
Since the newer tender is 10% smaller than the first one the electronics in it had to shrink also. The capacitors in the first one were taking up too much room so decided to try a single surface mounted (SMD) 220 uF capacitor to replace the two larger capacitors that had been used. Made a pattern that can be printed to use in cutting down a plain printed circuit board to shape to fit into the tender. Cut some isolation gaps in it with a triangle file (quick and easy to do).
Next the surface mounted components were soldered on with my new $63 hot air soldering station. I love this thing. Soldering only took a few minutes and the smaller caps would of been really hard to solder with an iron. If you build many projects take a look ( HERE ) for more info on buying and using the hot air soldering station.
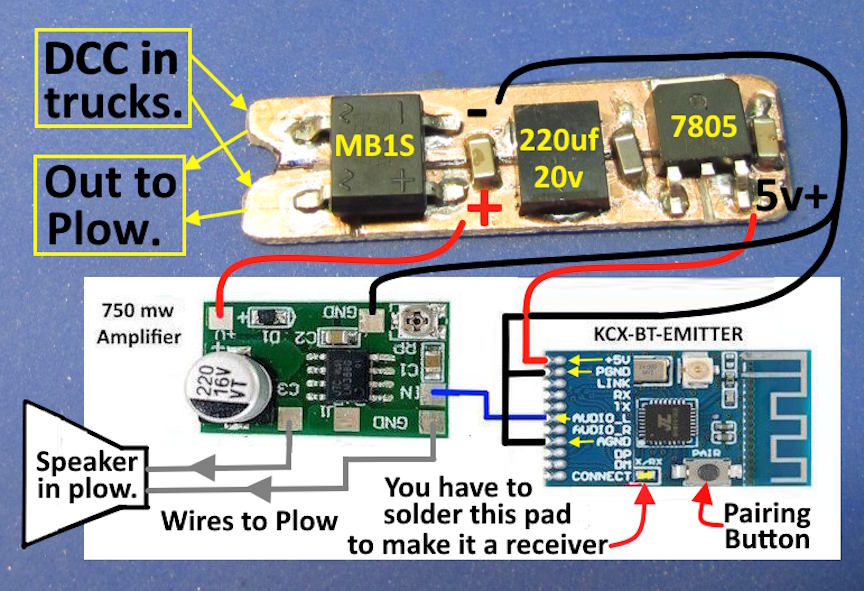
This is a pretty simple inexpensive circuit for a Bluetooth receiver, amplifier and speaker. It converts the AC DCC track current into DC current. Around 10v DC in my case with a 12v DCC-EX command station. This should work fine for 14v command stations also.
One could use this circuit to receive Bluetooth sound at any area on the layout and send the sound via a phone or using the KCX-BE-EITTER as a transmitter sound from about any source. I use this combo to broadcast sound from a stationary sound decoder to a boxcar that can be behind a DC or DCC engine and give the impression the sound is coming from that engine. More info ( HERE ) and ( HERE ).
The circuit is also inexpensive to build using the following parts:
MB1S Bridge rectifier...... ( DigiKey MB1S )...................................................... 0.70
220 uF Tantulam Poly Capacitor..... ( DigiKey 478-12517-1-ND ) .................. $5.00
.47 uF & .1uF Capacitors...... ( 1206 SMD Ceramic Capacitor Kit ) .............. $0.12 (12.00 for 300 capacitors)
7805 5v Voltage Regulator.................................................................................... $0.50 (10 for $5.00)
KCX-BE-EITTER Bluetooth Transceiver (transmitter or receiver).............. $9.00 Amazon but a couple dollars from China
750 mW Amplifier..... ( LM386 Mini Amplifier Board ) ................................. $4.50
9 X 16 Speaker ( DigiKey 3949-OWS-091630LA-8B-ND )................................ $1.00 (Quantity 10 price)
Speaker Enclosure ...... (print file with other print files.........see link below.... $0.50
Printed Circuit Board........ ( ................................................................................ $0.50 ( 5 Pack 150 x 100 x 0.8mm $10 )
Total........................................................................................................................ $21.82
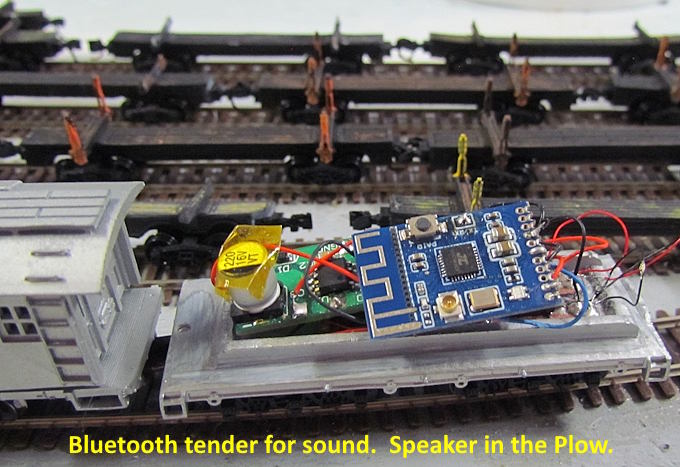
Above the components have been added to the tender. Soldering the leads to the Bluetooth receiver can be tricky. One might want to see how I did this before ( HERE ). There are 4 wires that run between the tender and the plow, 2 for track pickup between the two and 2 speaker wires from the amp in the tender to the speaker in the plow. I used 40 and 36 gauge wires for a lot of this. I ran the wires between the two through a very short piece of the smallest shrink wrap I have. It hides the wires well.
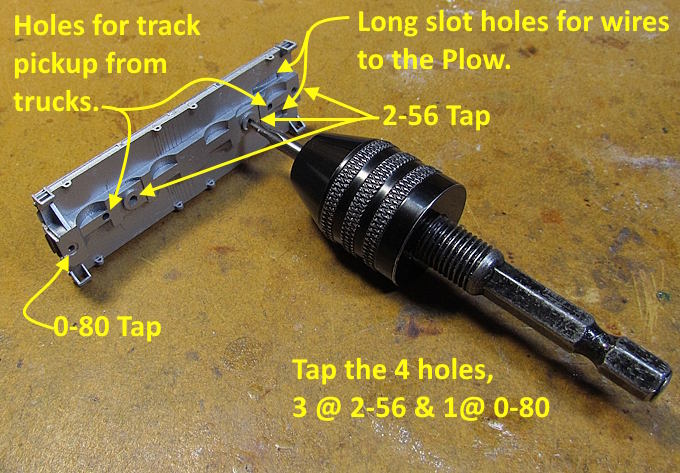
Tap the hole for the coupler with a 0-80 tap. The two holes for the trucks with 2-56 tap and I used 2-57 flathead screws to center and hold the trucks on. A final front hole needs to be taped 2-56 for the screw for the throwbar. If you need track pickup there is more info further back ( HERE ). You can also see the trucks that were used there.
I'm happy with how this turned out and hope to find time in the future to weather it some and to add some decals. The paint is close to how these plows/tenders were paint at the end of their service. Paint yours however you like.
.
.
.
I put together a final video on the plow/tender ( HERE ).
You can find the print files ( HERE ).
=========================================
..………………………......Next Page If There Is One