.................................. Return to Sumner's Home Page....
Return To Suzuki 200 Main Menu.... Return To Accessories Menu
=========================================
...............Previous Page.............................Next Page If There Is One
=========================================
..............--- Video Camera Mount ---
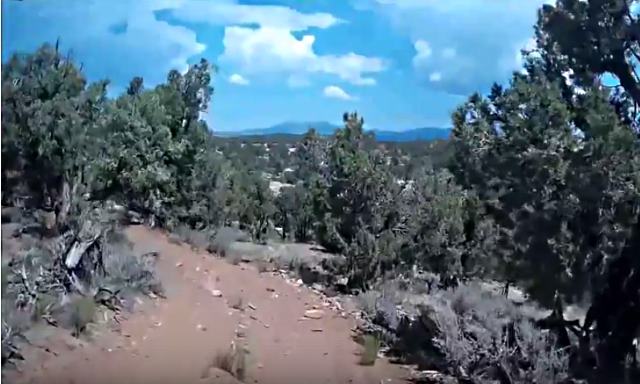
Click ( HERE ) for the Suzuki DR200 trail ride video with the camera shown below.
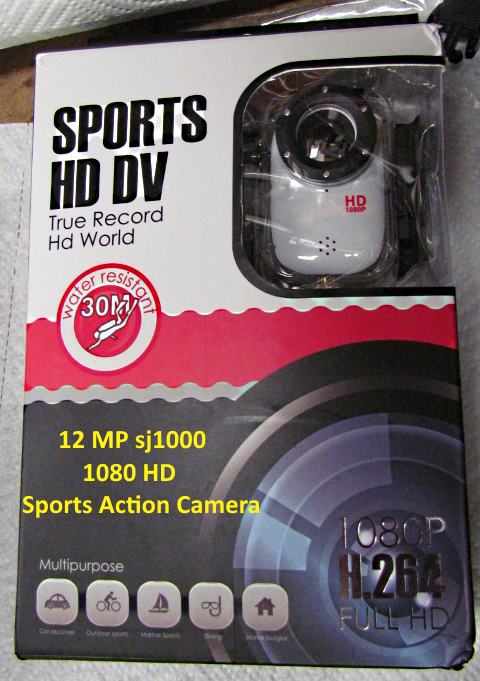
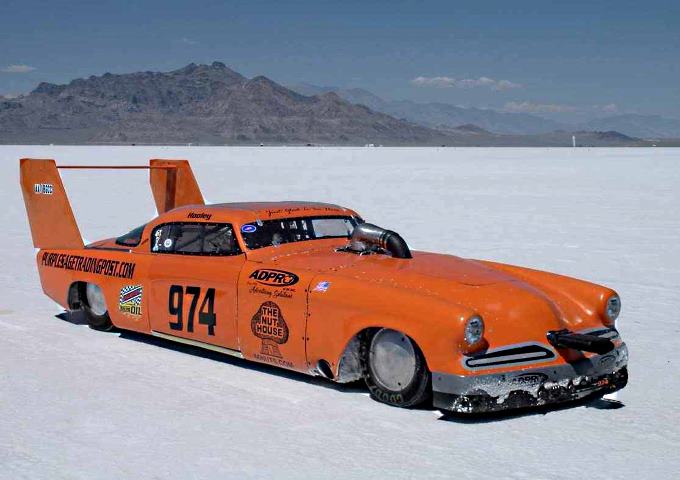
After making a camera mount for the 650 V-Strom I decided I also wanted to mount the sj1000 sports camera on the Suzuki DR200. Previously I had made mounts to mount 4 cameras in Hooley's 250+ mph Studebaker shown above. Since I keep those mounts and the cameras at my place when we aren't running the car I decided to just use one of the mounts on the bike.
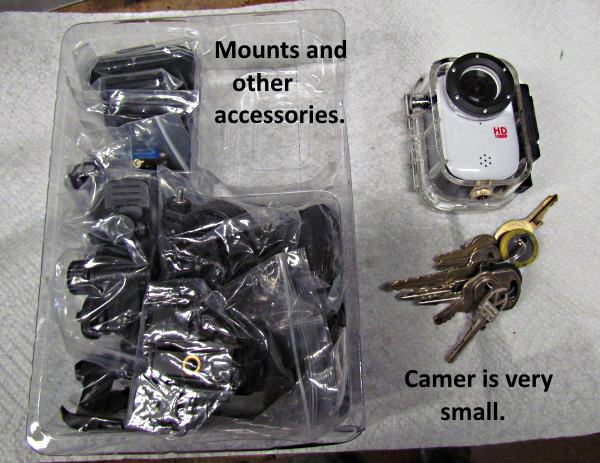
Above is one of the four camers that we use on the car. One out the windshield, one on the gauges, one on the driver and one looking out back so that we can see the chute deployment. These aren't Go-Pros, yet for the price very nice cameras with good video quality. Click ( HERE ) for a short video that was taken on a license run at Bonneville when the throttle stuck wide open. You can also find a good review of the camera ( HERE ) and at the time I'm writing this (July 2017) you can still buy them.
I bought most of the cameras in the $70 to $80 range and they come with a variety of mounting options, but none that I really liked for either the race car or the motorcycle. I did use the waterproof case though that came with it for both bike mounts and also the outside rear mount on the car.
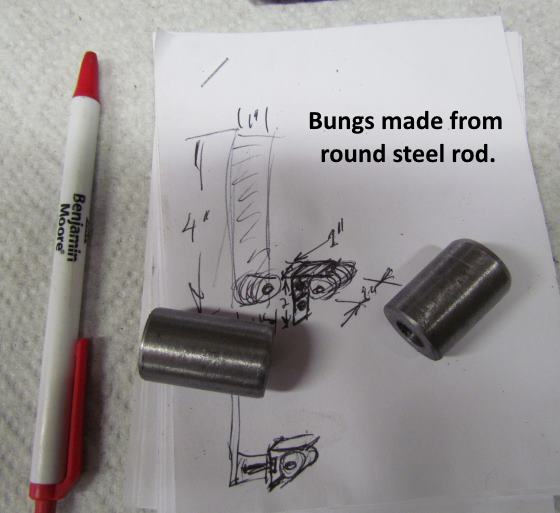
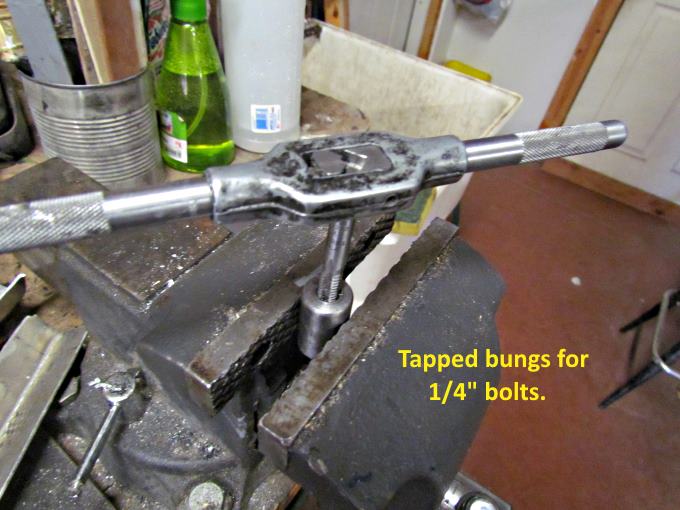
So the following build pictures is from when I made the mounts for the car. I started with some round stock and cut it to length and drilled and ….
…. tapped the bungs for 1/4” bolts.
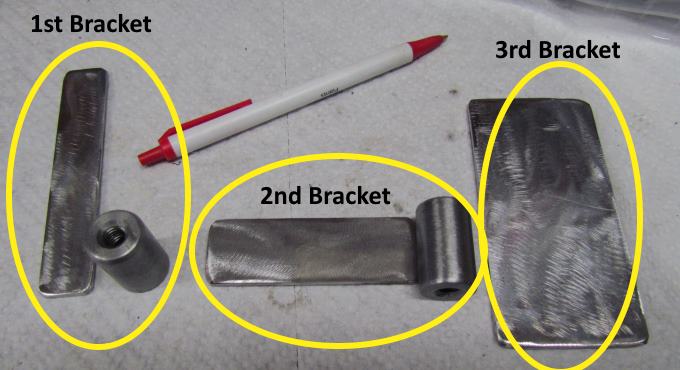
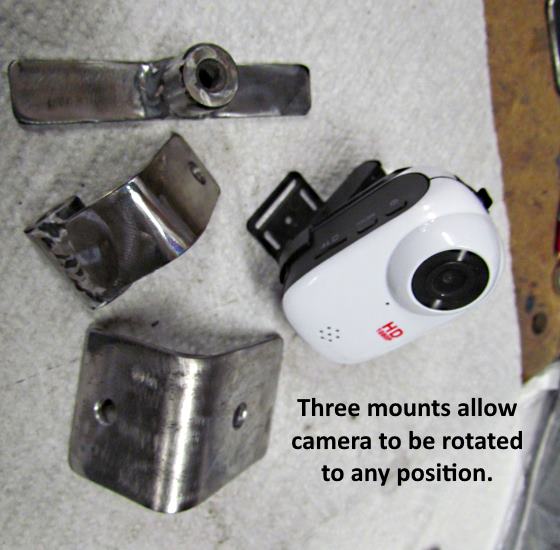
Above are the pieces to make one mount that is comprised of three individual components.
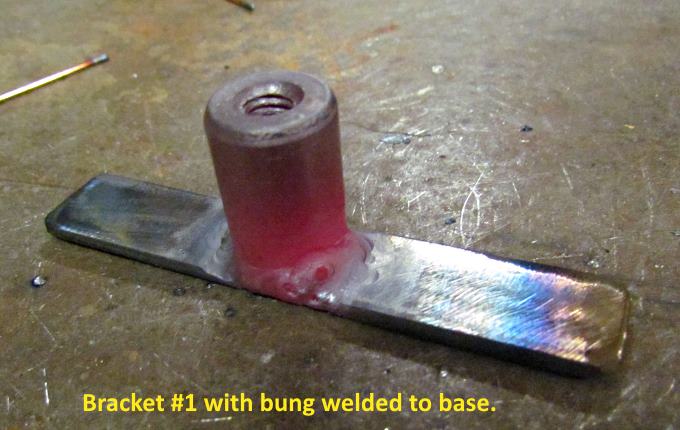
I welded a bung to a piece of flat strap.
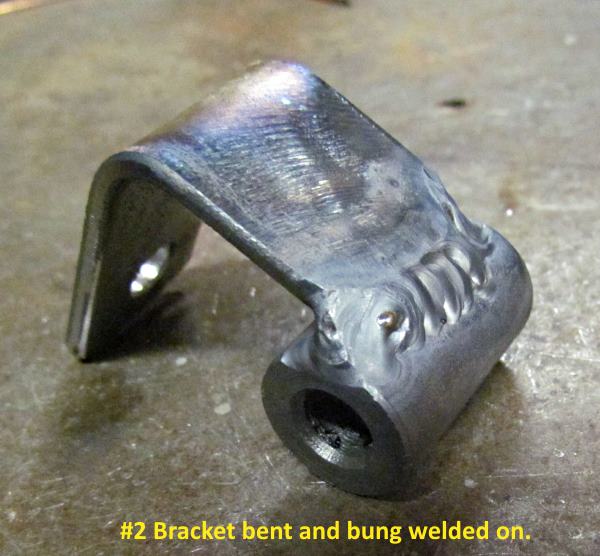
The other bung was welded on to the end of another piece of flat strap that had a 90 degree bend in the middle of it.
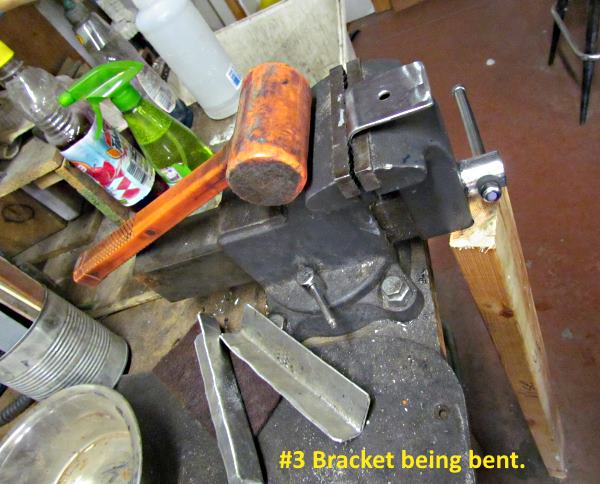
The third component was another wider piece of flat strap that was also bent.
The three components that make up the mount ….
….. allow the camera to be rotated to any position.
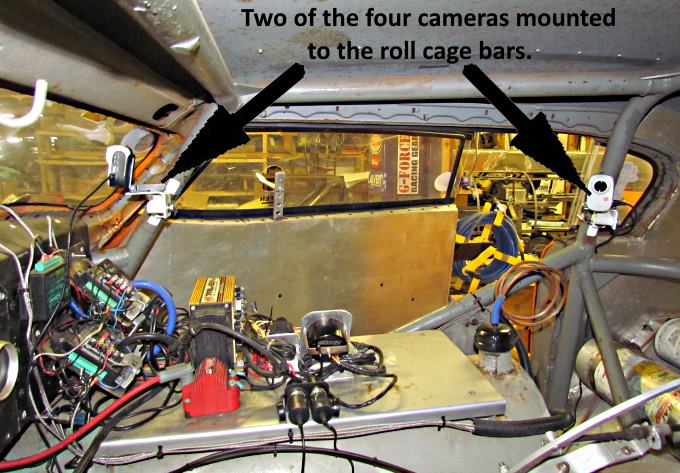
The flat strap with the bung in the middle is hose clamped to parts of the roll cage above in the car. The 'out the windshield' camera is to the left and the right camera is set on the driver. Another camera, just out of view to the right, points at the dash gauges. We also data log 16 items on the car with Innovate equipement. You can see most of it middle left above.
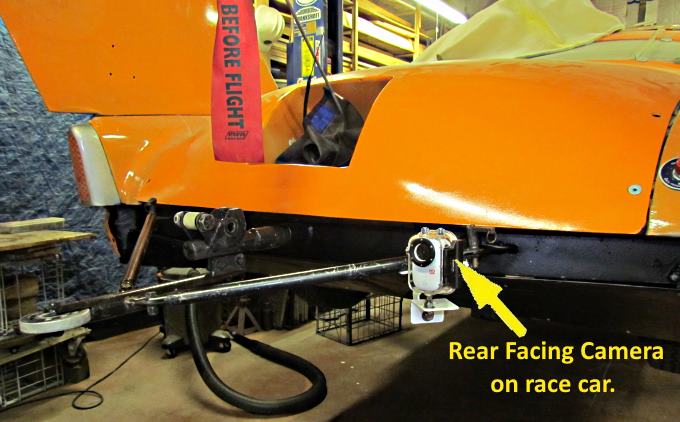
Above is the rear facing camera that is also attached with hose clamps to the push bar at the rear of the car. It is in the waterproof enclosure mainly because there is a lot of salt that is kicked up at the back of the car.
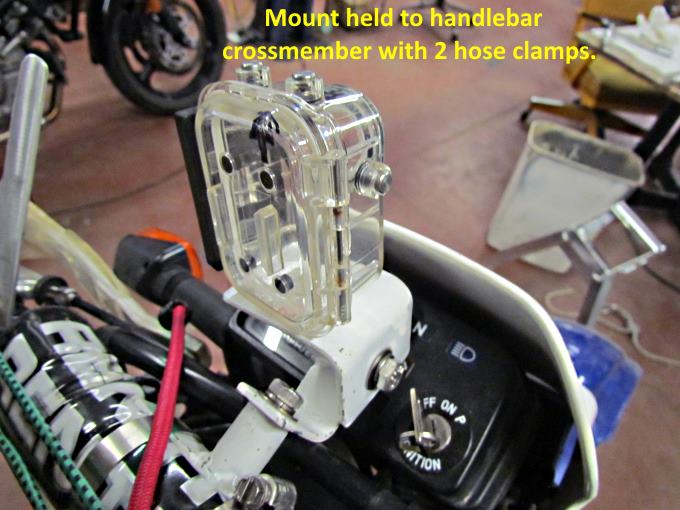
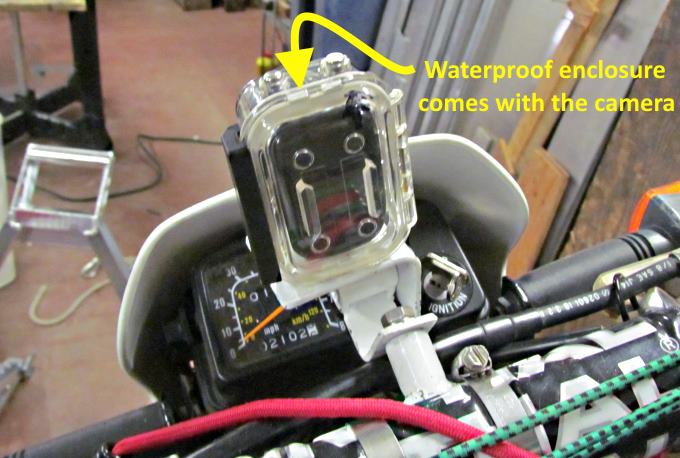
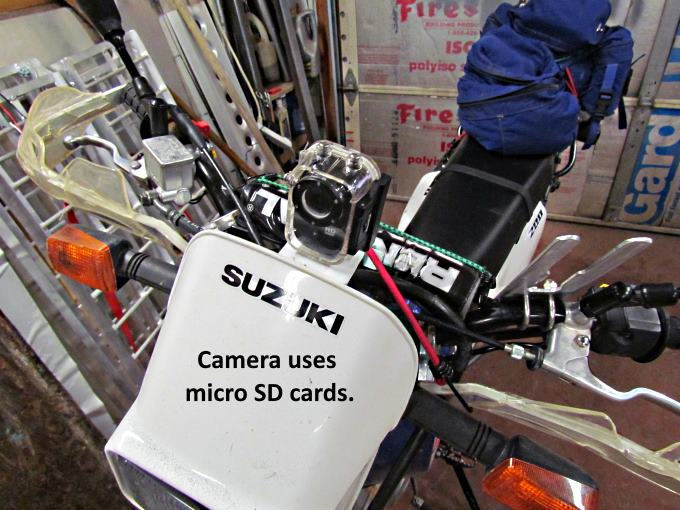
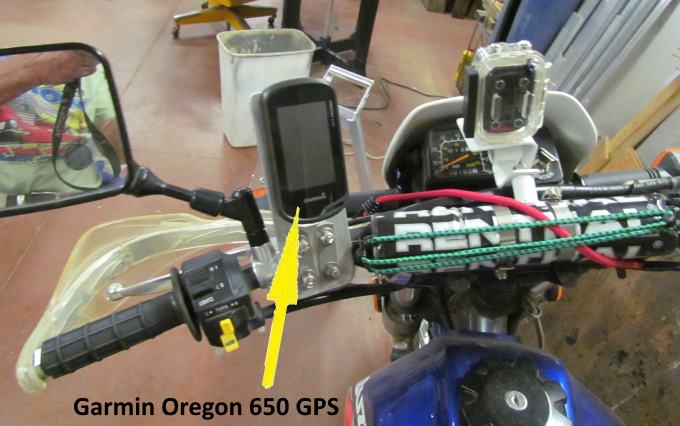
On the DR200 I attached the mount to the padding on the crossmember on the handlebar with hose clamps
You can see how the three components that make up the mount allow the camera to be rotated to any position. They are also very sturdy.
The amount of time the camera records is pretty much determined by the size of the micro SD card that you use.
I've been happy with the mount and the camera but riding trails the video can bounce some.
Here is a link to a video on a trail ride near home. Living where we do there is BLM land east and west and south of town and Forest Service Land north of town. Trails in all direction lead out of town and the new Bear's Ears National monument starts about 10 miles west of town. Prior to the new designation most all of it was BLM and I hope the new designation dosen't impact the great trail riding there.
Click ( HERE ) for the ride video or on the picture above.
=========================================
.................................................................................................Next Page If There Is One