.................................. Return to Sumner's Home Page....
Return To Suzuki 200 Main Menu.... Return To Accessories Menu
=========================================
...............Previous Page.............................Next Page If There Is One
=========================================
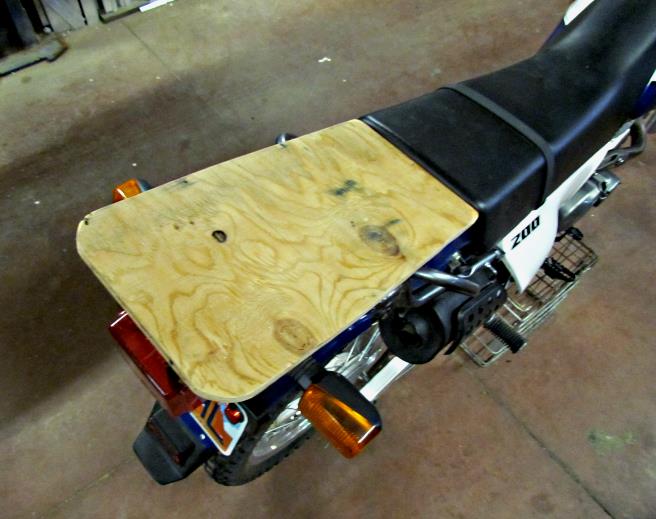
..............................--- Rear Rack ---
Since I ride alone and in remote areas in SE Utah's mountains and canyons I wanted to be able to carry extra clothing, water, food and other supplies just in case I was stranded for a while. Also I'm often out of cell phone coverage so invested in a Spot satellite tracking and emergency locator just in case I was really hurt and needed assistance. To be able to carry all of this I decided a rear rack for the bike was in order.
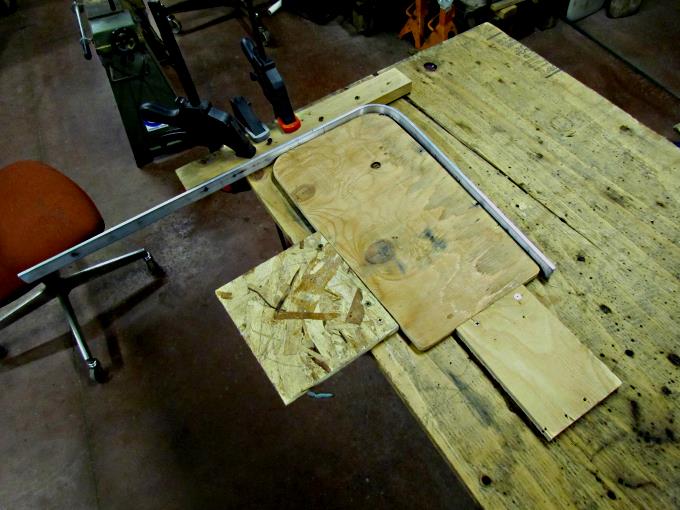
The project was started ...
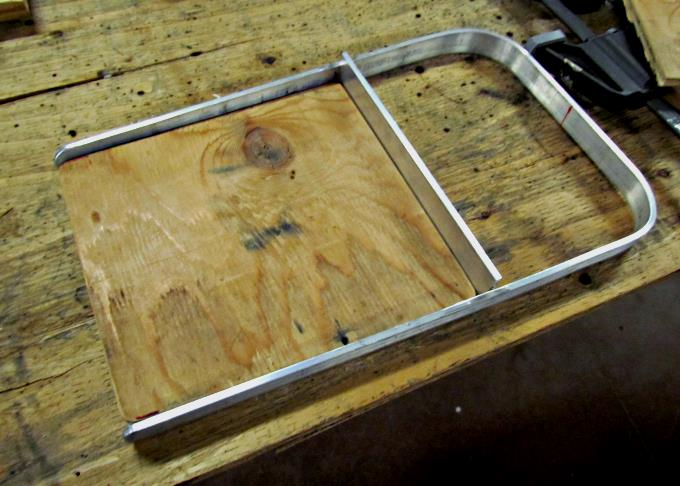
... with a piece of plywood cut to the shape of the rack I wanted.
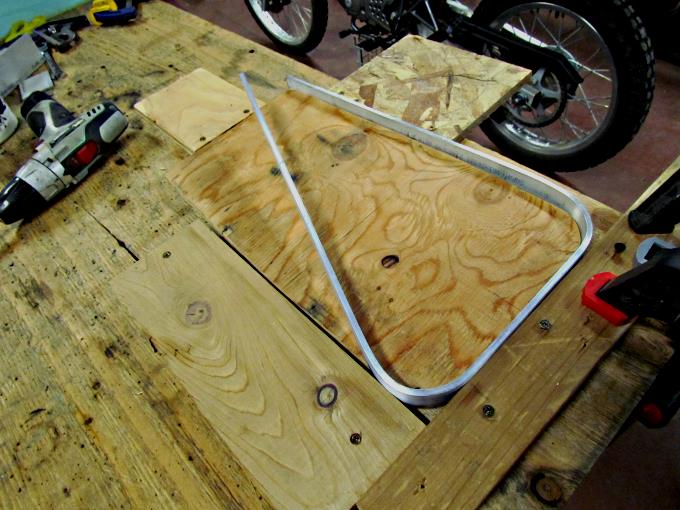
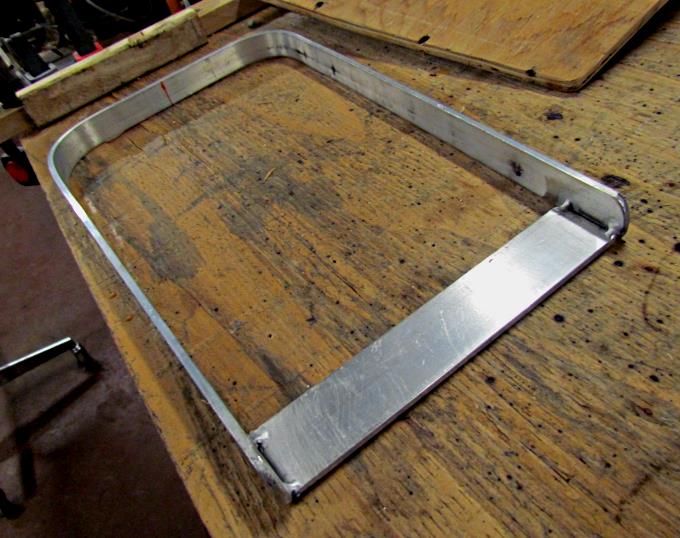
It was use to bend some aluminum strap into the rack's perimeter shape.
One side and the back was bent and then the other side was tweaked into ...
... the final shape and the ends were tapered.
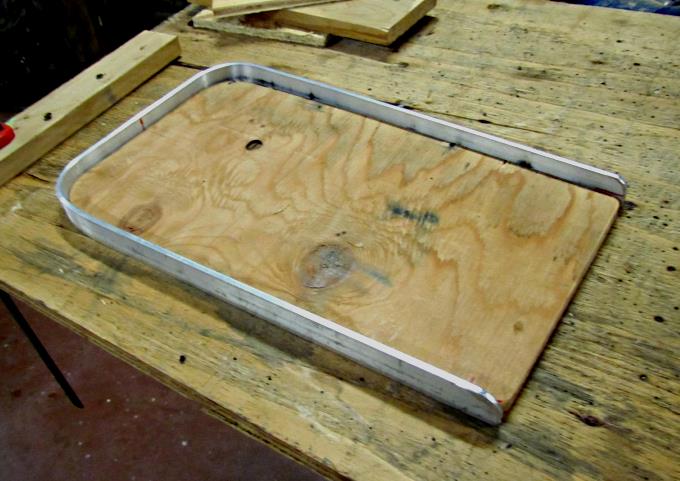
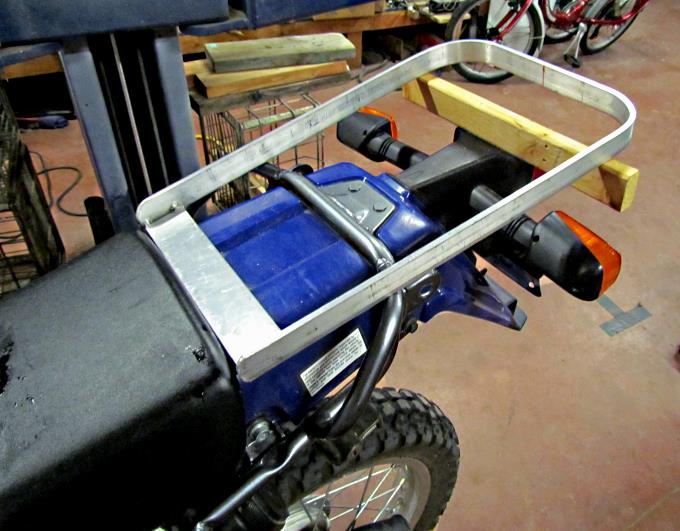
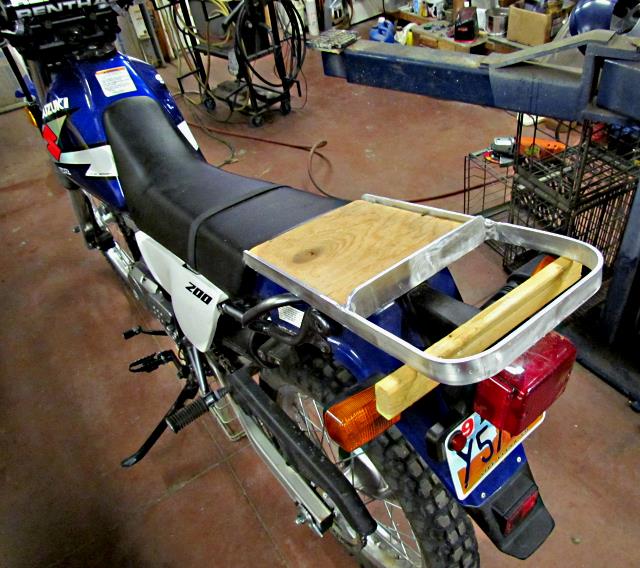
A front piece was cut and temporarily tacked to the frame and ....
..... set on the bike for a trial fit.
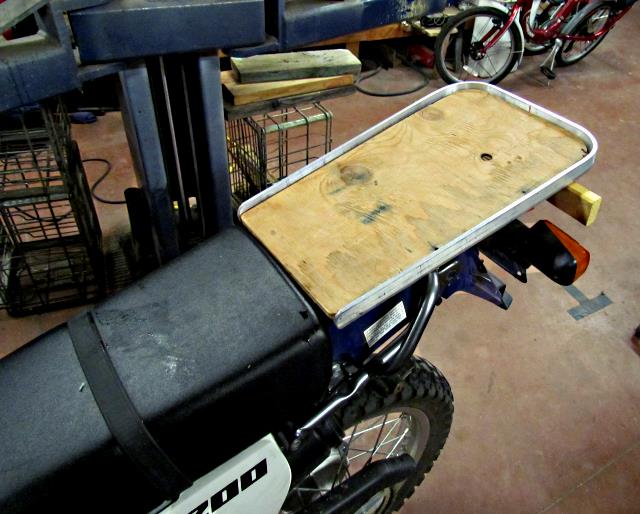
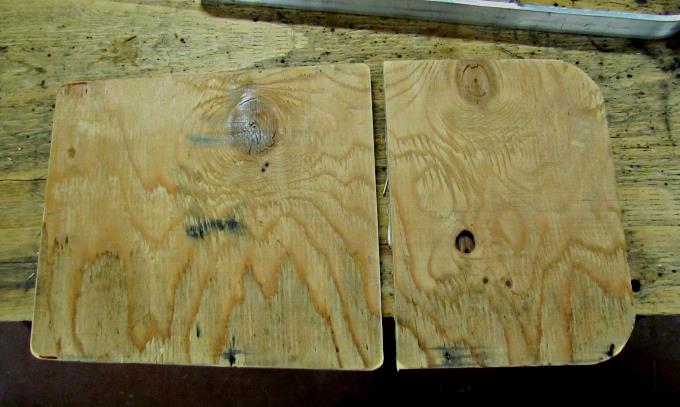
I decided to not use all of the plywood so ....
... cut it as shown above.
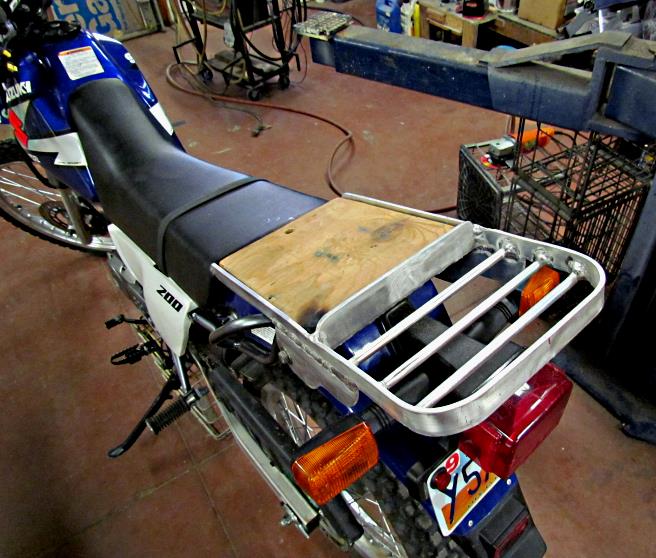
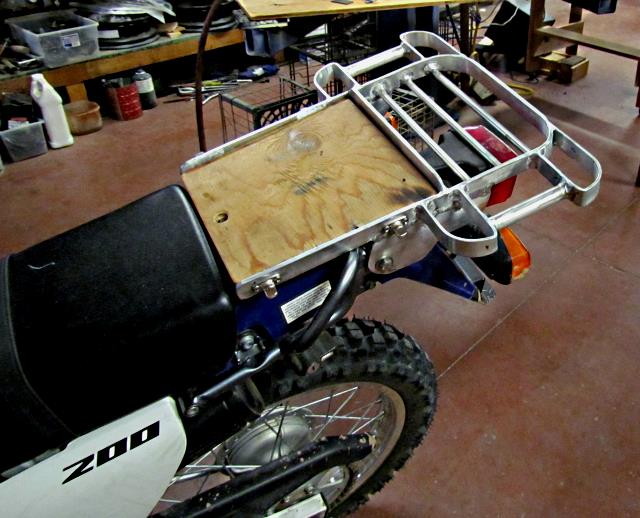
The plywood is used for the section nearest the seat and the back section was left open but...
... will be filled in with some aluminum bars spanning it. First though ....
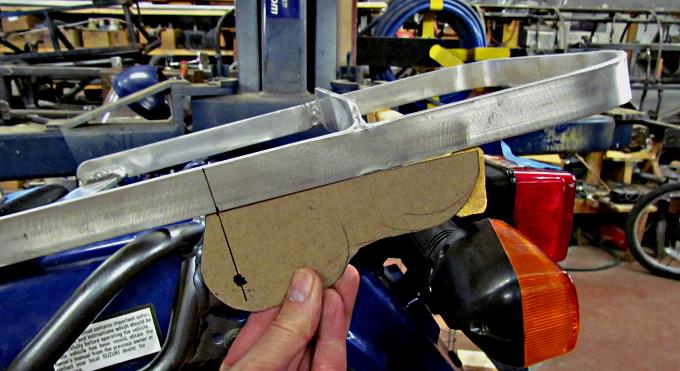
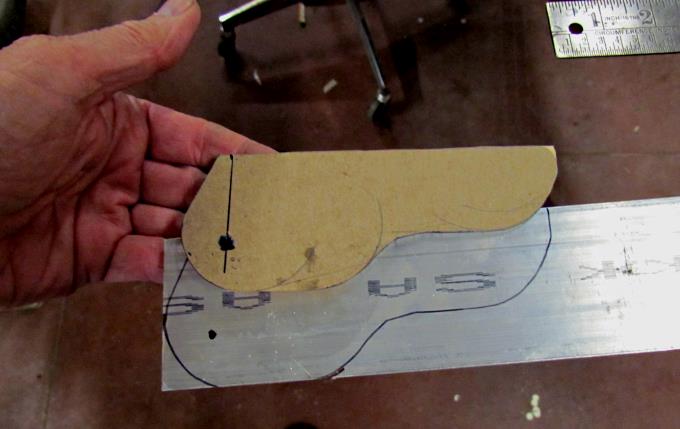
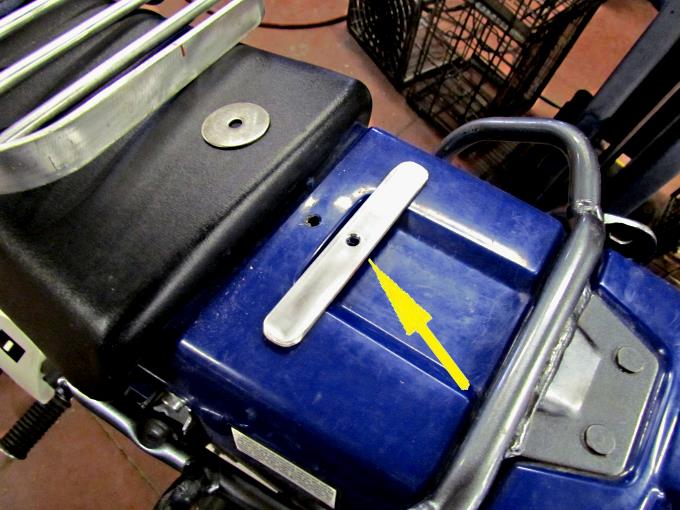
... some brackets were made to mount the rack to the bike where the turn signals use to be.
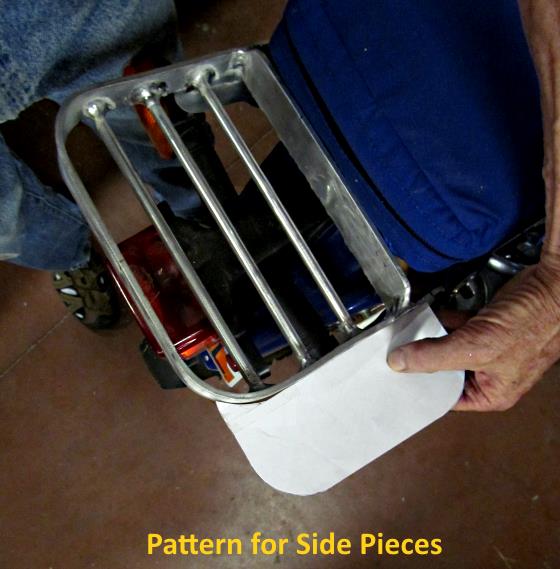
The card board patterns were used to cut out ...
.... two aluminum brackets, which....
... were welded to the frame and the other cross-members were also finish welded into place.
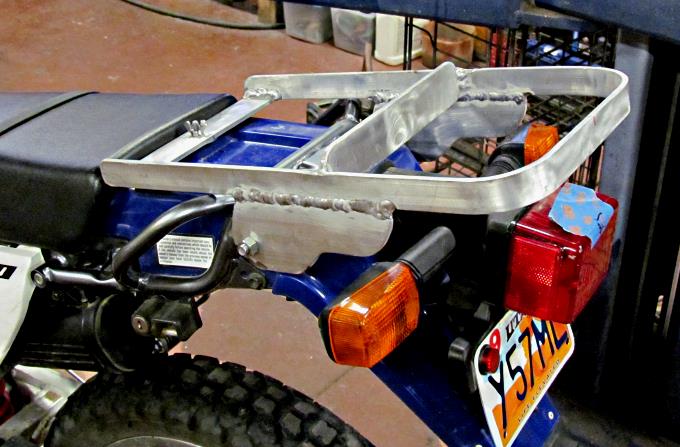
The rack mounts to the rear of the bike to the top of the fender just behind the seat and via the side brackets.
Another piece of aluminum was cut and it goes on the under side of the fender to help distribute the racks attachment point to the fender over a larger area.
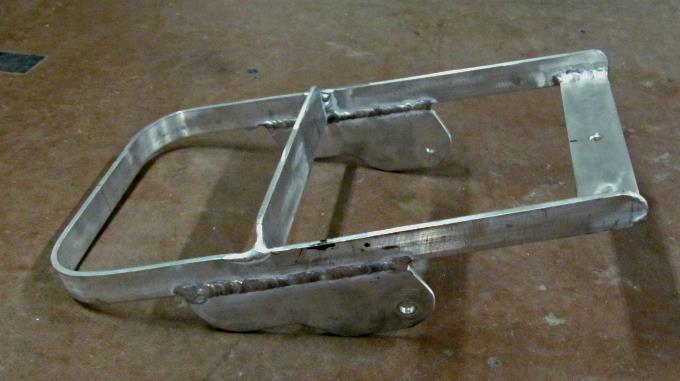
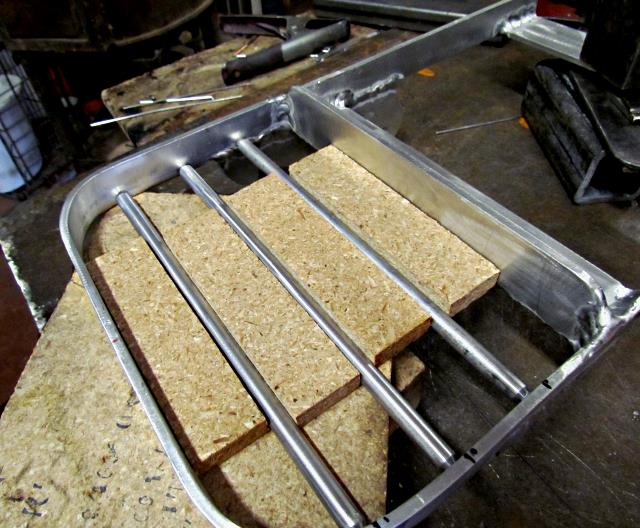
Round solid aluminum rod was cut to span the opening at the back of the rack. This will make it easier to use bungee cords to hold packs to the rack.
The rack is near done but ...
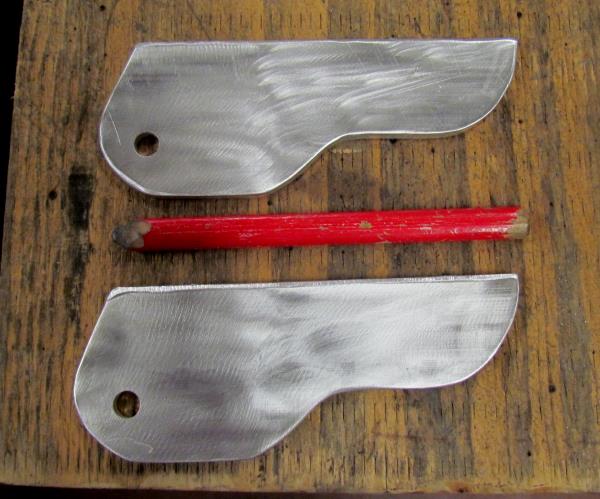
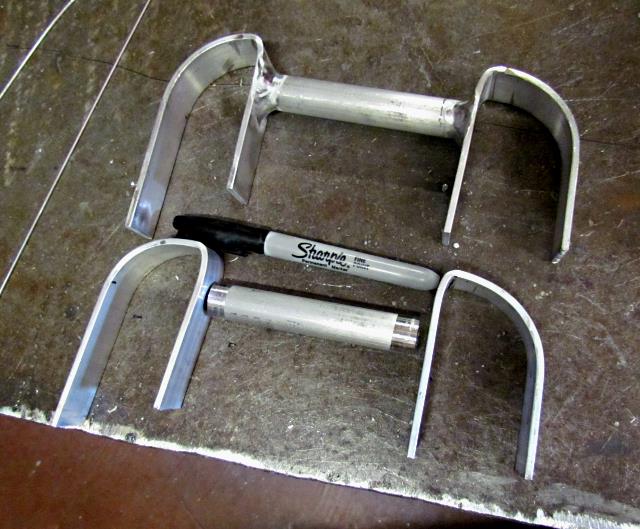
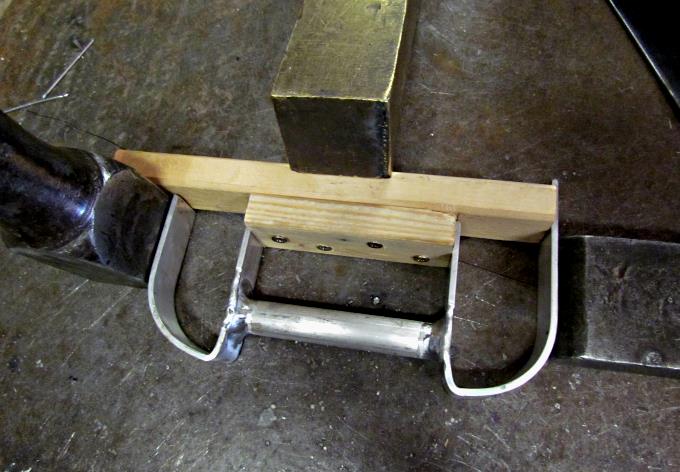
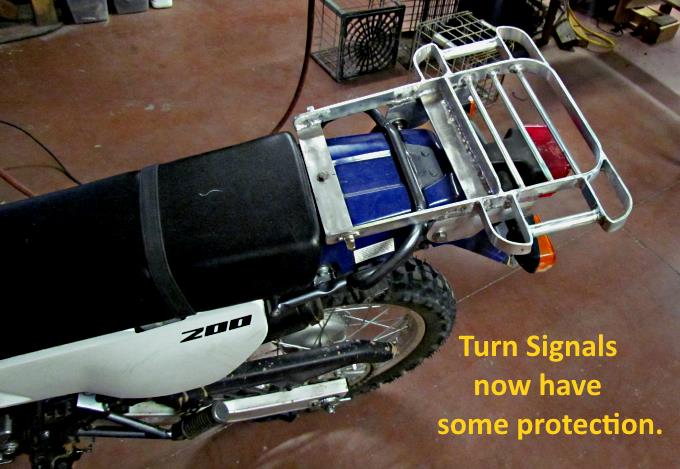
... I decided to add some side pieces that would help protect the turn signals and give added support for a pack above them.
They were also fabricated out of aluminum and ....
Welded with the TIG welder.
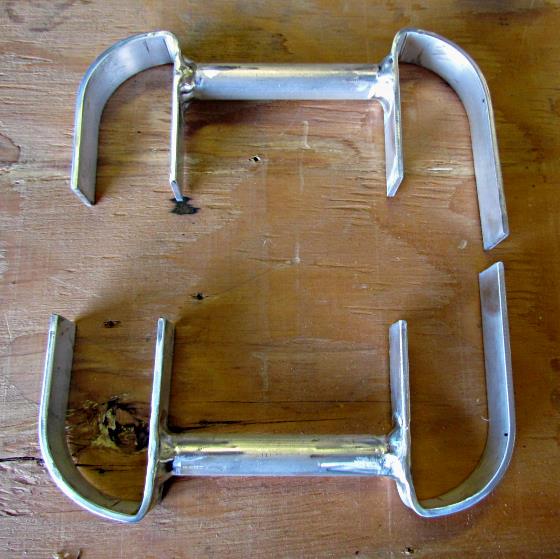
Ready to weld onto the rack.
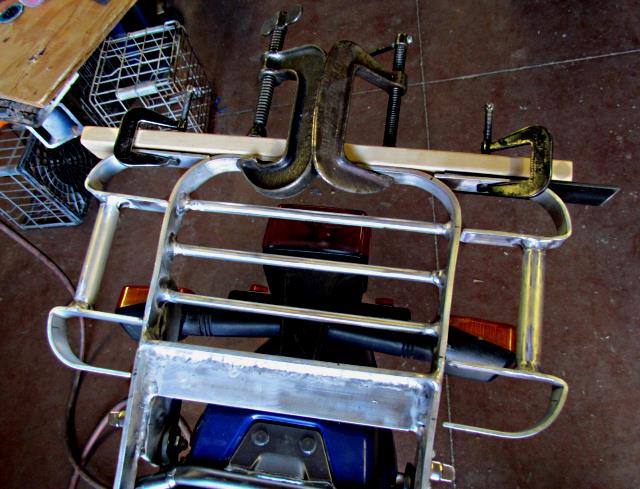
Some clamps and wood were used to position them and ...
... then they were welded to the existing frame.
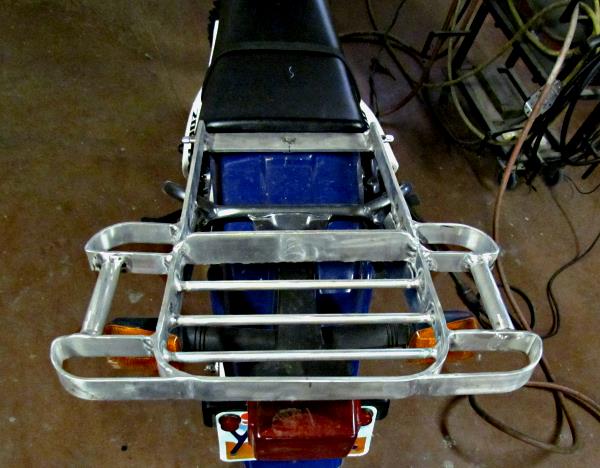
Finished with more storage area and protection for the turn signals.
Pretty much finished.
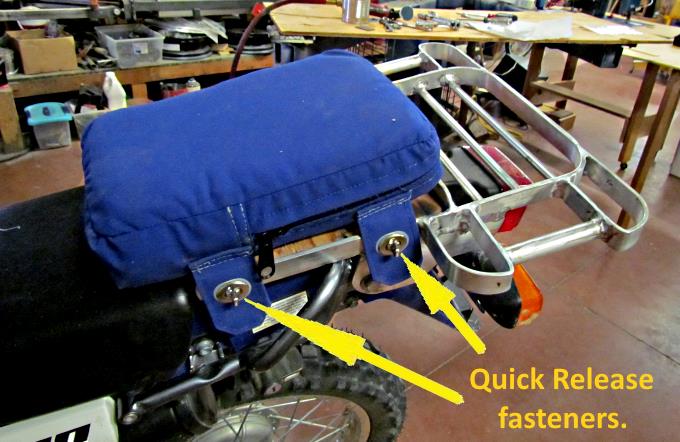
I also made a rear seat that goes off and on with 'common sense' fasteners. I haven't used it much as I'd attended as I usually have the packs I made (see later page) in this area and Dottie can still ride behind me for errands around town. I determined the bike was too small for both of us off-road so we bought a used Polaris ATV for her to ride.
I started with a pack I already had but then designed and sewed up a couple packs that do the job much better. More on them on the next pages.
=========================================
...........................On..............e.........Next Page If There Is One