.................................. Return to Sumner's Home Page....
Return to N Scale RR Main Menu........ Return to Decoder Install Menu
=========================================
..............Previous Page..............................Next Page If There Is One
=========================================
.--- Digitrax DZ126T Decoder in Atlas GP35 ---
=========================================
I'd done a couple board drop-in decoder installs in some DCC ready locos and finally got around to a hard-wire install into an older Atlas GP35. I spent a couple weeks on that install as I'd do a little, procrastinate and do other things a little and repeat that a few times before finally finishing it.
What follows is the same install on on a second Atlas GP35 which I did in one day and not a whole one at that. The loco in both cases was an Atlas 4621 that were made in 1993 from what I've found and I picked them up on that E-site for $45 and $50 each. You can find the Digitrax DZ126T decoders for around $20 and they are a 2 function decoder and about the smallest ones that Digitrax makes.
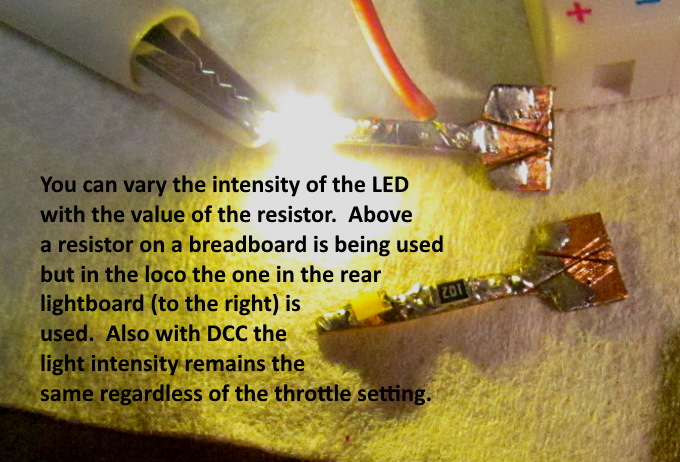
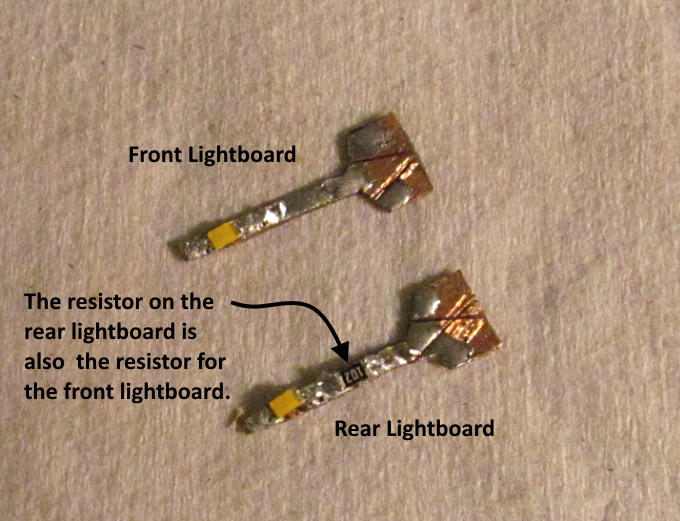
I started by making a couple light-boards like the ones ( HERE ).
.
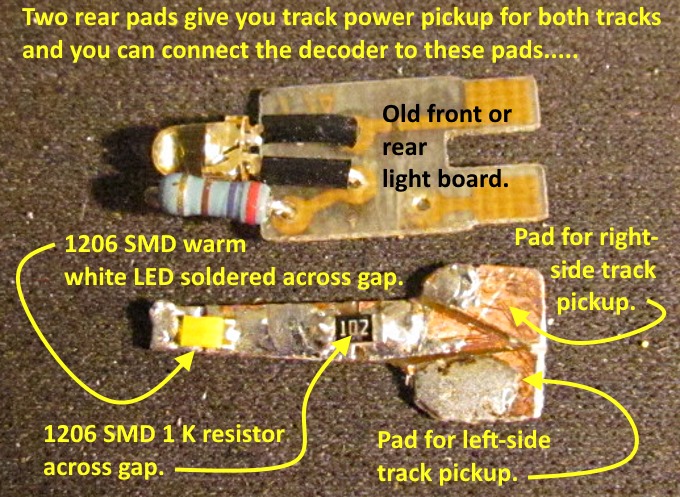
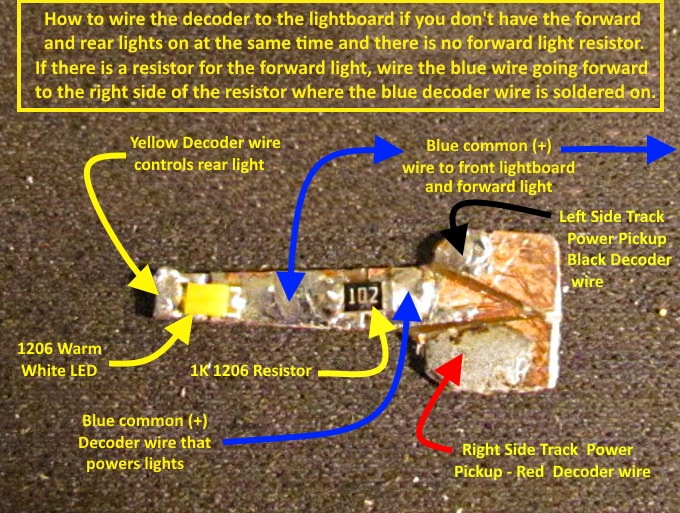
You can adapt the original lightboard if you so desire. Unsolder the resistor on the end away from the LED. Turn it around as shown above and connect the blue common power wire from the decoder to it. Solder the black or red decoder wire where the resistor had been depending on which lightboard you are dealing with. This will be your left and right track voltage source for the decoder. Cut the trace under the letter 'O' in the word 'Old' above as shown above. Solder the decoder white or yellow wire on the post where the LED is soldered to on the side opposite the resistor. Solder the white decoder wire to the front lightboard and the yellow to the rear lightboard for control over the lights.
.
.
.
.
.
.
.
.
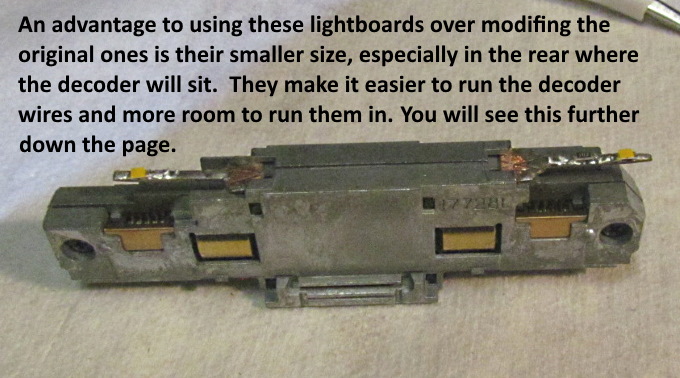
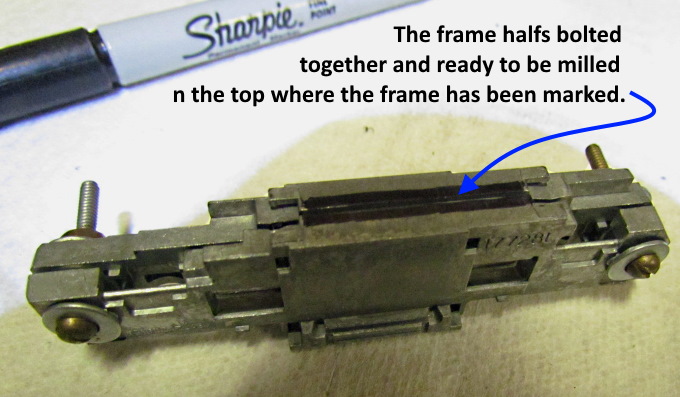
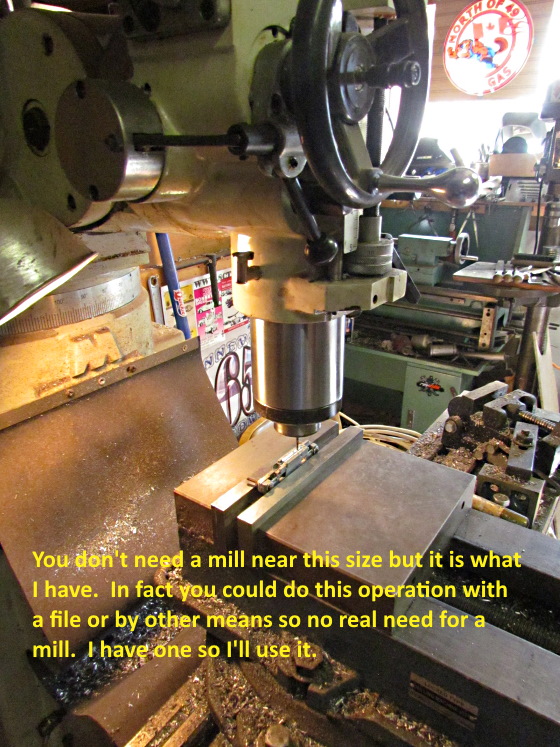
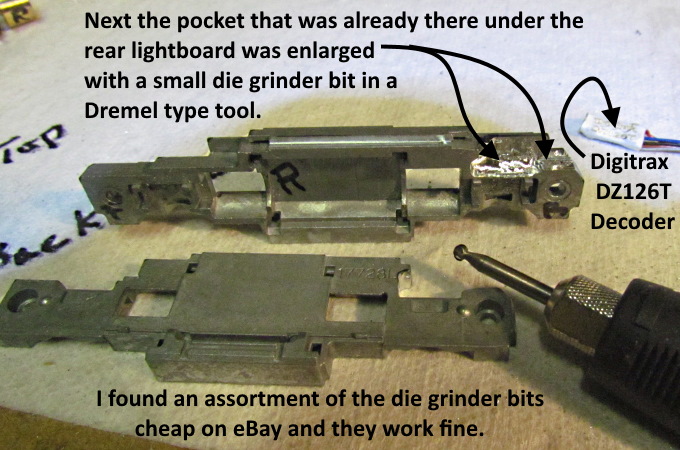
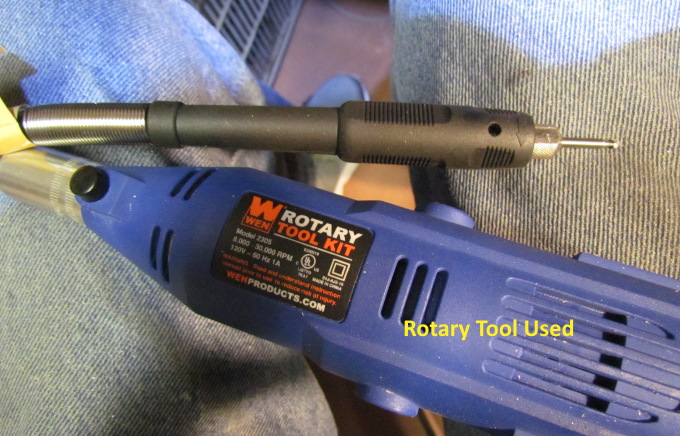
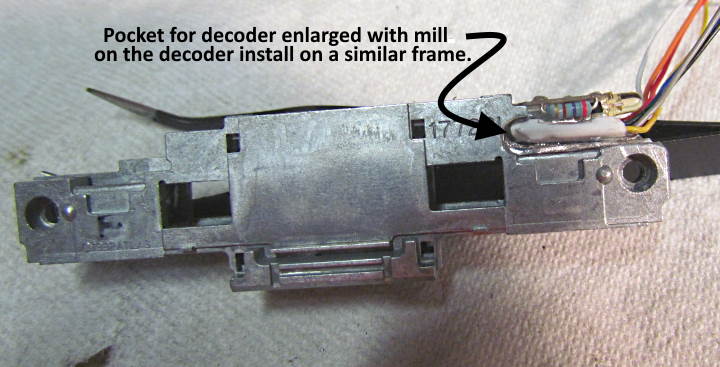
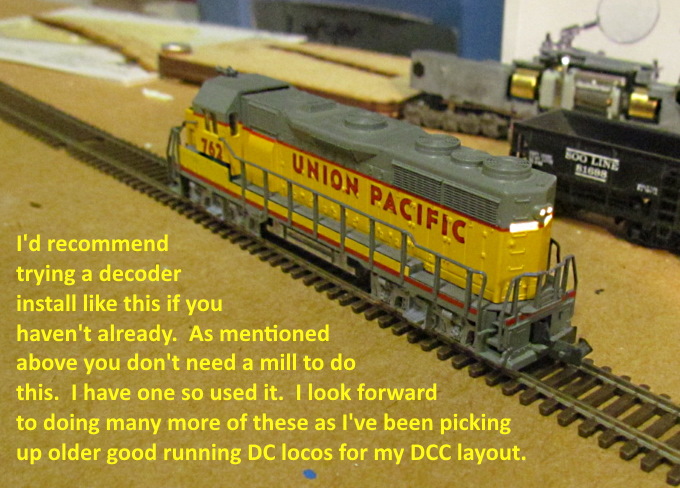
The frame above was a similar install on the same frame but I enlarged the pocket for the decoder with my mill and not the carbide bit in the rotary tool. Not much difference really. A little cleaner looking but the carbide method took less time and you don't need a mill to do the decoder install.
.
.
.
.
.
.
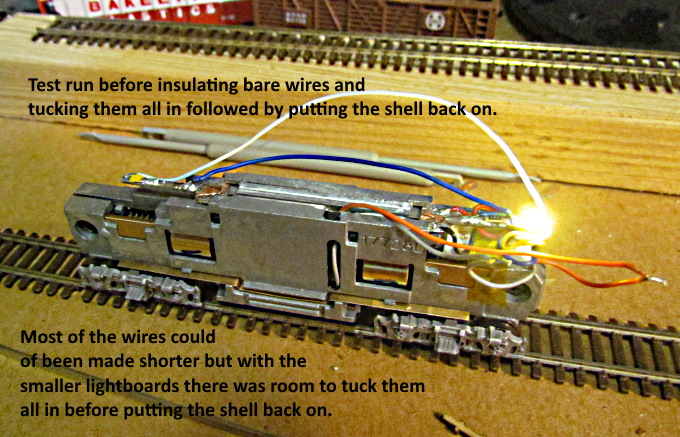
It was nice seeing the loco run after doing this and the first decoder install. I have a lot more DC locos to add decoders to and will try and document those also. ( HERE ) is a link to Brad's really great site on decoder installs. Be sure and check it out. It has been of great value to me. Thanks Brad for all the work in posting the installs you have done.
=========================================
...........................On..............e.........Next Page If There Is One