.................................. Return to Sumner's Home Page....
Return to N Scale RR Main Menu........... Return to Building UP's Canyon Division Menu
=========================================
...............Previous Page.............................Next Page If There Is One
=========================================
…........................... .--- Hidden Coal & Staging Tracks Pt. 7 ---
============================================
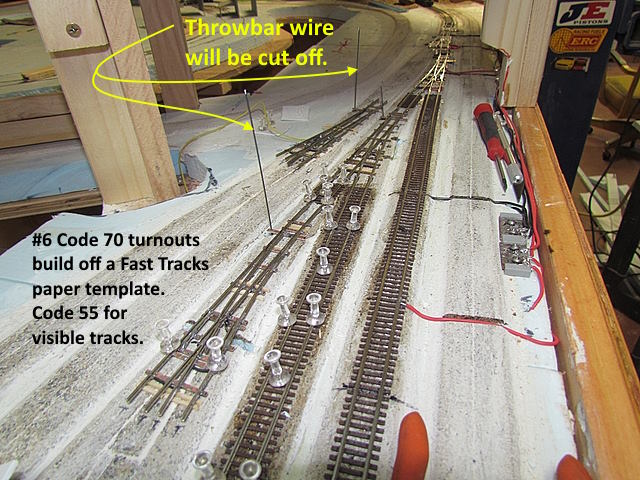
Finally actually getting turnouts and track down in the hidden staging area.
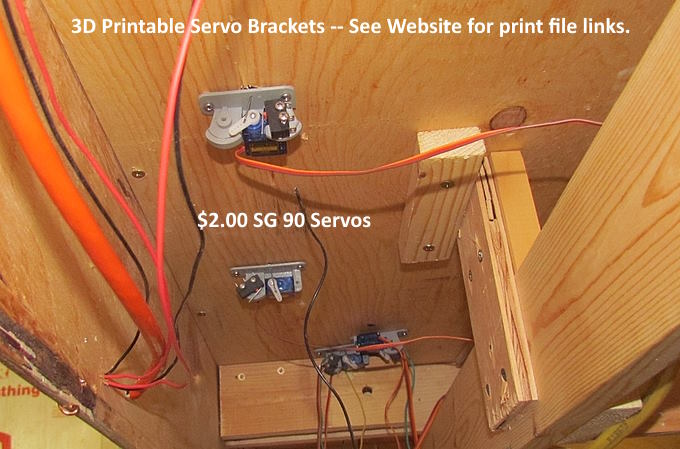
I left the .037 piano wire to the throwbars long in case I wanted to pull the servo or the turnout as it would be easier to put them back. Also I've decided to throw most of the turnouts from outside the track centerline. On my test layout I had the throwbar wires in the center of the track. Cutting it short enough there so that rolling stock wouldn't hang up on it was a little hard in that location On the test layout and this one I'm not gluing the turnouts down. The three tracks that attach to the turnout will be glued down and that seems to work fine and it will be easier this way to replace a turnout if needed.
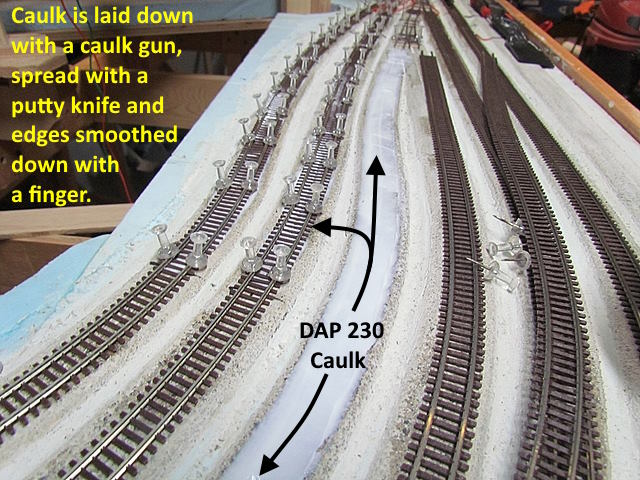
Along the same line I solder the track joiners between pieces of flex track but I'm not soldering the joiners between the three tracks and the turnout. I can always slide them back and lift the turnout up and away from the track surface and work on it if need be or replace it with a different one. These turnouts in the hidden staging won't be ballasted but I'll lightly ballast the ones that are seen on the rest of the layout.
Above you can see the servo mounts that I have up on my thingiverse.com account ( HERE ). I also have print files for one that take two limit switches if you need to control more things when a turnout is thrown, such as, signaling or LEDs. I'll control the LEDs at the switch box that controls the turnout and use the limit switches above to change the polarity of the frog.
.
.
.
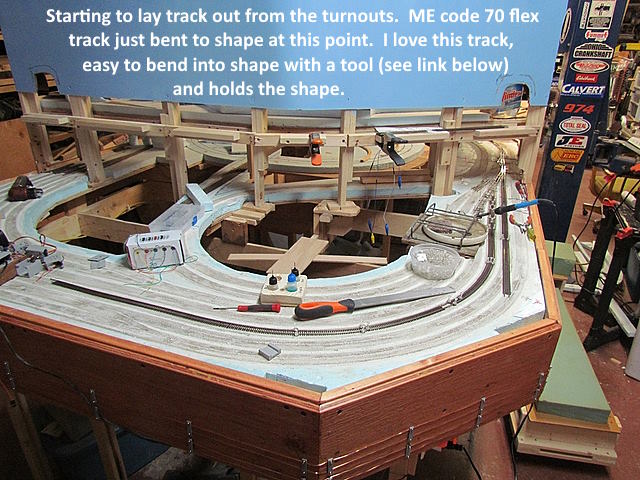
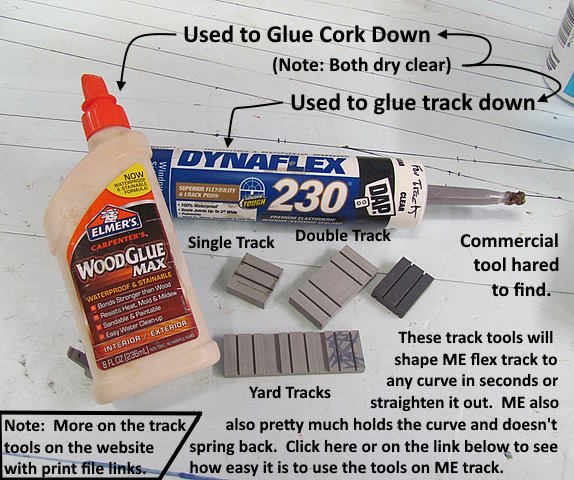
I often read on the internet that people like the looks of ME code 55 and 70 flex track but find it hard to shape to curves. If you get a tool like above or you can make one out of wood you will find that it is very easy to shape the track to a curve or straighten it back out again. You can fine more info on the site ( HERE ). There will be links to the print files and also to how to make this simple tool if you don't have a 3D printer. If in doubt take a minute to view the video showing the tool in use ( HERE ).
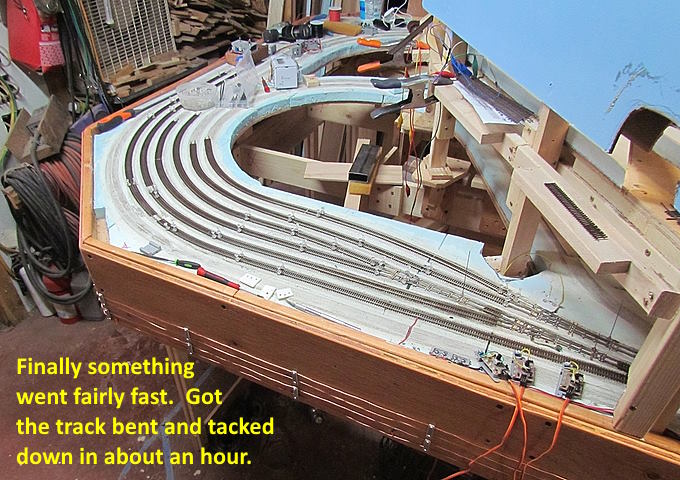
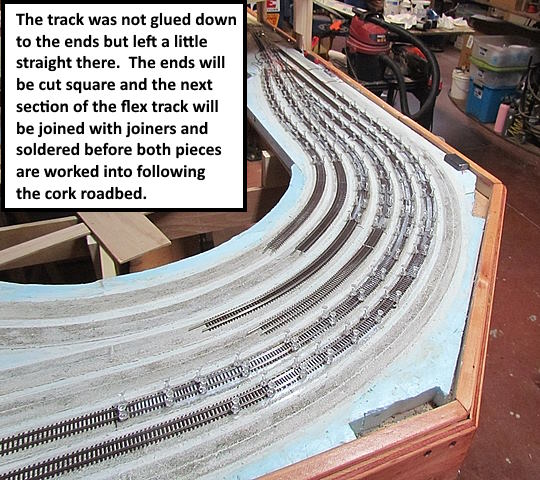
The track above ends up with one rail longer than the other on a curve so I'll trim them to be the same or trim the nest piece of flex to match the staggered end. Then I'll join the next piece of flex to the piece we are working on with joiners and then solder the joiners. Then go back to forming the curve in the end of the one piece and into the next piece. There won't be a kink in the curve doing it this way.
Since this area isn't viewable I'm running some of the track wiring on the layout's surface before dropping it to the DCC 12v Buss on the fascia. Some drops off of the flex will go down and to the fascia and the buss or some will go to switch boxes so I can cut power to tracks that trains will be parked on.
I have one solder pad, shown above, most of the wires going to it are from the turnouts. Since I'm not soldering the turnouts to their adjoining track I'm adding drop wires to the turnouts and not counting on the rail joiners to conduct the track current.
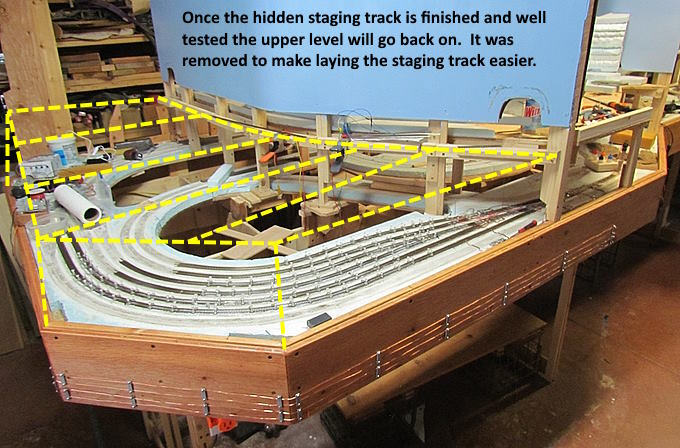
It will be a while but eventually the upper level that I made earlier ( HERE ) will go back in above the hidden staging. There is about 10+ inches between them so I can work on the track and turnouts without having to remove the upper level but for now it is nice not having it there.
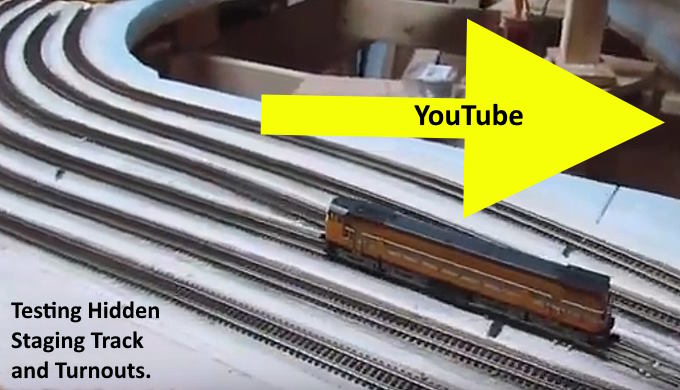
For a short video on this section of track click ( HERE ) or on the image above.
If you came into the build here you can find the main index for the build ( HERE ).
=========================================
...........................On..............e.........Next Page If There Is One