.................................. Return to Sumner's Home Page....
Return to N Scale RR Main Menu........... Return to Building UP's Canyon Division Menu
=========================================
...............Previous Page.............................Next Page If There Is One
=========================================
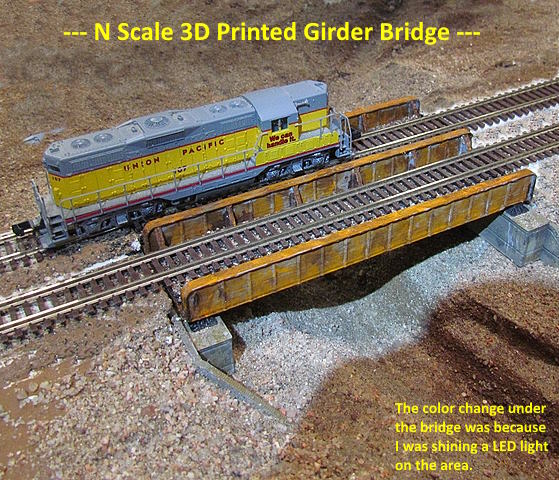
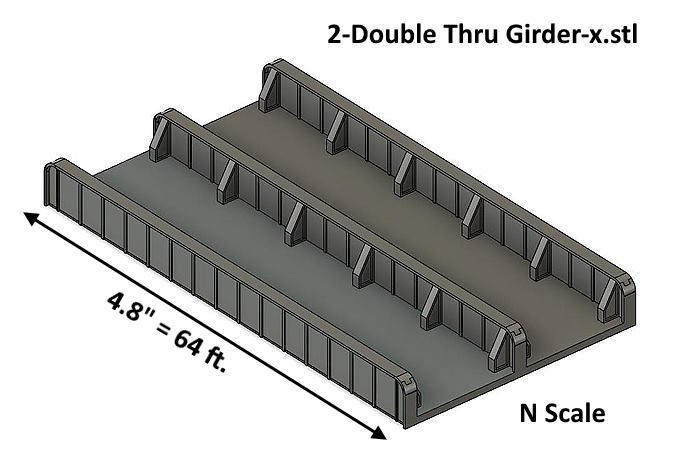
….................. .--- Double Track Girder Bridge ---
============================================
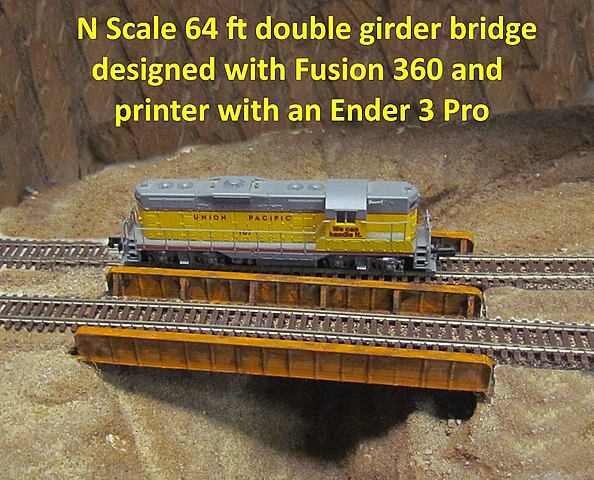
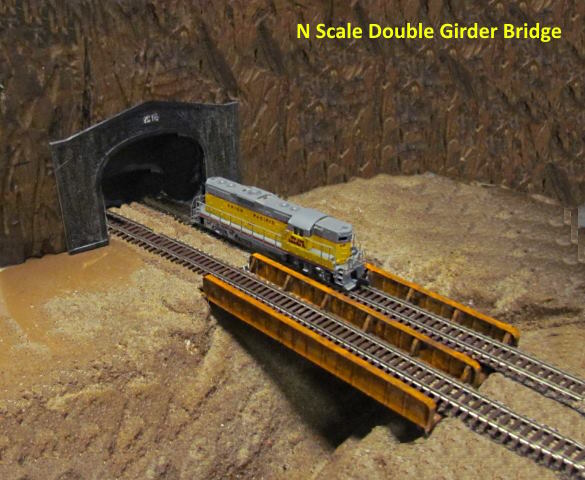
This is a 4.8” (64 scale feet) double track girder bridge that I designed with Fusion 360 and printed with an Ender 3 Pro filament printer for the layout. It will be for the mainline tracks that will cross a small canyon just before the tunnel that then leads to the hidden staging area.
.
.
.
.
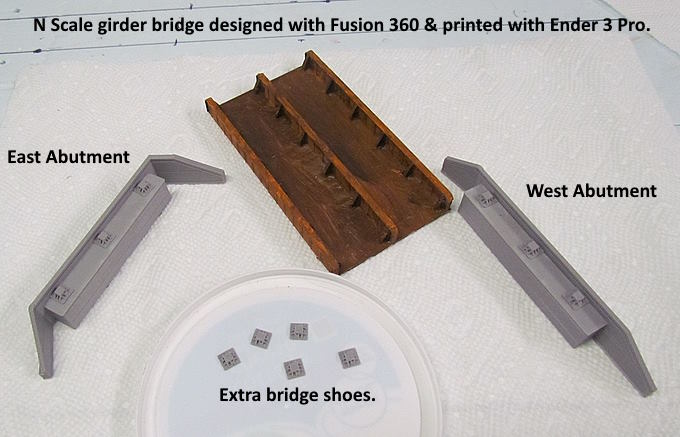
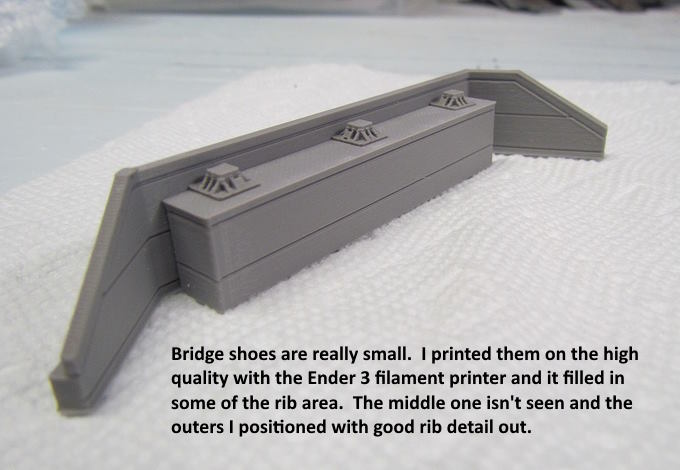
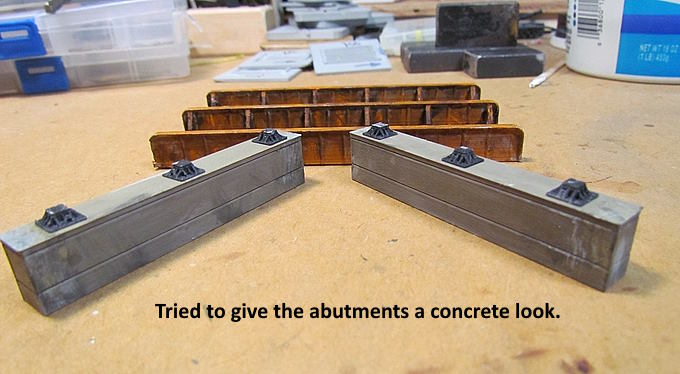
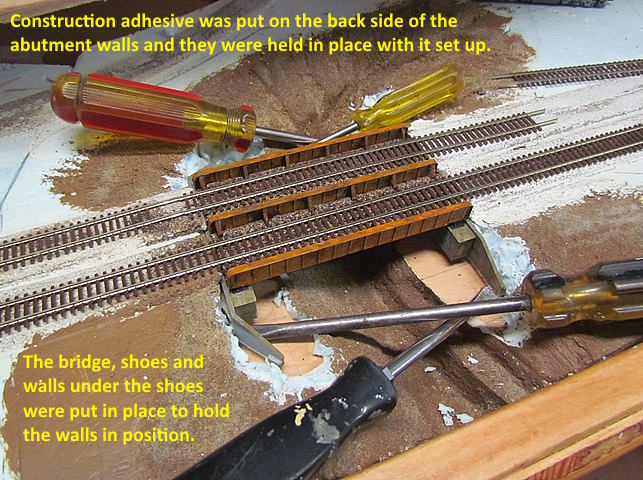
These are bridge abutments and shoes one can 3D print. I designed the abutments for a specific location but one could cut the wings and turn them to about any angle. I printed everything with an Ender 3 Pro filament printer. The shoes would probably print better with a resin printer but the Ender did a good enough job for me. It filled some of the ribs in but I printed a few extra and positioned them under the bridge with the best side out and it is hard to see them in most cases anyway.
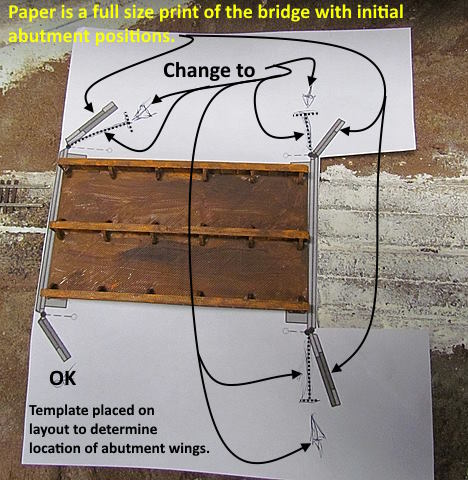
I took a full scale print from the Fusion 360 design out to the layout and put it in place under the bridge that had already been printed. Then would lift the paper and decide the final angles for the wings at the end of the abutment walls. I left one how I designed from 'guessing' and changed the other three to new angles to work with the terrain that was in place. It didn't take long in Fusion 360 to put the wings in the new positions and then printed them and the bridge shoes out with the Ender 3 Pro.
.
I designed the feet as small as I thought I could and still have the Ender 3 print them out. They are very small. I printed a few extra and used the best ones. It actually did a better job than I though it would. The individual ribs on the shoes are .025” ( .635 mm) thick and the base is .020” thick. The shoes are hardly visible when the model is put in place and then only one side of the outer ones.
I like the filament printer for a number of reasons. I can print larger items, there is no smell so can print in the living area of the house and there is no cleanup so I can take the print off the build plate and paint it immediately if I want. I did also buy a resin printer and will get around to using it and I'm sure I'll like it for instances where I want really fine detail.
.
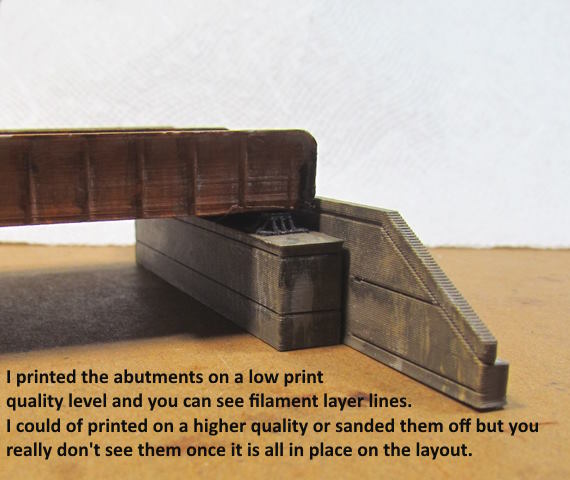
I printed the shoes on the highest print quality the printer can do but printed the bridge itself on the 'standard' quality and the abutments on the low quality. On the low with a closeup like above you can see the filament layers on the end. I could of gone to a higher print quality or sanded them off but found that I didn't really notice them once I had the model in place.
It is often mentioned on the internet that a filament printer is not the printer to have with N scale but I tend to disagree with that. I've found it to be fine for myself for most of the items I've designed and printed which have been N scale. I don't need print quality though where I'll be looking at the model in my hand at a distance of 6 inches. I'll wait to print loco shells and car bodies to when I finally start using the resin printer but love the Ender.
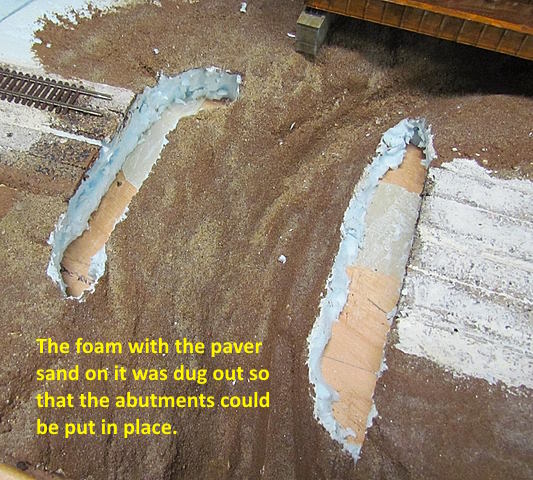
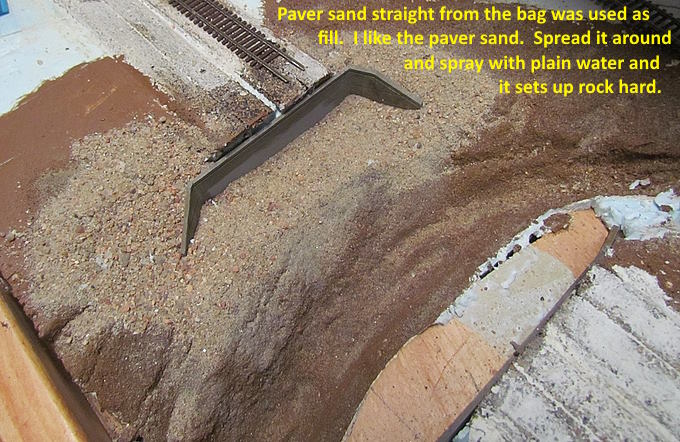
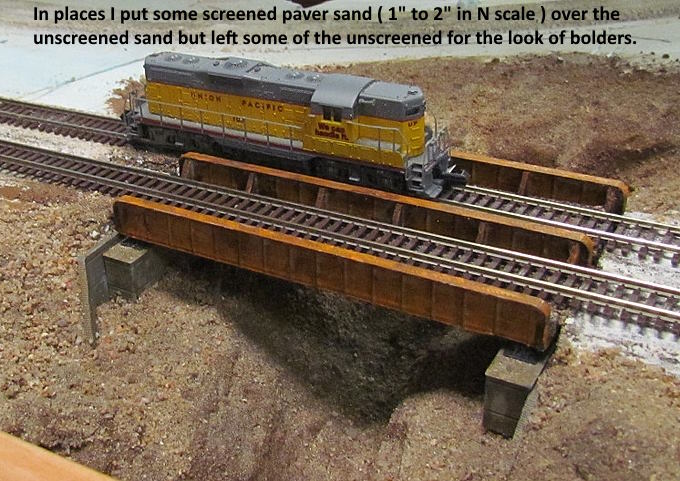
I had already put in a small canyon as a trial run using the foam cutters I bought and covered the foam with paver sand that is extremely cheap and easy to use. Above, the sand you see was strained with a strainer that lets 1”-2” N scale rock (sand) through. The paver sand has a bonding agent in it and you only need to add water. No need to mix water, glue and alcohol as a spray. Easy to build up to different thicknesses and hard as a rock when it dries an sets up. I plan on using a gray paver sand for a lot of my ballast. More on it ( HERE ).
Considering using it as a base terrain cover also. Even if you don't want it for the final look using it over the foam will give you a base that you could apply something else over for a different looking ground cover. I bought a 50 lb. Bag of it for under $20. That is a lot of ballast and/or ground cover for a very little amount of money.
.
The sand, especially the strained sand, can fill in larger voids and is quicker and easier to use for doing that than say Sculptamold.
.
My first bridge and pretty happy with it.
You can find the files to print the bridge, abutments and shoes on my thingiverse account ( HERE ).
You can find all the files to 3D print this object and others on my thingiverse.com account ( HERE ).
If you came into the build here you can find the main index for the build ( HERE ).
=========================================
...........................On..............e.........Next Page If There Is One