.................................. Return to Sumner's Home Page....
Return to N Scale RR Main Menu........ Return Turntable Menu
=========================================
..............Previous Page..............................Next Page If There Is One
=========================================
... --- N Scale Turntable Bridge/Deck Wiring Part 3 ---
Part 3 of wiring the turntable bridge/deck. This page will finish the turntable wiring.
.
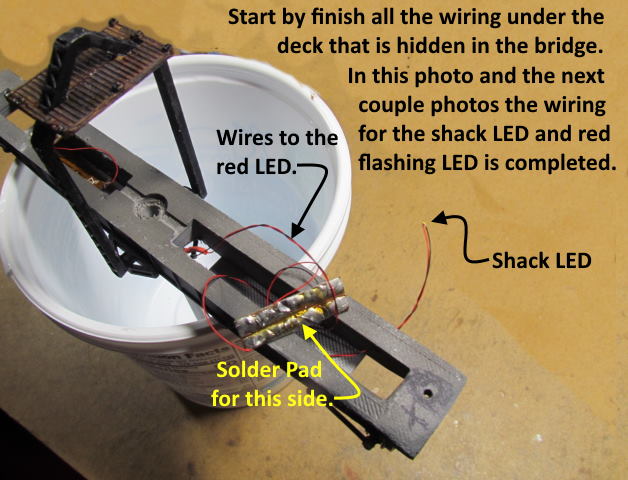
One might be confused easily by the LED wiring on the solder pad to the shack light and the red flashing LED at the top of the arch. The red and black (anode/cathode wires) are reversed on the solder pad as I'm turning on the two LED's separately with just the orange and brown wire to the solder pad that comes from the control panel. I turn the current on and off and reverse the current in those two wires to turn one or the other of the two lights on. When the current is flowing in one direction one LED will be on and the other off. Reverse the current and the off LED will come on and the other will go off. I'm using the fact that current can only flow one way through them. If it is the wrong way they are off and if the correct way they are on.
Above is a close up of the wiring on the solder pad. You want the red wire going to the flashing red LED to be on the same side as the orange supply wire. You want the red wire going to the shack LED to be on the same side as the brown wire.
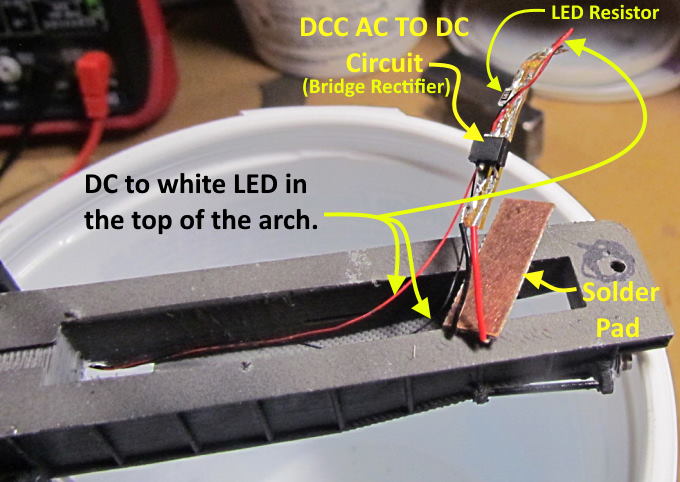
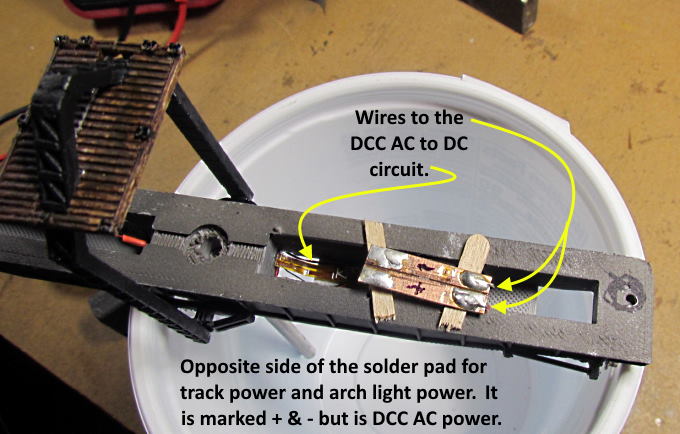
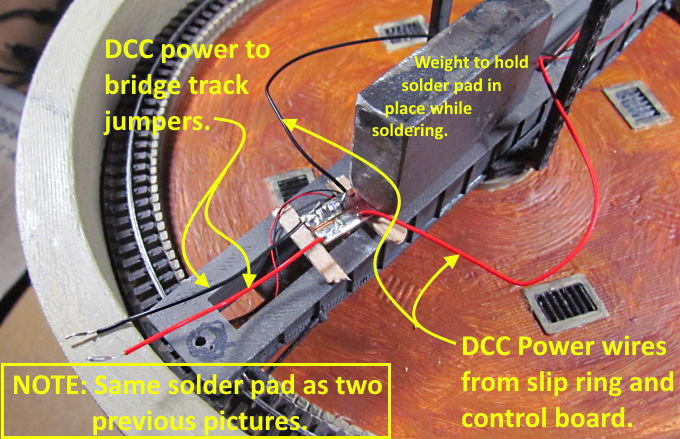
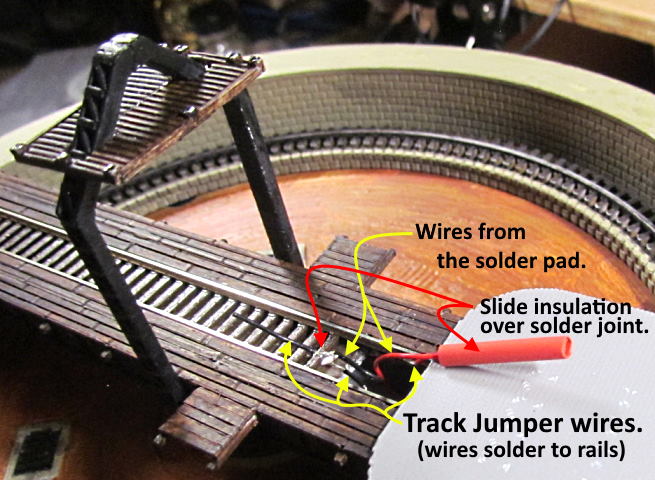
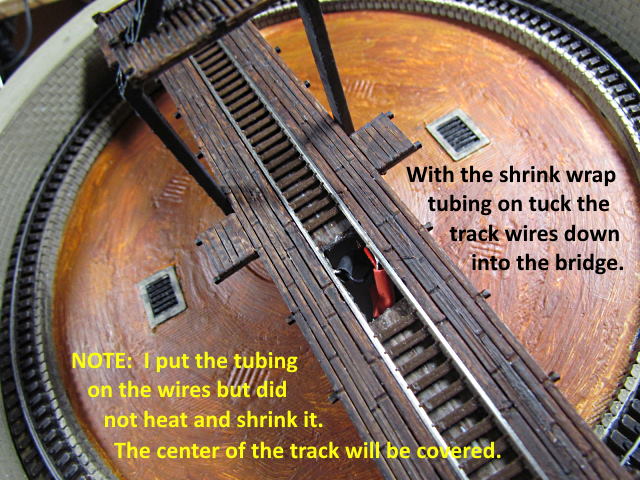
Now I'll move on to the wiring on the other side of the bridge for the track power and for the white LED in the top of the arch. You could work on this side first if you wanted but wait to put the bridge on and make the final track wiring until you have all the wiring in the bridge completed otherwise the deck will be in your way.
.
.
.
.
.
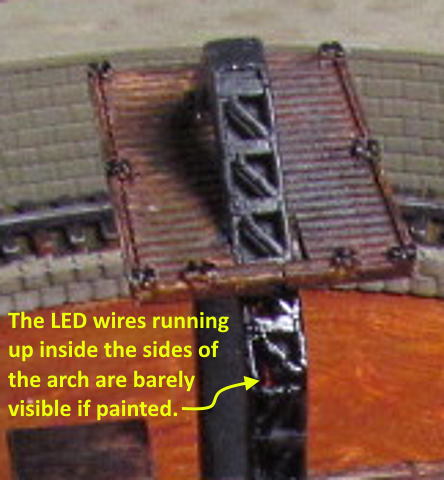
Earlier in the build the wires were run from the LED's in the arch down through the sides of the arch and into the bottom of the bridge by the support for the arch there. At that time I also sprayed and brushed paint onto the wires inside the sides of the arch. You can barely see one of the red ones in the photo above.
.
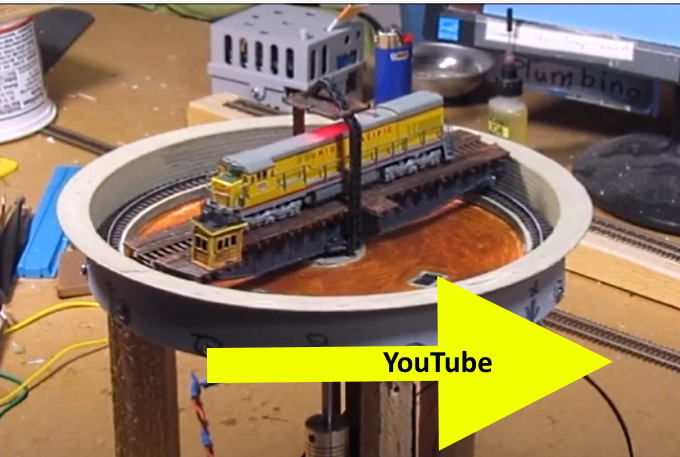
Above or ( HERE ) is a video of the lights and how they are implemented.
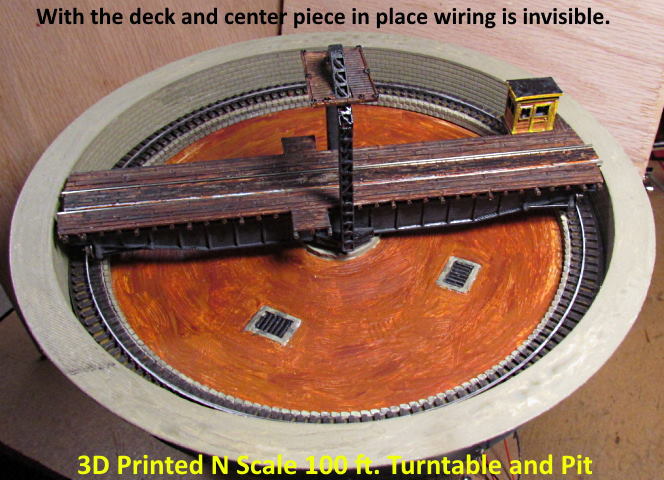
Almost done. Next up is adding the detail parts to the turntable, the railings, ladders and electrical box to the top of the arch. I'll put them up on the next page as I design and print them but won't glue them to the turntable until it is time to install it.
01-04-22 UPDATE: I probably won't finish the railings, ladders, etc. until I'm ready to put the turntable on the layout since I'll either break or loose the parts before then.
You can find all the turntable files on my thingiverse.com account ( HERE ).
=========================================
...........................On..............e.........Next Page If There Is One