.................................. Return to Sumner's Home Page....
Return to N Scale RR Main Menu.................. Return to Trackwork Menu
=========================================
...............Previous Page......................................Next Page If There Is One
=========================================
…....................…--- N Scale Tie Gluing Fixture ---
. ...--- Use to place ties under a curved turnout. ---
=========================================
You can find the files to print this on my thingiverse.com account ( HERE ).
…..........................................................................................................................................................
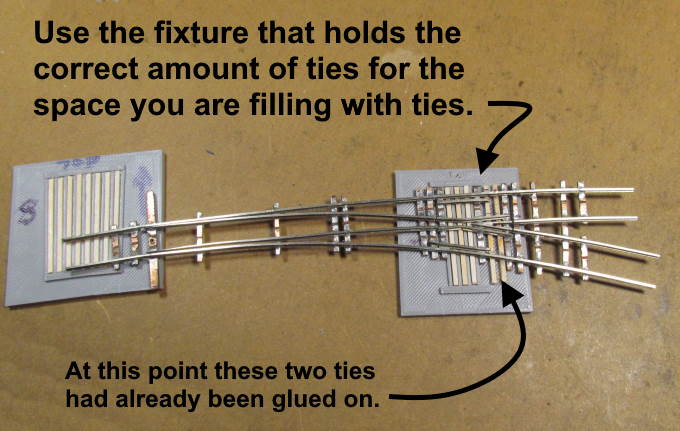
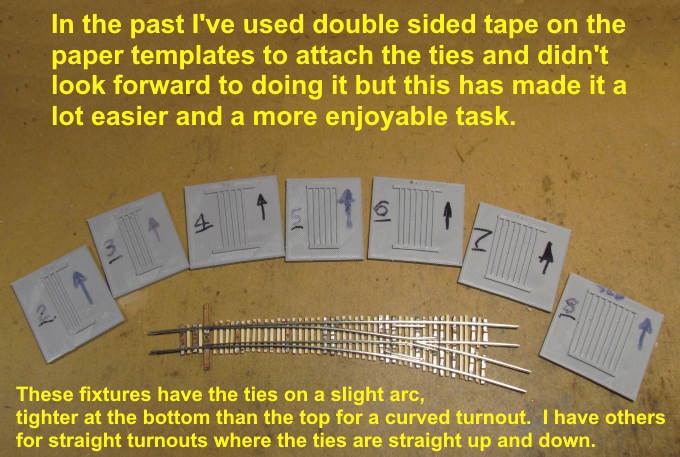
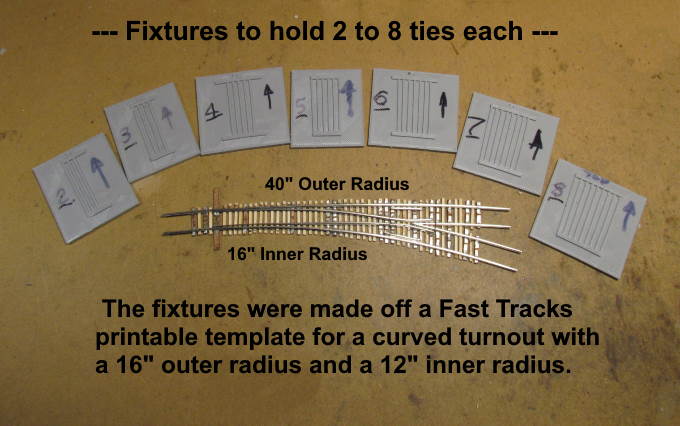
This is a jig/fixture, actually seven of them, that will hold the ties in place for gluing under a curved turnout that was created using a printable template. I was using a tape method shown ( HERE ) but these make the task much more enjoyable. I created the spacing and the arc of the ties using a Fast Tracks printable template for a code 55 curved turnout with a 16” outer radius and a 12” inner radius but feel it will work fine for most any curved turnout.
Mark which way is up like in the photos as the ties are further apart at the top of the fixture vs. the bottom of the fixture. There is a “Top” marking on each fixture but it doesn't print well. Hopefully the following pictures will pretty much show how to use these jigs/fixtures.
.
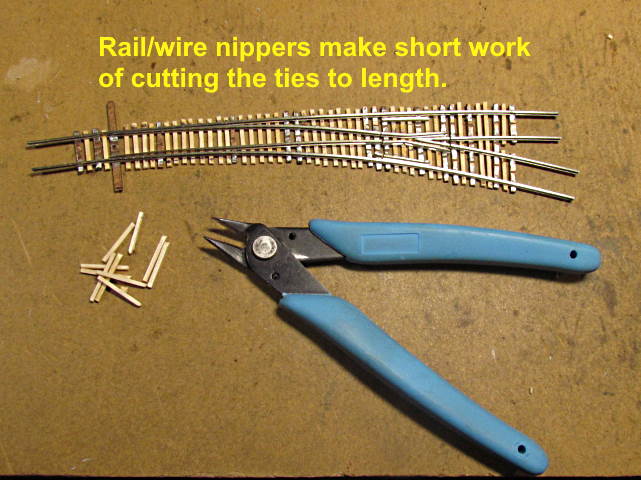
The ties are N scale Fast Tracks Mt. Albert turnout ties. Be sure and place them in the fixture with the wide side of the tie flat on the fixture.
===============================
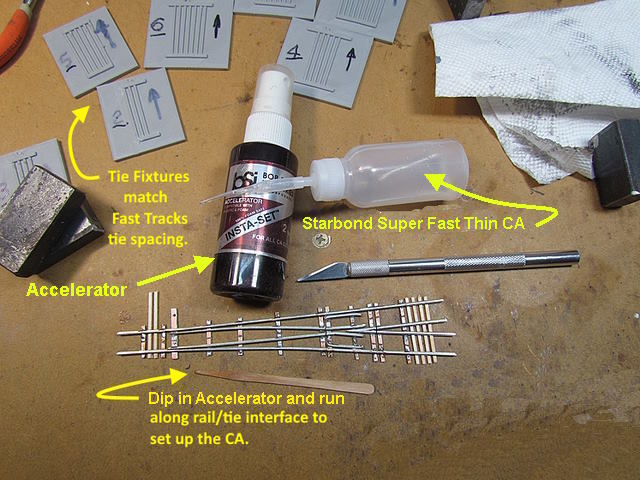
Using CA to attach the ties:
I haven't been real happy using Pliobond so started using Starbond Super Fast Thin CA glue (try both and see what you like best). I put the ties in a fixture and work with one section of the turnout at a time. I'll be careful to put just a drop of CA where the tie meets the rail on one end of the tie. Too much and it can run down into the fixture. I'll do that quickly for all the ties in that section. Then I'll dip the wooden food pic in the accelerator and run it along the side of the rail. It will flow down into the CA and set it.
I'll turn the turnout/tie fixture around (have it on a piece of paper to make that easier) and then repeat with the other end of the ties. Next I'll use the X-acto knife (if needed) to pry the turnout and ties out of the fixture and move onto the next section.
You want the CA to grab fast. Using it in one of the small bottles with the applicator tip on it is the way to go. I tried the slower CA's and didn't like them but give them a try if you want. The fast sets up faster. Using it and the accelerator I could move to the next section about as fast as I could put the CA and accelerator on.
If you don't like the CA next I'll show how I was using Pliobond before switching to CA but really prefer the CA now as I can put the ties on so much faster.
===============================
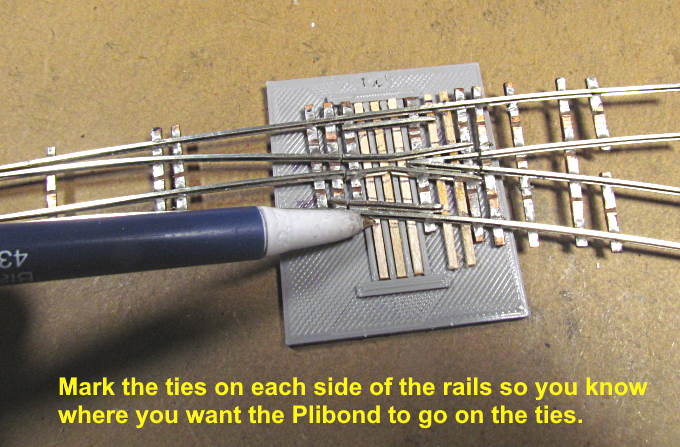
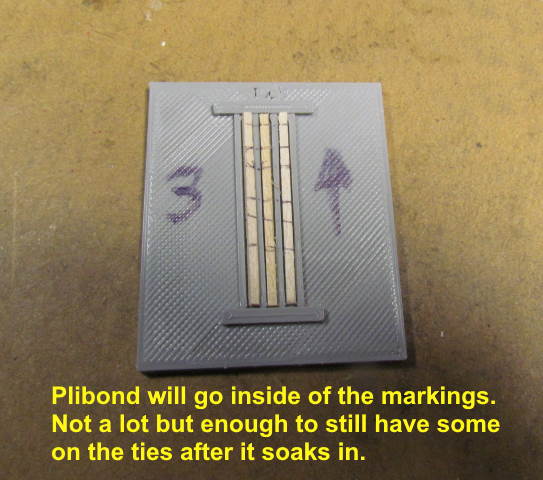
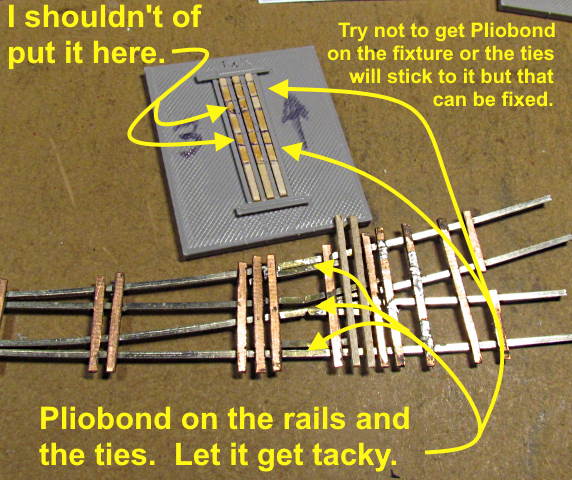
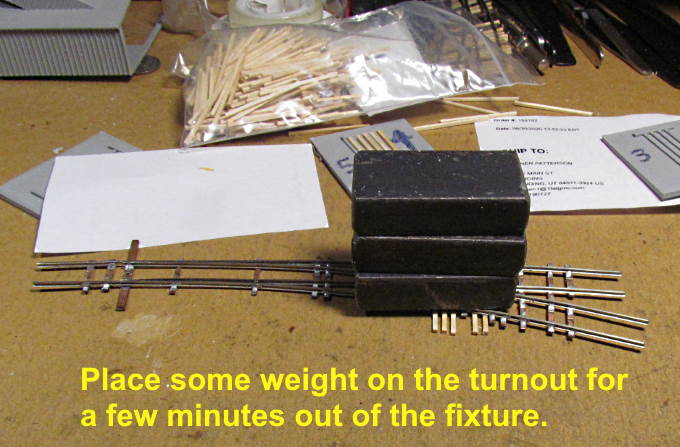
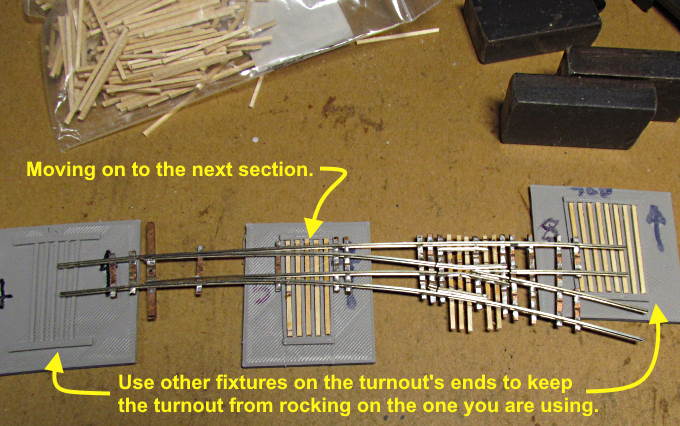
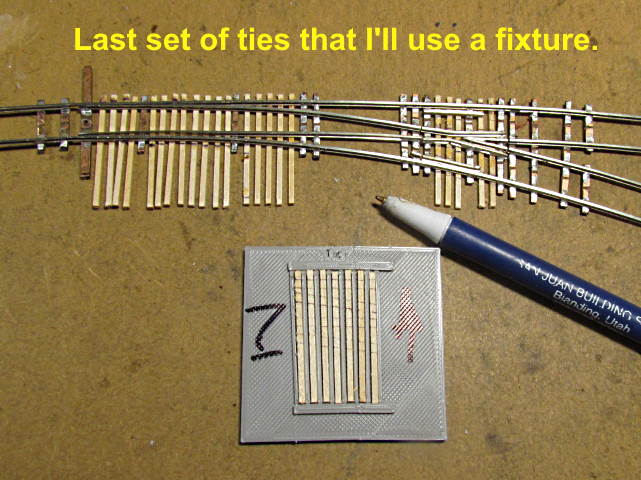
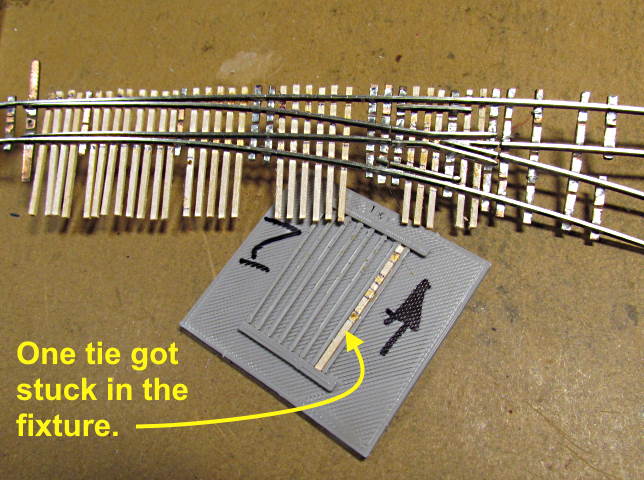
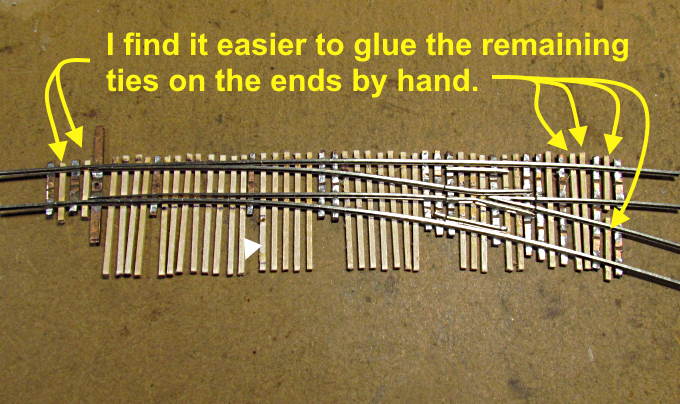
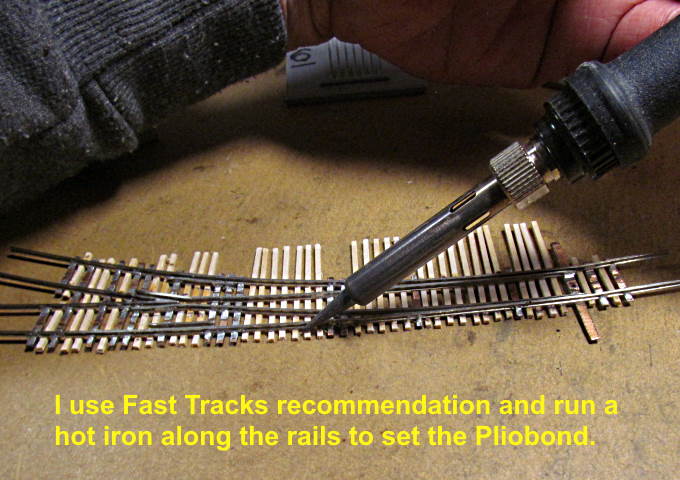
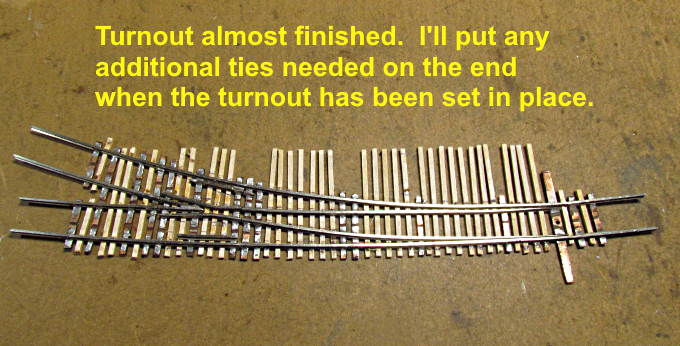
Using Pliobond to attach the ties:
.
.
.
.
.
.
.
.
.
.
.
.
===============================
Using tape to hold the ties:
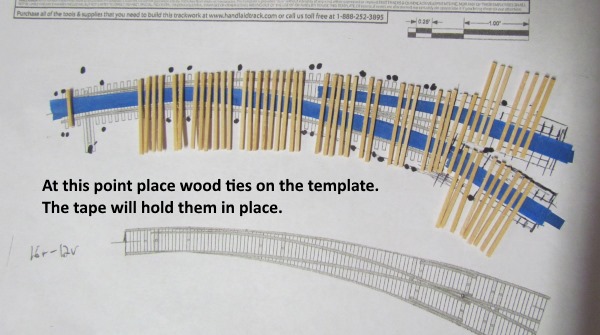
If you don't have a printer and can't print the tie fixtures then I'd cut thin strips of double sided tape and use it on a template. You want thin strips so that the tape isn't pulling hard on the ties when you separated the turnout from the tape and template. I've also used the blue painter's tape …
…. with success ( more info HERE ).
If a tie comes loose it is usually at one end do easy to position and re-glue on the other end. If it comes off still not much of a problem to replace a couple ties as you have the other ones there.
=========================================
If you need ties under a straight turnout go to the next page below for the correct fixtures to use.
You can find the files to print this on my thingiverse.com account ( HERE ).
You can find all the files to 3D print this object and others on my thingiverse.com account ( HERE ).
=========================================
...........................On..............e.........Next Page If There Is One