.................................. Return to Sumner's Home Page....
Return to N Scale RR Main Menu.................. Return to Trackwork Menu
=========================================
...............Previous Page......................................Next Page If There Is One
=========================================
…..........................................................…--- “Gravity-Switcher” ---
....--- Weight/Gravity Operated 3D Printed Switch Machine ---
.......................--- Simple Knob Control ---
=========================================
You can find all the files to 3D print this object and others on my thingiverse.com account ( HERE ).
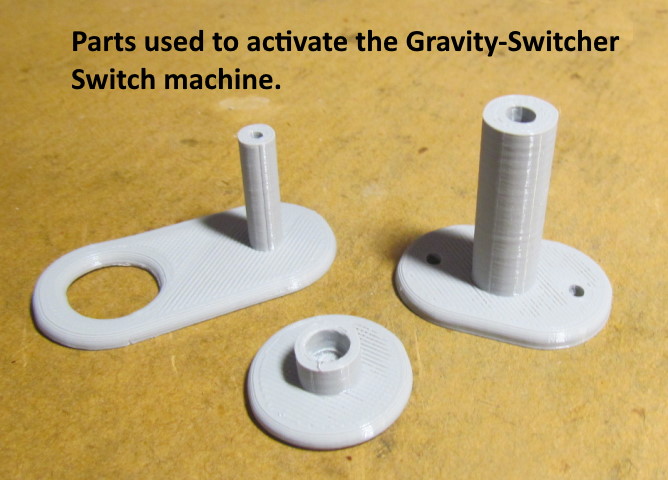
This is by far the easiest method to operate the Gravity-Switcher. Also requires the quickest print time for the parts. One can also come up with their own parts to do the same thing. The only drawback might be looks and the fact that this doesn't have the option of changing the frog polarity at the edge of the layout like the preceding controls can. You can still change the frog polarity at the Gravity-Switcher with a SPDT switch mounted to it. Most will probably do this anyway as the wiring to the frog then is very short.
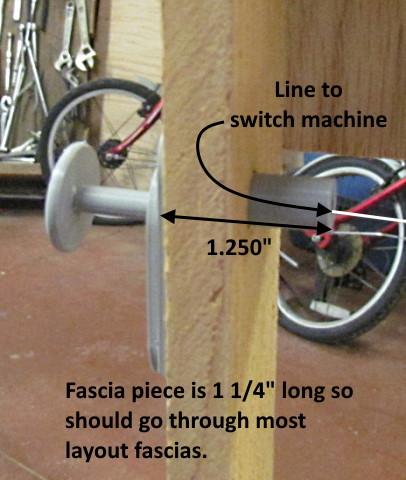
The piece above goes through the fascia on the layout's edge.
It has an inside chamfer on the side the line comes out on to help protect the line. Clean it up a little if needed after you print it.
.
.
.
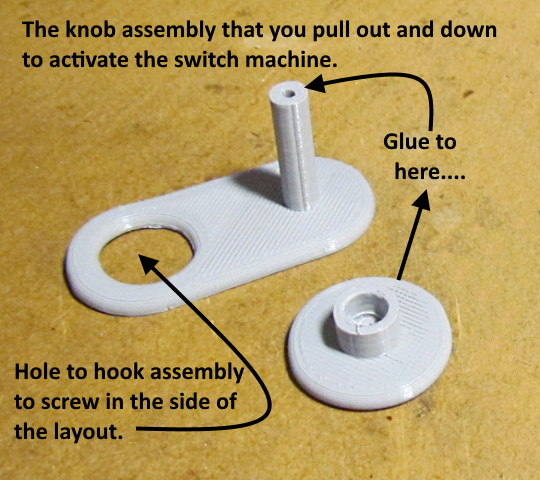
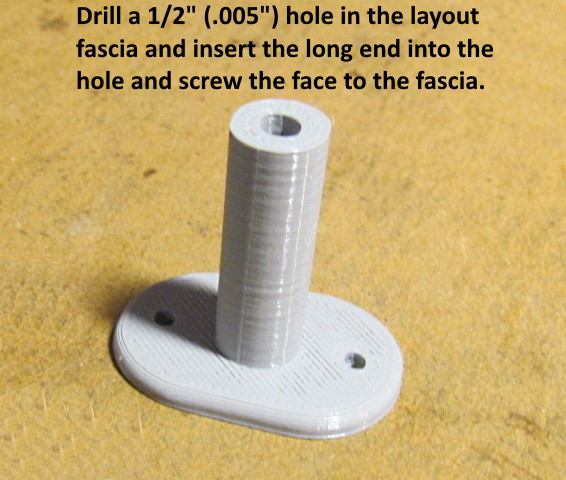
To activate the switch machine you pull the knob assembly out and down and hook it onto a screw to hold it in that position. Where you put the screw isn't critical and could even be to one side or the other of the fascia piece. You need to have it far enough that when connected the weight at the Gravity-Switcher is lifted. It doesn't matter if you over-lift the weight. A major nice feature of this setup is that how the line goes to the switch machine and how far the weight is lifted is not critical.
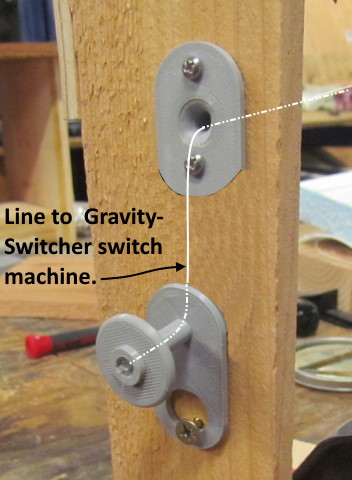
I indicated above how the line is routed.
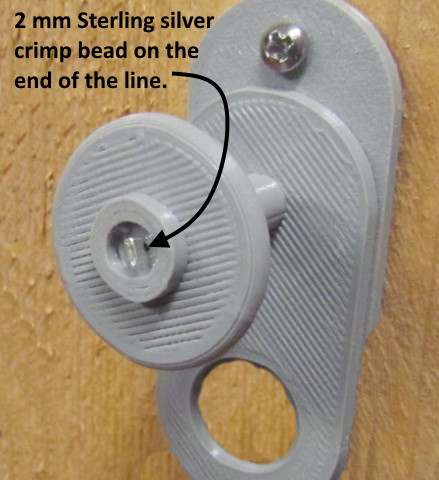
After you glue the knob on the first part of the know assembly run the line through the hole and down the round column and out the back side. At this point use a piece of mono-filament line 4-5 feet long. I wrap one end a time or through a 2 mm sterling crimp bead (cheap on Amazon) and then crimp the bead to hold the line.
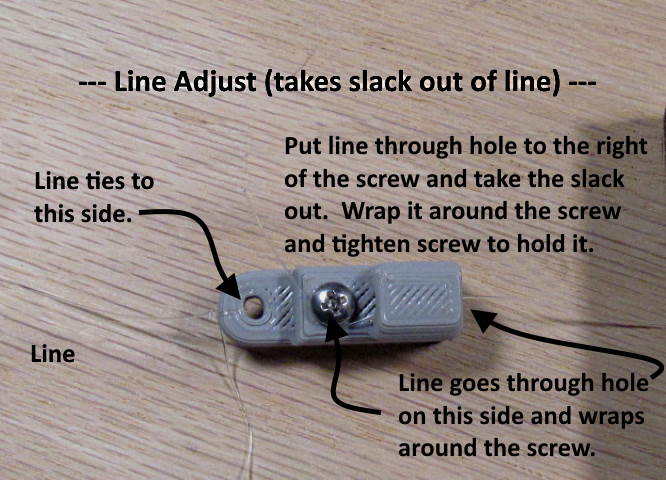
Next your run the line through the fascia piece and towards ….
… a line adjuster. Take the slack out of the line (see preceding page) and you are ready to use the Gravity-Switcher. This line would go into the adjuster shown above from the right side. The line on the left side goes to the Gravity-Switcher. Very simple setup.
There are lots of other ways one could basically do what was described above. For instance, a round metal ring that you pull out and down and hook onto a screw. Let me know what you come up with.
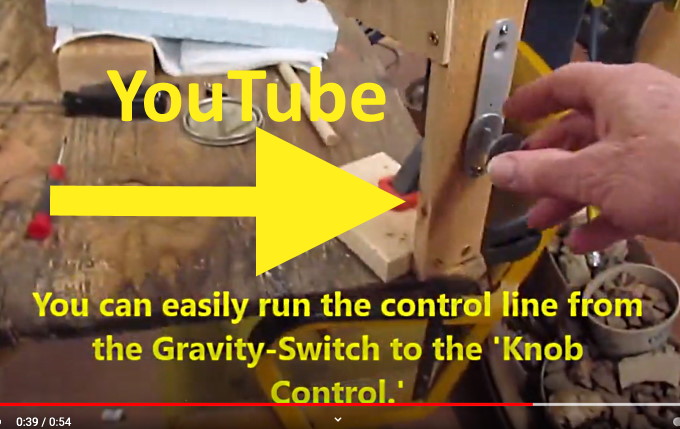
For a video that shows the 'Knob Control' on a test of the Gravity-Switcher go ( HERE ) or click on the picture above.
You can find the files to print the items on this page only ( HERE ).
You can find all the files to 3D print this object and others on my thingiverse.com account ( HERE ).
=========================================
...........................On..............e.........Next Page If There Is One