..................................
Return
to Sumner's Home Page....
Return
to N Scale RR Main Menu.... Return
to 3D Printed Objects Menu
=========================================
..............Previous
Page.....................................Next
Page If There Is One
=========================================
…...
---
3D Printed Crossings by Nskale --- Servo
for Turnout Control ---
=========================================
You
can find all the files to 3D print these on my thingiverse.com
account ( HERE
).
On
this page you will find some N Scale crossings by Nskale. He asked
if I would post the files on my thingiverse account and I said yes,
so you can find them there. I'll let him explain more about them....
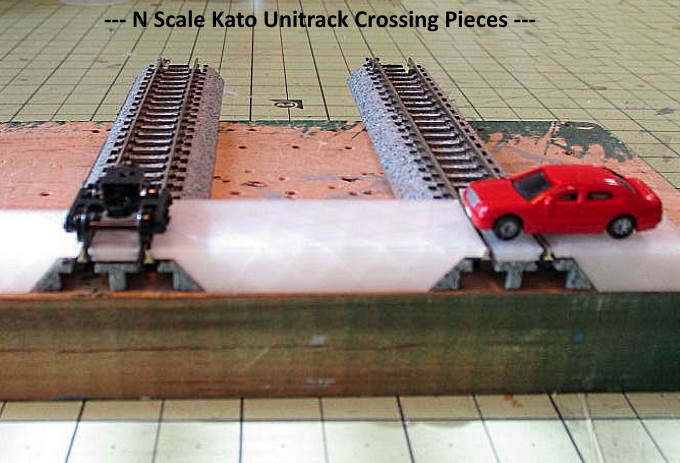
“ Well,
I went back to the intermodal scene because I got an idea for some
added detail when I did some research on RR crossing designs
(modern). I came across the modern concrete panels/inserts you can
see in the attached pic and I wanted to add some inlays like that for
the track where there might be vehicles crossing in the area. Before,
I had made them for small road crossings with pieces of balsa, but it
turns out it's a perfect task for a 3D printer.
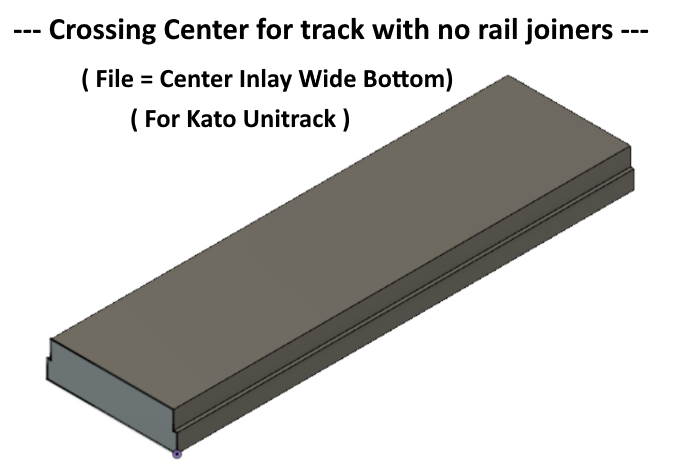
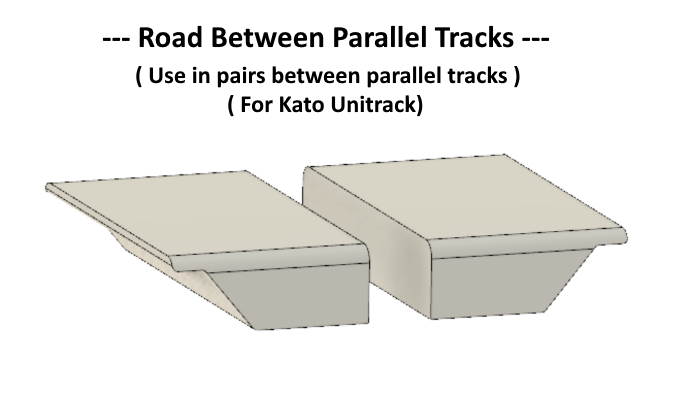
I
designed them to fit in Kato track and to be self-centering allowing
for clearance for the wheel flanges. So you see the bottom is smaller
than the top, just like the real one. The way track is manufactured,
there are small nubs at each place where there is a molded-in
crosstie (where it supports the rails). I say designed for Kato track
because I don't know the distance between the nubs for other track.
It might fit as-is or it would be a trivial matter to adjust the
width of the bottom for an exact fit. So, in order for it to fit in
all the way down, the bottom is dimensioned for the distance between
the "nubs". Above that, the top is dimensioned for the
clearance needed for proper fit for the train wheel flanges.
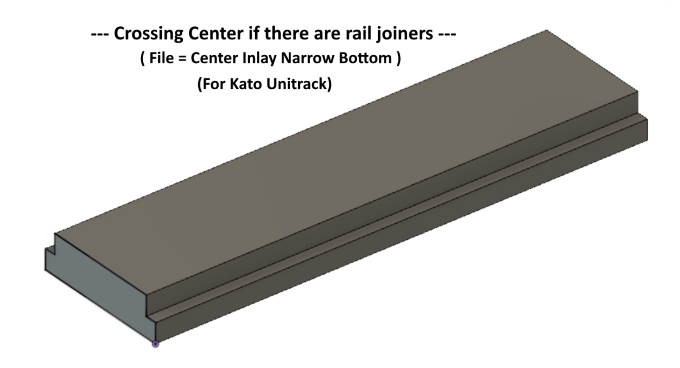
And,
to make it more complicated (thanks Kato), the place where the track
pieces fit together is even smaller on the bottom. This is caused by
the plastic joiners and the distance they stick out. So, there are
two possible inlays that I might need to use.
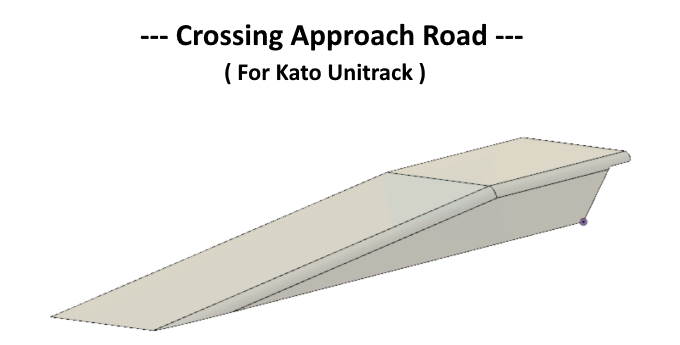
For
straight track, it's a simple matter to scale the length in the
slicing program. That means that only one part needs to be made in
the CAD program for all lengths you might need. For lengths longer
than the width of the printer bed, make more and glue in end-to-end.
“
For
much more about them and how to use them go ( HERE
).
.
.
.
.
Nskale
did a really nice job on this. Again to see more info on these and
how to use them go ( HERE
) and you can find a direct link to the files on thingiverse.com (
HERE
).
You
can find all the files to 3D print these on my thingiverse.com
account ( HERE
).
=========================================
...........................On..............e..........Next
Page If There Is One