.................................. Return to Sumner's Home Page....
Return to N Scale RR Main Menu........... Return to Building UP's Canyon Division Menu
=========================================
...............Previous Page.............................Next Page If There Is One
=========================================
…....................... .--- Layout Cork Centerlines ---
============================================
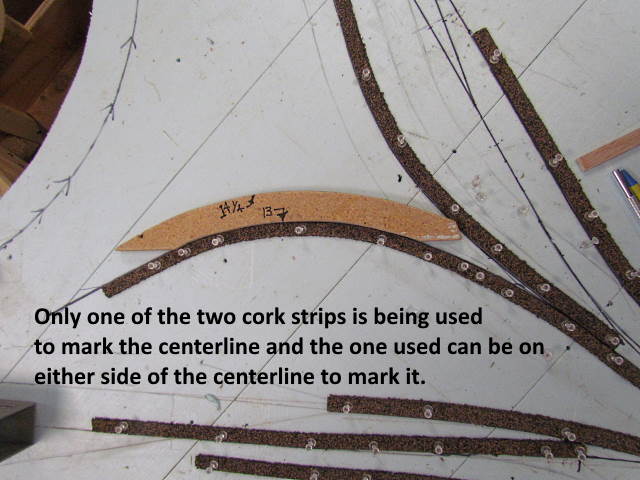
In the past I've been laying out my track centerlines with a compass, straightedge and templates I've made with different radiuses. It has worked fine but recently I've marked the centerlines a little differently still using those tools. I mocked them in part way with a pencil and then lay and pinned 1 of the two cork pieces into place on the penciled centerline. With half the cork in place I mark the centerline using the edge of the cork.
What I like about this is that I get smoother centerlines to work off of and since they were made with the cork in place I know when I glue and lay the cork is is going to look good on the same centerline. Also with half the cork temporarily in place I get a good idea how the track is going to look and work. As a result of that I've been making some changes to the track plan at this step also.
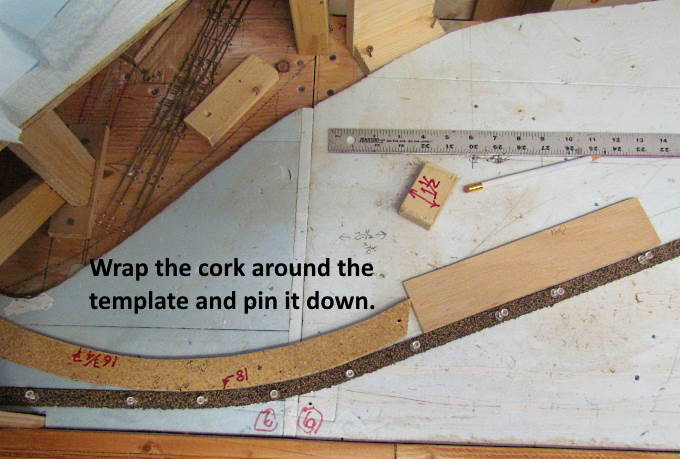
Above you can see how I can skip the step of drawing the curve using the edge of the template but ….
….. go onto wrapping the cork around the template and pinning it in place.
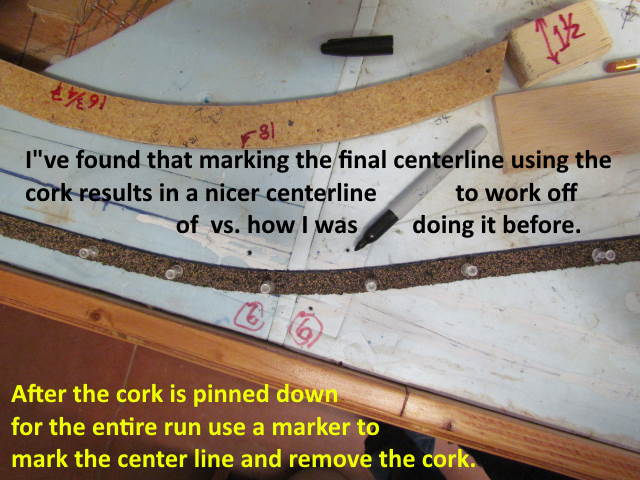
I'll do a run with the cork from one location to another and If I like it then I'll run the marker along the edge of the cork and mark the centerline.
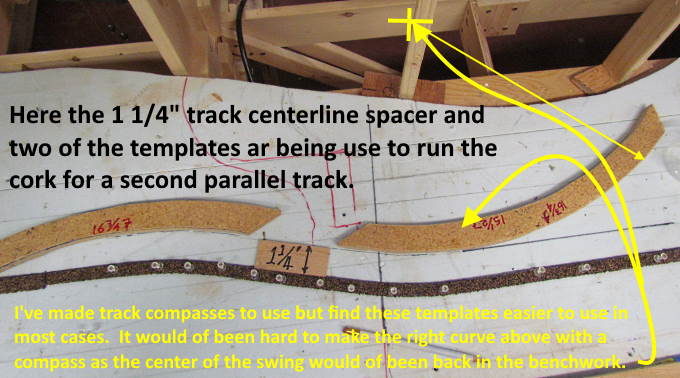
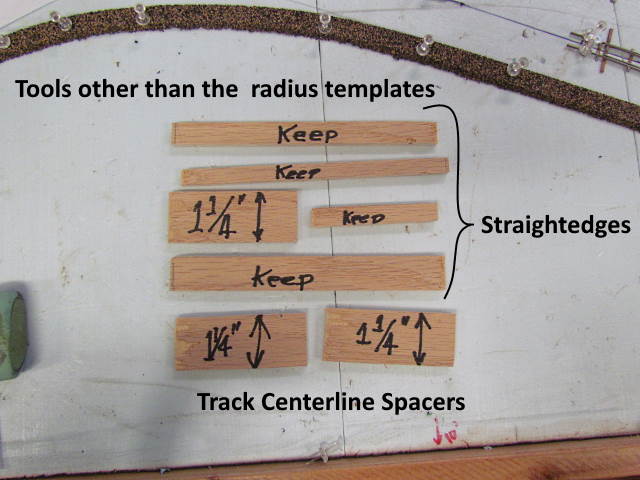
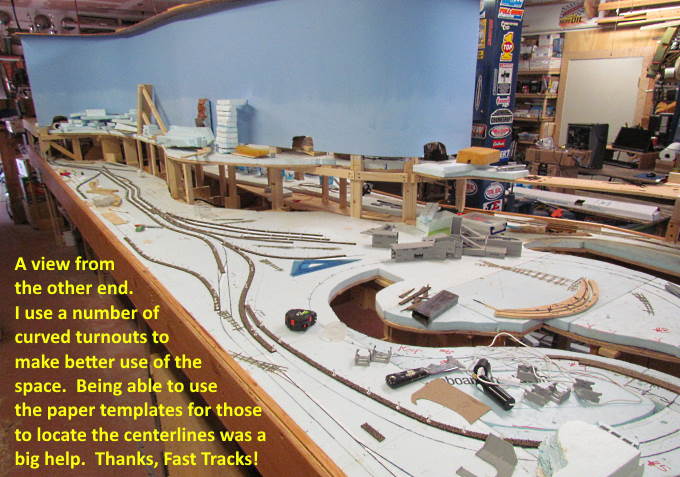
I like using the templates shown above better than using a track compass when possible. Actually there is a lot of times you can't use a compass since you can't get to the pivot point for the compass due to the point being off the edge of the layout or being someplace where you can't use it, such as in the middle of the benchwork as shown above.
I also have cut two radiuses on the templates that are 1 1/4” in difference which is the track centerline I use in most places.
.
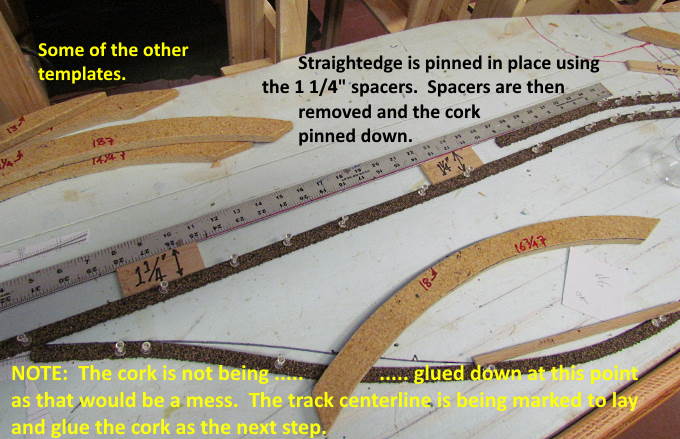
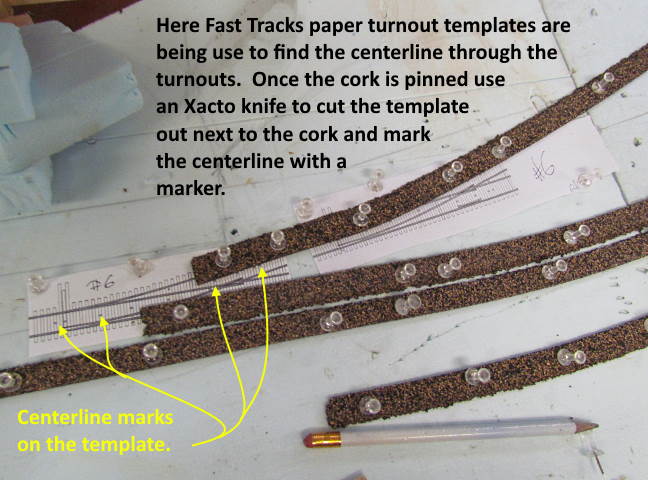
Using paper turnout templates, the templates and straightedges it was fast and easy to run some cork into places I knew I wanted it but hadn't put it down on paper or the layout's surface prior to this.
I'm making all my turnouts so using the same paper templates I use to build the turnouts to help mark the centerline is cheap and effective.
.
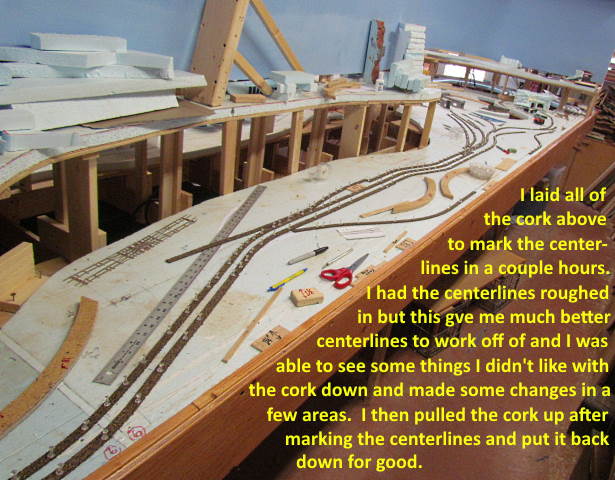
I realize that some might think this is a wasted step but after doing it I'll use it as I layout the rest of the layout. It doesn't take long to do and I feel I end up with a lot nicer centerline to work off of and have the option to better visualize how the trackwork will look and function.
A couple hours and I can mark the centerlines and spend 10 minutes pulling pins and head onto laying the cork for the final time. Overall I believe I'm actually saving time and I'm going to get better trackwork following this plan.
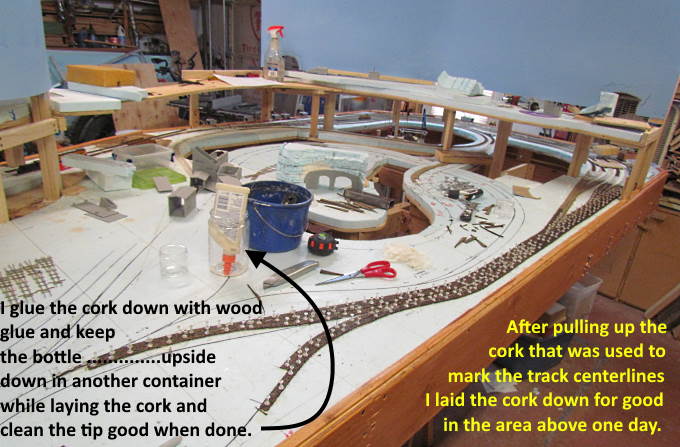
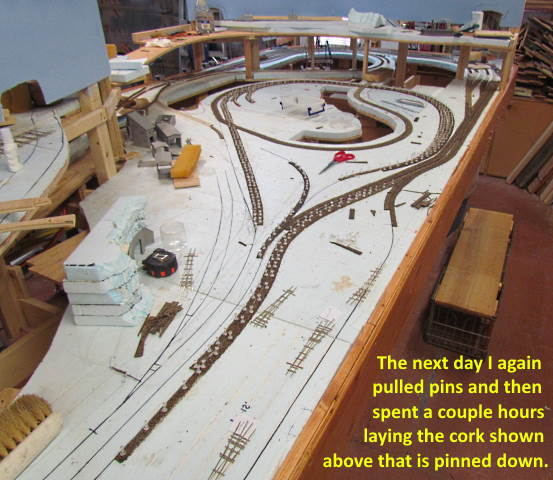
=============== Laying Cork ===================
The day after marking the track centerlines I pulled the cork up I had used for that and started laying/gluing the cork down. Did this over a couple hours on each of the next two day. Getting faster at doing this.
.
.
.
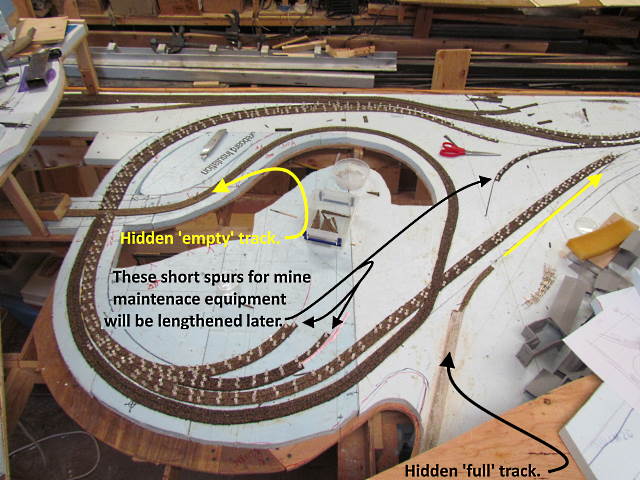
Next up is making the rest of the code 70 turnouts for the staging area and finishing the track and electrical there. Then onto the track that will be seen (a lot of the track in the images above). I've already made about 40+ code 55 #6 turnouts for that so might move faster once I start on that.
If you came into the build here you can find the main index for the build ( HERE ).
=========================================
...........................On..............e.........Next Page If There Is One