.................................. Return to Sumner's Home Page....
Return to N Scale RR Main Menu........... Return to Building UP's Canyon Division Menu
=========================================
...............Previous Page.............................Next Page If There Is One
=========================================
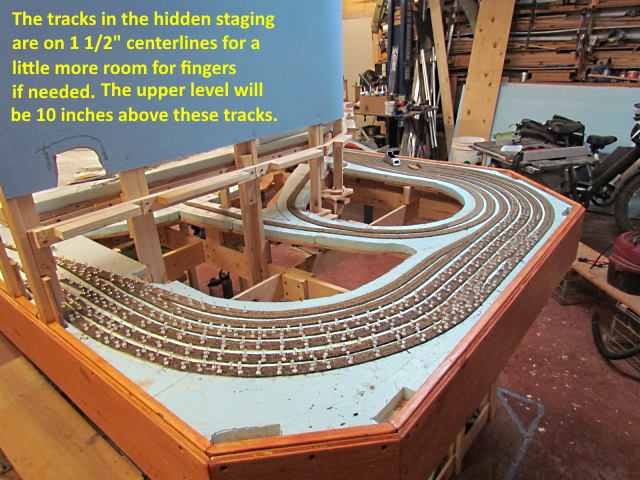
… .--- Hidden Coal & Staging Tracks Pt. 5 ---
============================================
Finishing up laying the cork and moving on to sanding it down to get rid the of the flashing on the shoulders and any other imperfections.
.
.
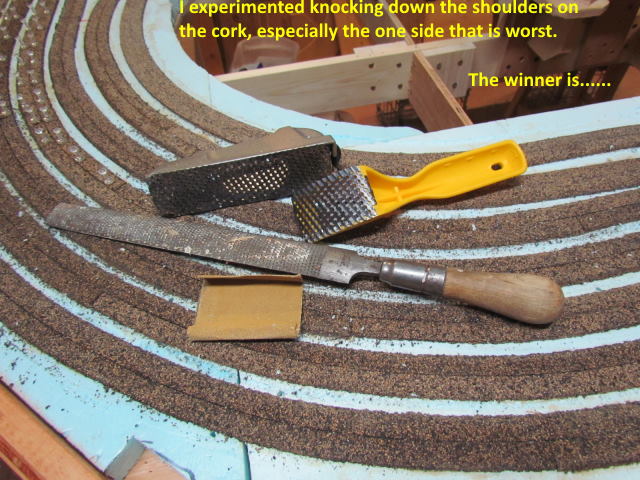
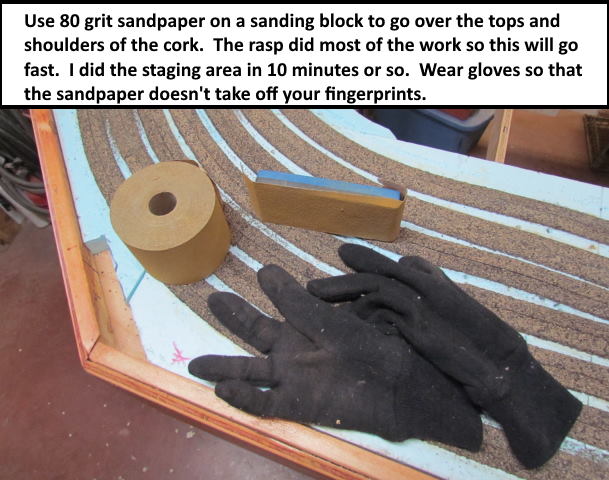
In the past on the test track I used the top two tools and the sandpaper to take care of the rough cork shoulders, especially the one on the one side of the cork after you separate them. I use a sharp utility knife at an angle on a flat piece of plywood I use as a temporary work surface. to separate1 the cork into two pieces. I got out a rasp I've had forever and gave it a try and...
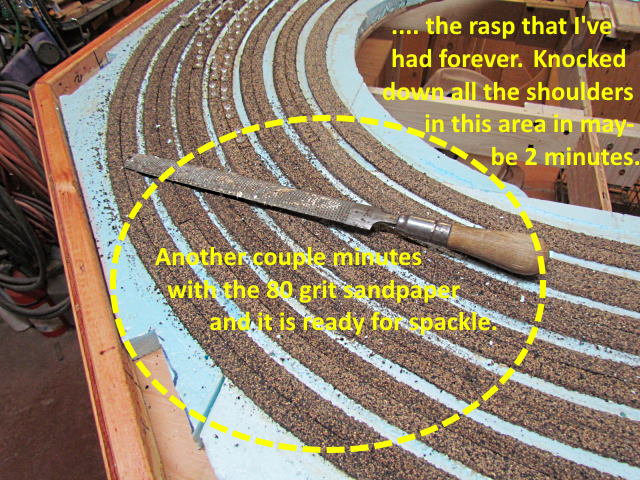
….. I found it much faster and easier to use.
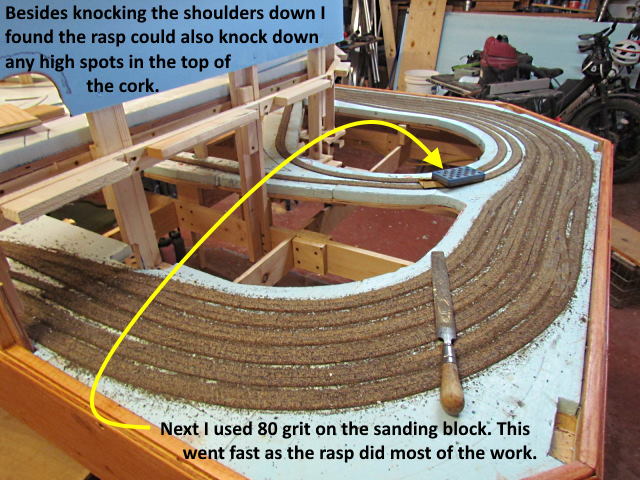
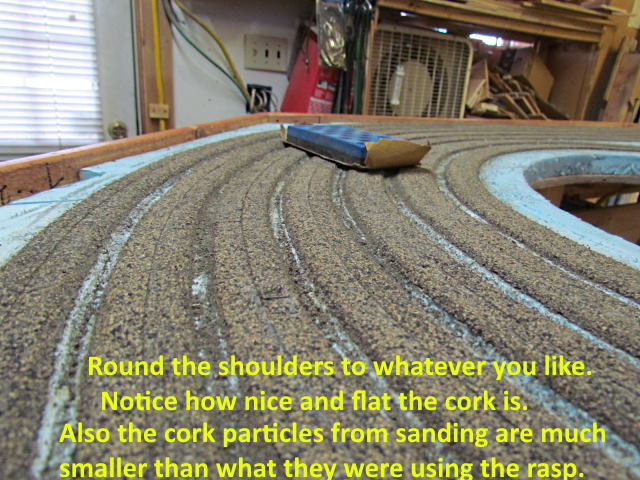
After doing the small area one night I did all the rest of the staging and the hidden tracks to the coal mine in probably 30 minutes the next day. I found that I could also use it on the top of the cork to level it out also. I probably could of moved on without using the sandpaper but went over the area very quickly with it.
When using the rasp and sandpaper check for any high spots where the cork pieces meet, especially the but joint on the ends and where you have added cork for the turnouts. This is very similar to doing body work on a car where you feel for imperfections. Lay you palm flat on the surface and run your finger tips along the cork surface (no across it) feeling for imperfections. I showed my bare hand above but you can actually feel the surface better with a light pair of gloves like in the next picture. The hand can feel imperfections of a few thousands of an inch doing this.
.
.
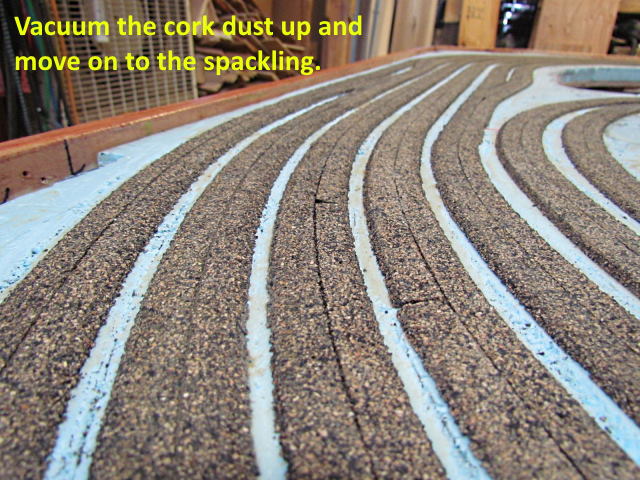
I vacuumed once after using the rasp and then again after using the sandpaper.
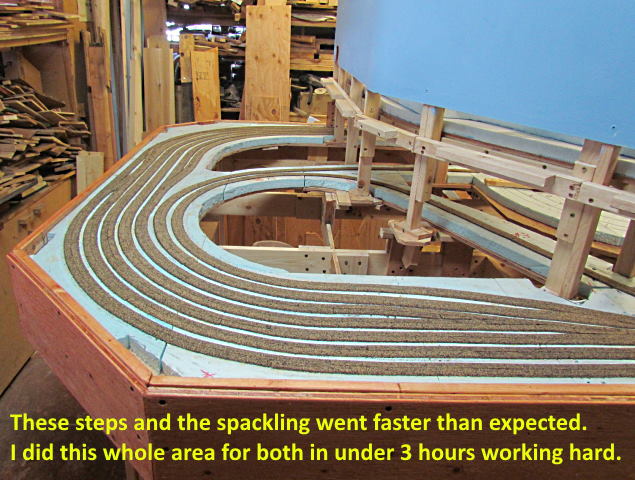
As I mention in the image above prepping the staging and hidden coal yard tracks followed by spackling it went much faster than I thought it would. I did it all in under 3 hours but was beat at the end of it. I'll cover the spackling on the next page.
If you came into the build here you can find the main index for the build ( HERE ).
=========================================
...........................On..............e.........Next Page If There Is One