.................................. Return to Sumner's Home Page....
Return to N Scale RR Main Menu.............. Return to Trackwork Menu
=========================================
..............Previous Page..............................Next Page If There Is One
=========================================
--- Building a N Scale Turnout Tester --- Servo for Turnout Control ---
=========================================
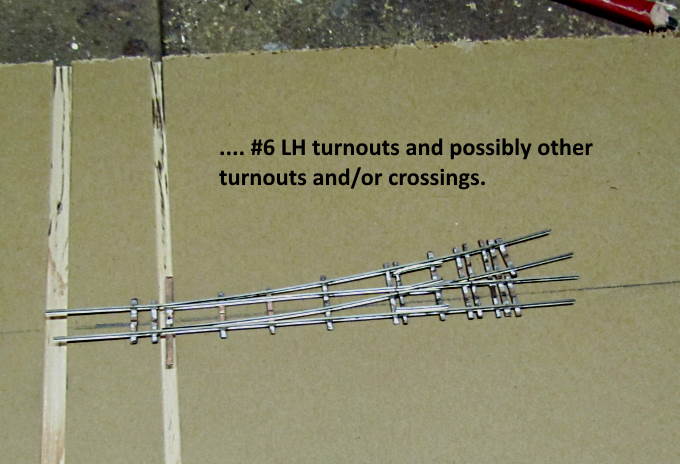
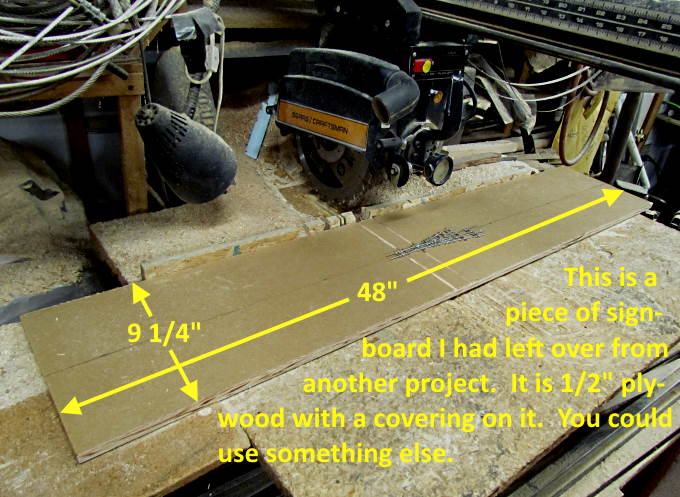
(02-17-20) I had built 41 turnouts for the layout at this point and was getting ready to start laying track. I wanted to have a way to test the turnouts I'd built prior to installing them on the layout so came up with the following fixture to do that.
It only took a couple hours to build and didn't cost much as I had the materials left over from other projects. I built this for N scale turnouts but no reason one couldn't be built for any scale turnouts. I'll pretty much let the pictures do the talking.
.
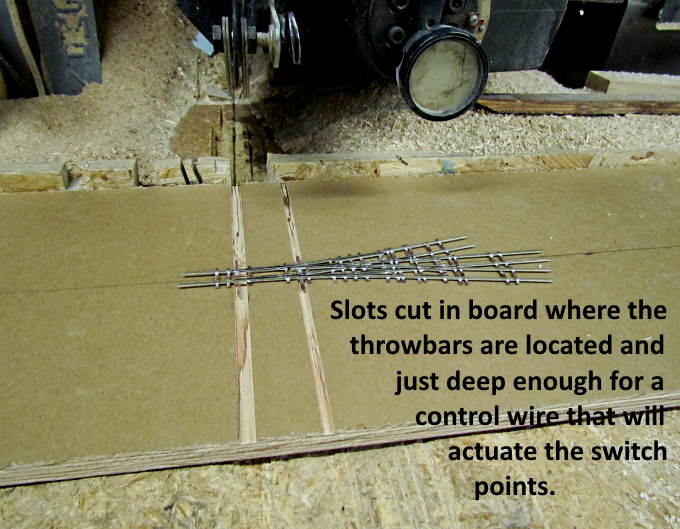
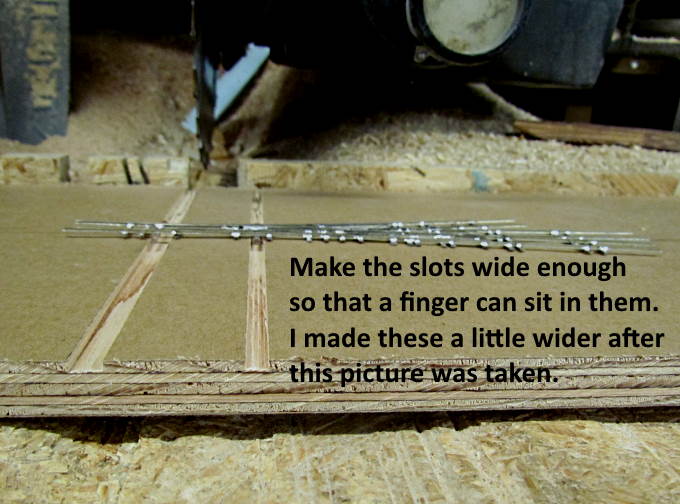
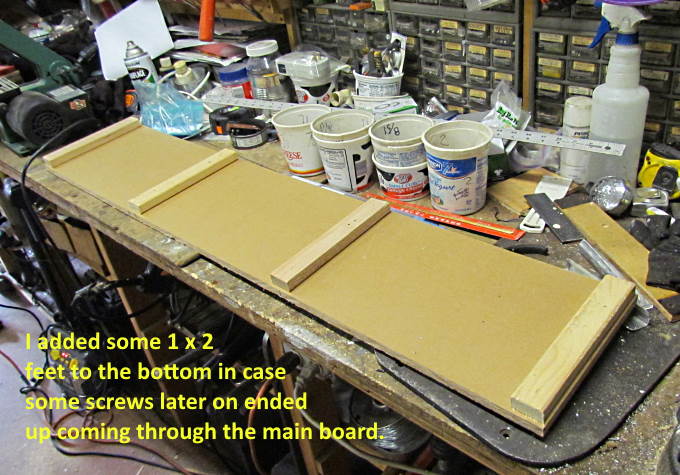
The saw was raised in order to cut the channels.
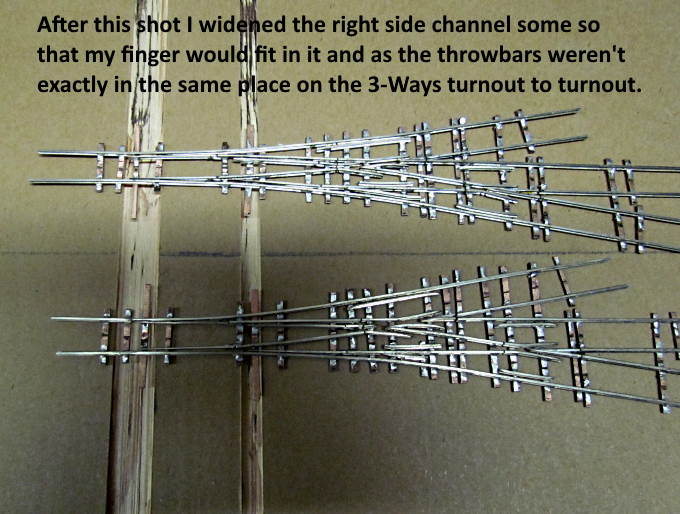
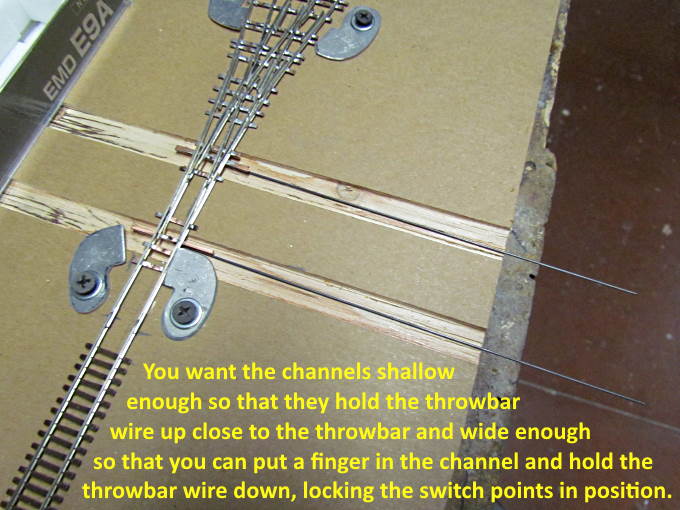
You want the channels just deep enough for a wire to lay in that will control the points.
.
.
.
.
.
.
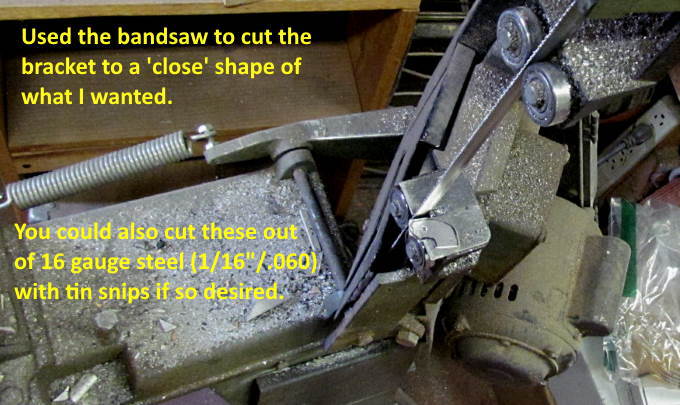
I found that 1/16” (.060) aluminum or sheet metal was thin enough that it wouldn't contact the engine or car wheels on the outside of the rails. I had scrap from both but like working in aluminum so went with that but....
…. you could also make the brackets (tabs) with sheet metal and cut either with tin snips. I have a metal bandsaw so used it.
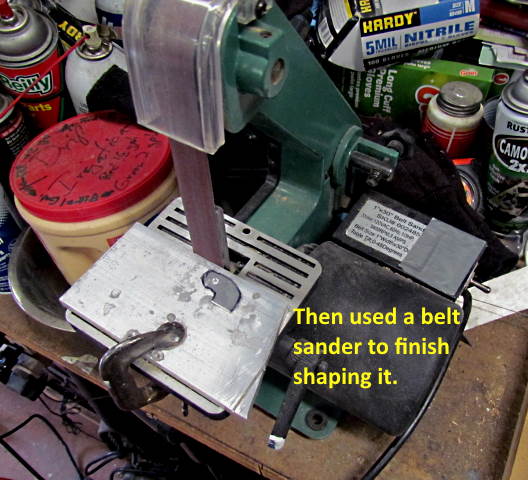
I also have a belt sander so it was used to quickly finish the tabs off. One could easily use a file.
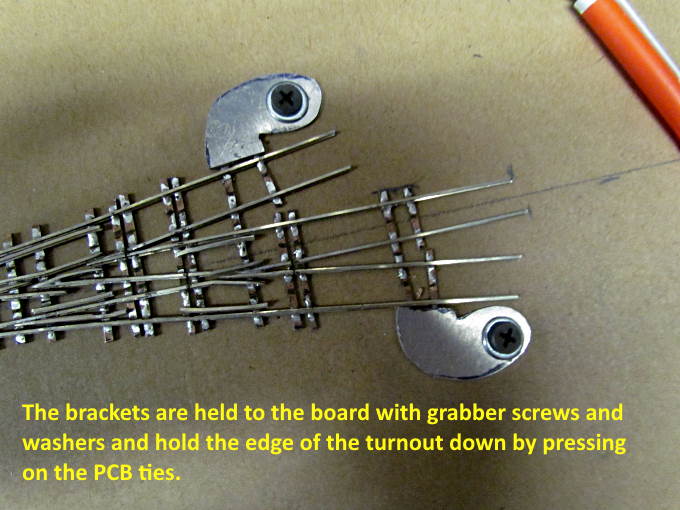
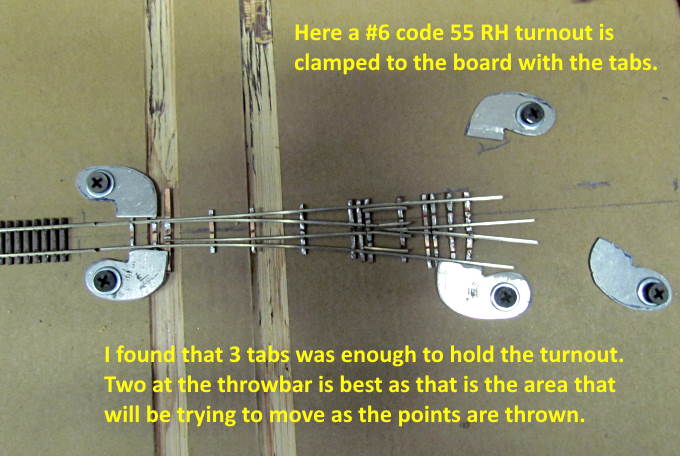
A hole was drilled in the tab for a screw to be used to hold it down on the fixture.
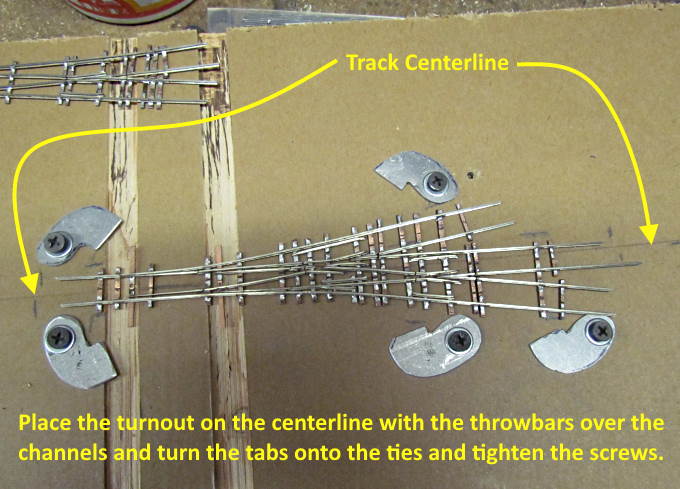
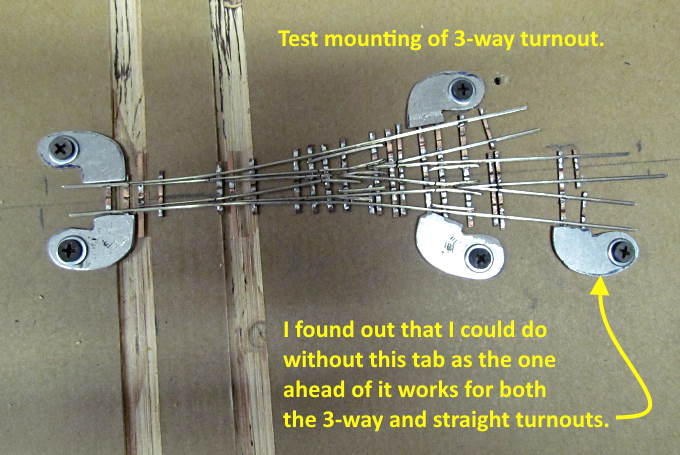
Loosen the screw a turn or two and you can swivel the tab out of the way.
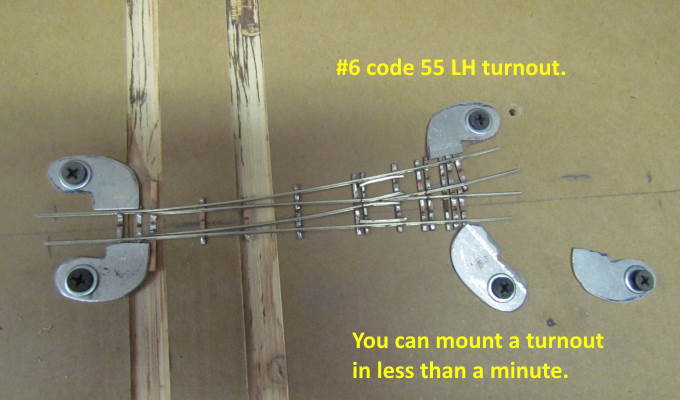
Swivel the tab back and tighen the screw. Mounting the turnout takes less than a minute.
.
.
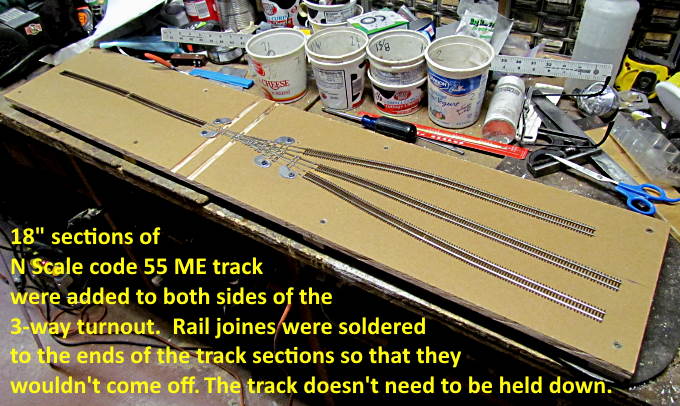
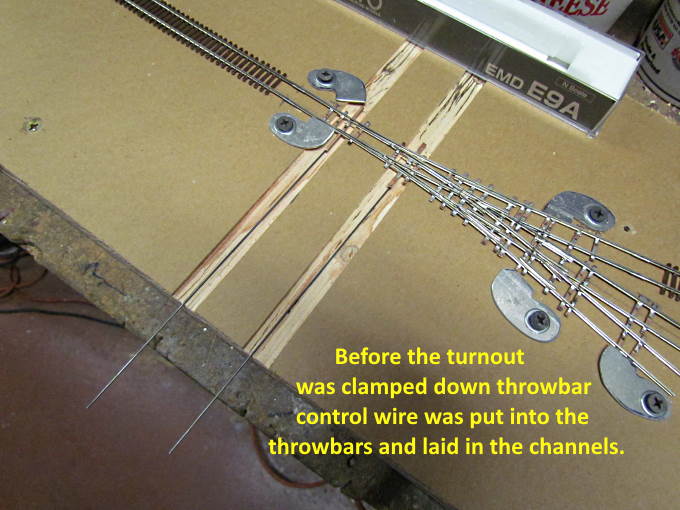
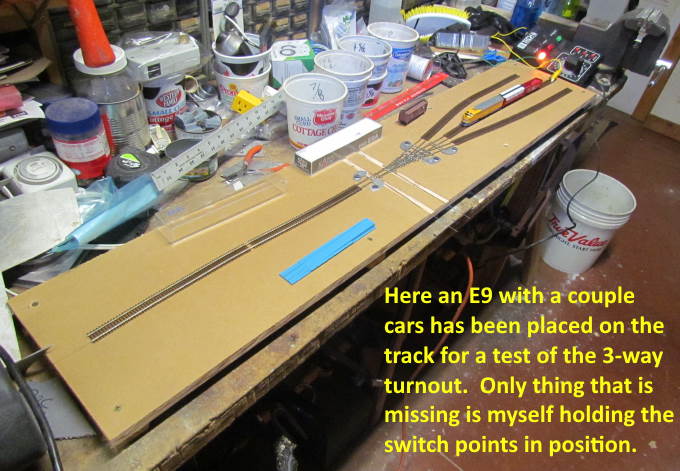
Slide some track sections onto the turnout ends, install the throwbar control wire and clamp the turnout down and you are ready to test it.
.
.
.
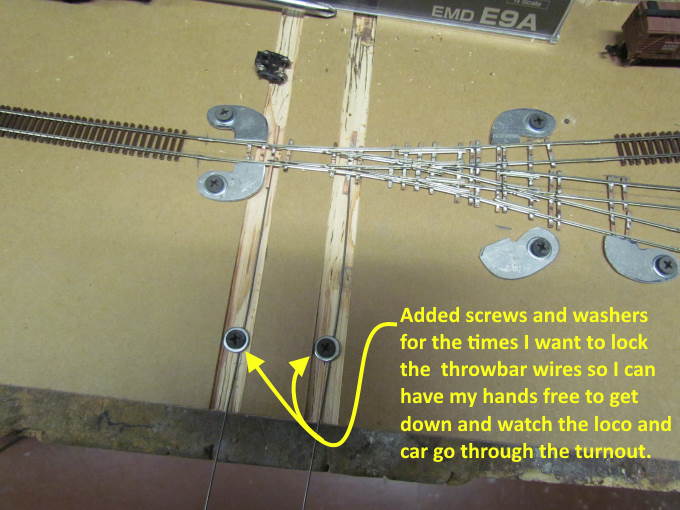
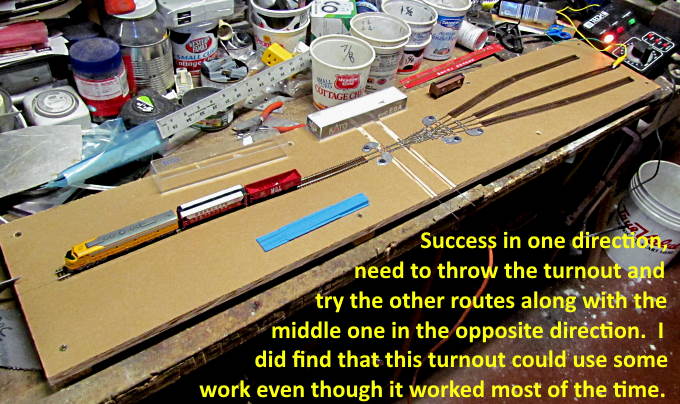
Most of the time just holding the throwbar control wires with my fingers worked fine but if there was a problem with the turnout it helped to get down where I could really study where the problem was as the loco and car went through the turnout. I added the two screws shown above with the washers for those times. Just loosen the screw a bit and put the wire under the washer. Move the control wires where you need them to be and tighten the screw. A couple seconds is all that is required.
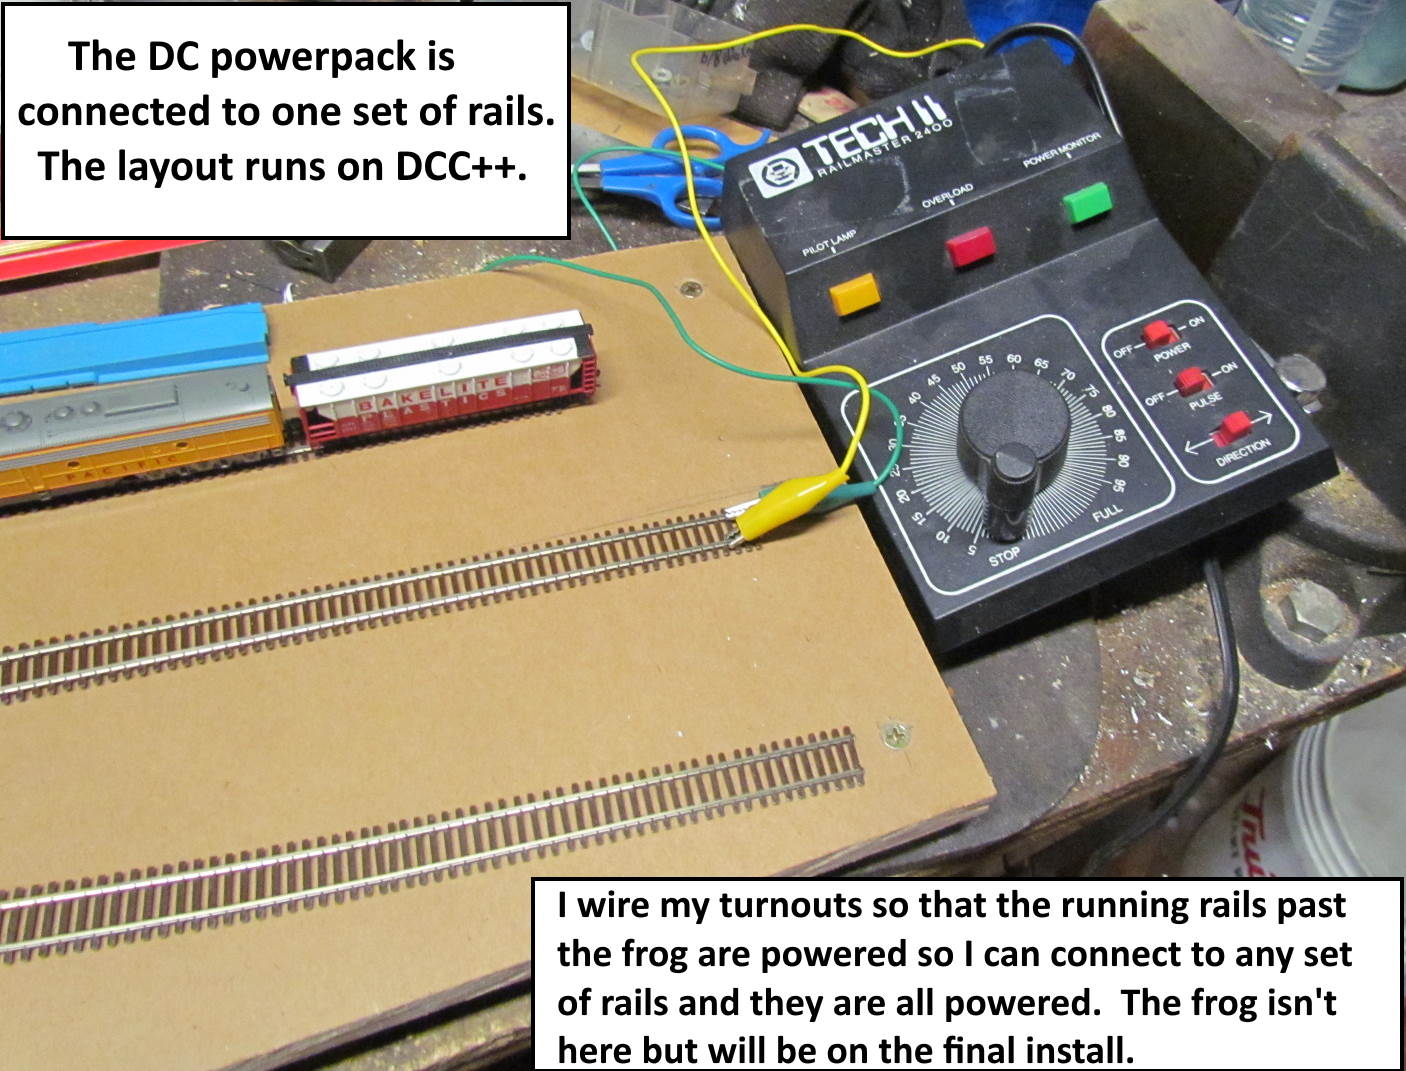
Link to how I wire the turnout so that I only need to connect the power pack to one set of rails can be found ( HERE ).
.
.
Link to how I wire the turnout so that I only need to connect the power pack to one set of rails can be found ( HERE ).
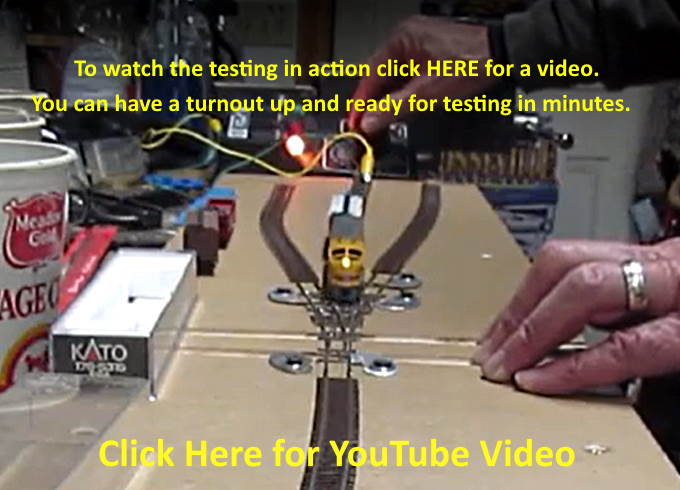
Link to YouTube video is ( HERE ).
I'm happy that I made this. Only took a couple hours and you can have a turnout mounted in the fixture ready to test it in a few minutes.
=========================================
...........................On..............e..........Next Page If There Is One