.................................. Return to Sumner's Home Page....
Return to N Scale RR Main Menu.............. Return to Trackwork Menu
=========================================
..............Previous Page..............................Next Page If There Is One
=========================================
.--- Fast Tracks N Scale Code 55 #6 Straight Turnout ---
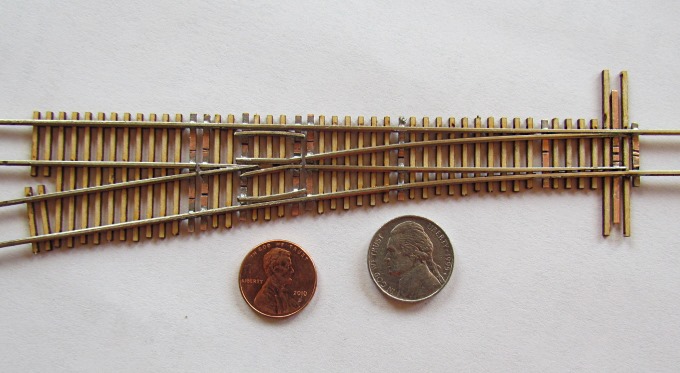
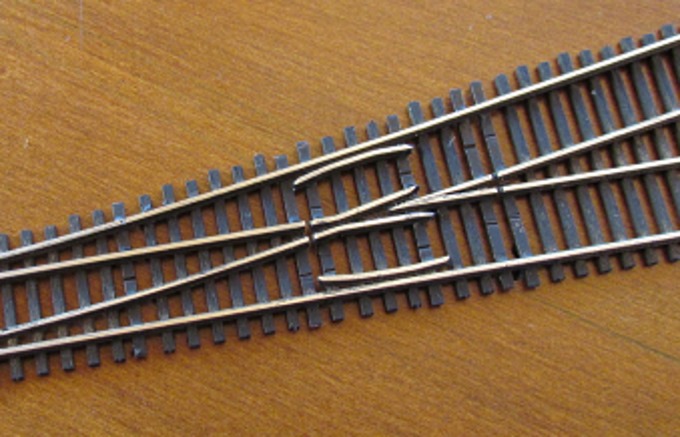
Below is the first turnout I made with the Fast Tracks N Scale, #6 Crossover Assembly Fixture for Micro Engineering 55 rail. I was happy with the results for a first go.
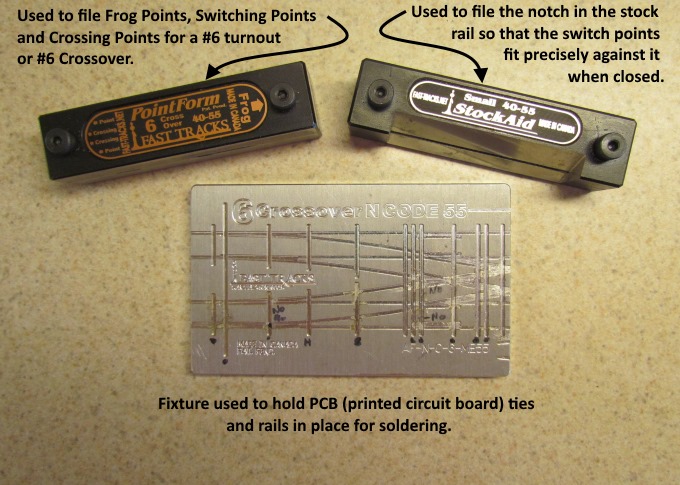
Buying the Crossover Fixture, PointForm tool and StockAid tool along with rail, QuickSticks ties, ME rail and other miscellaneous items that were needed was a big investment but I feel one that, in my case, was money well spent. If I get the chance to live long enough to build the layout I'm hoping to build I'll get to the point where turnouts will cost less than $5.00 each and these turnouts can look better and probably work better than any commercial made turnouts, at least that is what I've read.
I spent a little more money and bought the fixture for a #6 crossover as it can also be used to make #6 left-hand and right-hand turnouts. If you aren't interest in also building any crossovers or maybe only one or two I'd maybe get the fixture that is just used to build turnouts. The one above gets a little busy in the area where the crossover is. After building a couple of turnouts I do find it easier to use than at first.
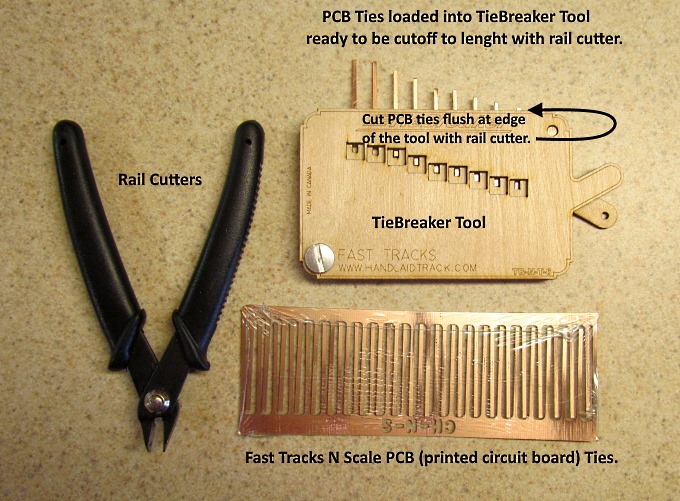
I also bought the fixture that is use to speed up cutting the PCB ties that are used in the turnout or crossover. Also bought Fast Tracks PCB ties to use. I have bought some sheets of .031 printed circuit board and might make future PCB ties from it. I've experimented some doing that and feel it will be feasible. Still for most I think the FastTracks ties are a good deal and they make the whole process go faster. I'll post another page in the future on my experiment with cutting my own PCB ties.
I also built the first turnout using FastTracks QuickSticks. They are nice and quick to use and I feel most again will find using them to be their first choice. I will show on the next page the option of using individual ties which do give you a cost savings if you go that way.
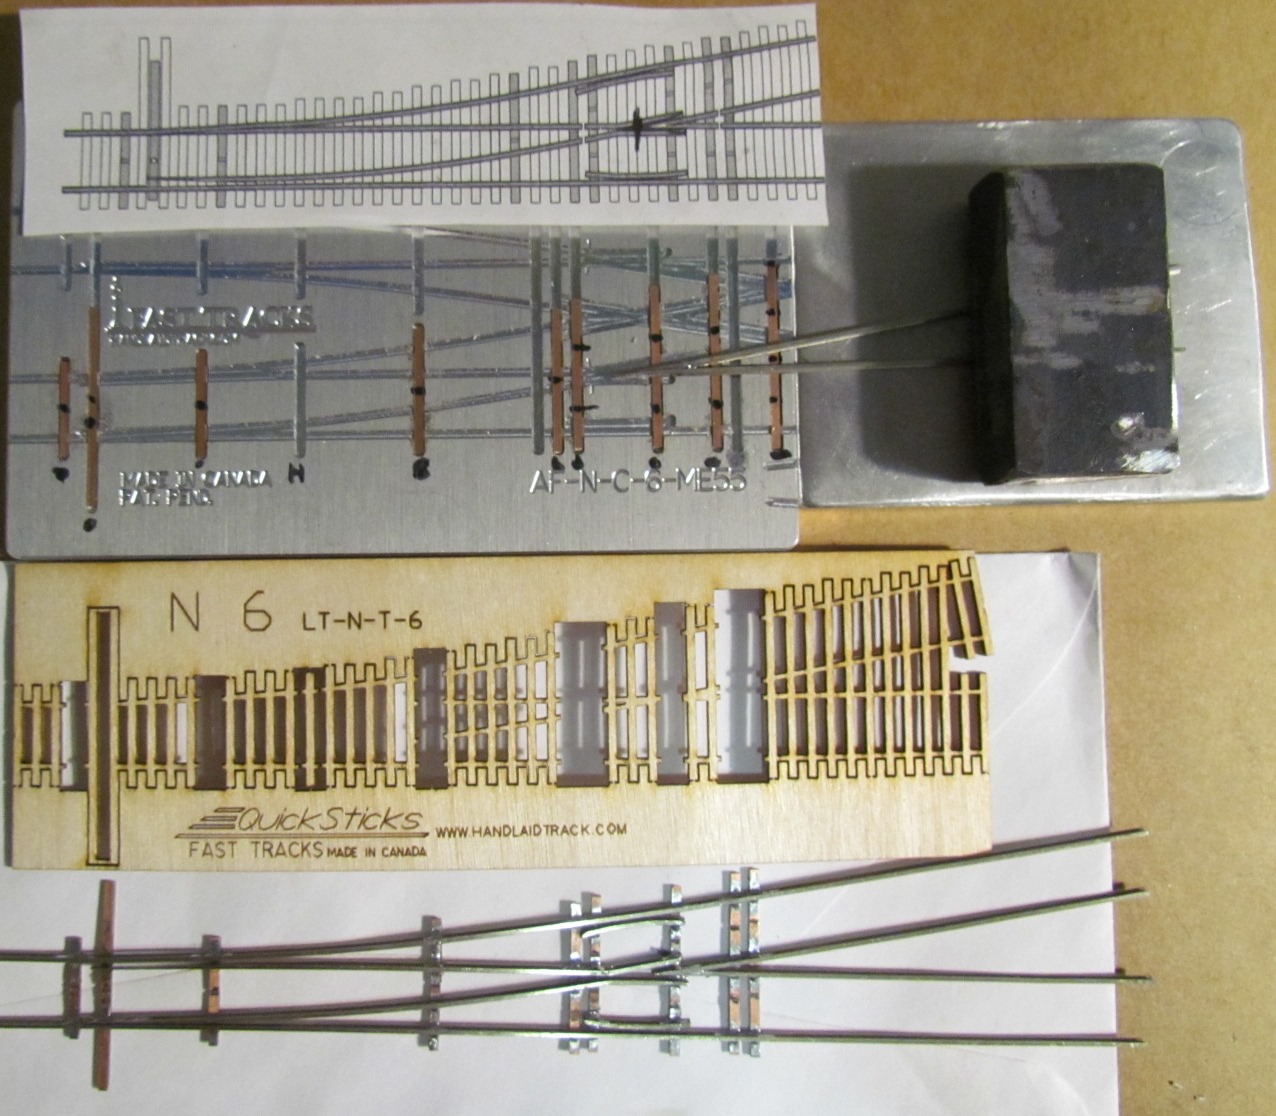
Above we see the first turnout unpainted. In the fixture you can see how the PCB ties lay in the fixture. The black marks on them show where insulating gaps have to be made in the ties with a triangular file. This takes about 10-20 seconds per tie to do. Also you can see a set of frog points that have been made up to the right. They are one of the last steps in building the turnout though but you can make them at first and put them aside until later.
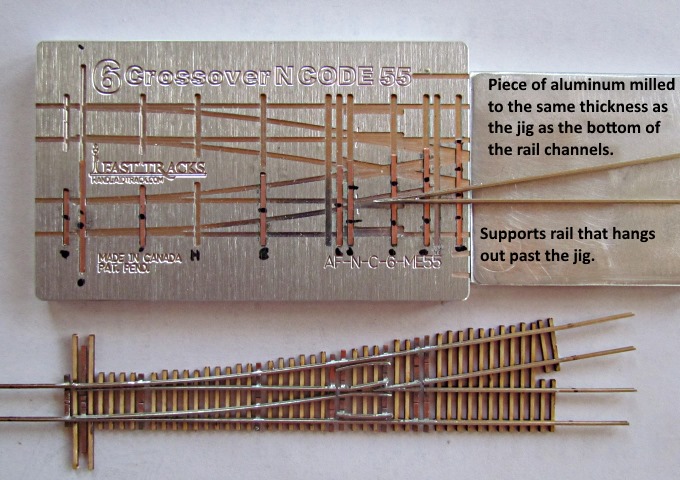
One thing I wasn't happy about with the fixture is that it is short on the right side which I think was done to help in making one side of a crossover at a time. I took a piece of aluminum I had and milled it to the thickness of the fixture at the bottom of the rails. This helps when it comes time to solder the frog point section in as it supports the end of it where it would be hanging off the fixture. At some point it would be nice if FastTracks possibly added a piece like this when you bought this fixture. It looks like if you buy the turnout fixture it is longer in this area.
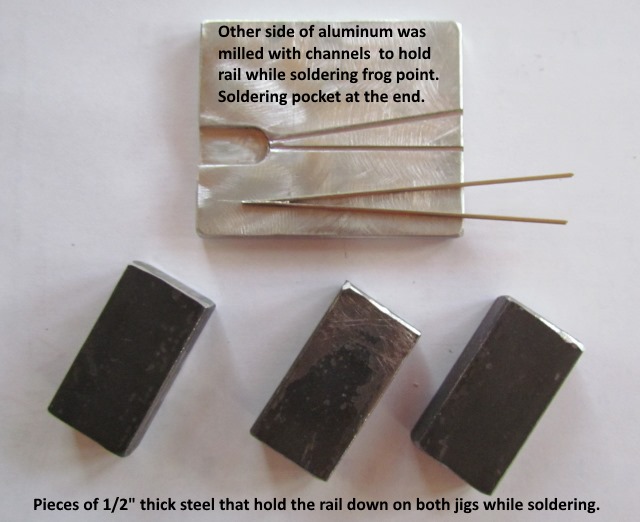
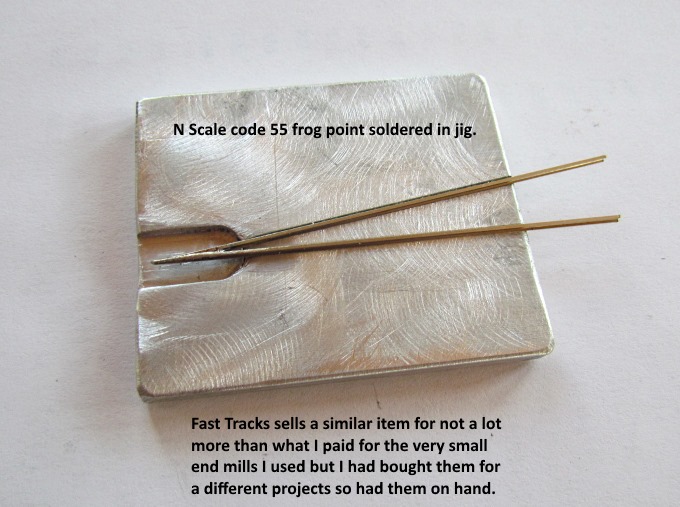
I also made a fixture for soldering the two frog point rails together but this is also available from FastTracks. I find it is easier to solder them in this fixture vs. using the main fixture but did make the first ones in the main fixture so it isn't needed and there again probably not as necessary if you buy the turnout fixture.
I also cut some pieces of steel that are nice for holding the rail in place on the fixture while soldering.
Another view of the fixture I made.
It is best to also print out the full-size turnout on FastTracks site as it helps in seeing where the PCB ties and the wood ties go. At the bottom of the picture you can see that the turnout is ready to be glued to the QuickStick ties.
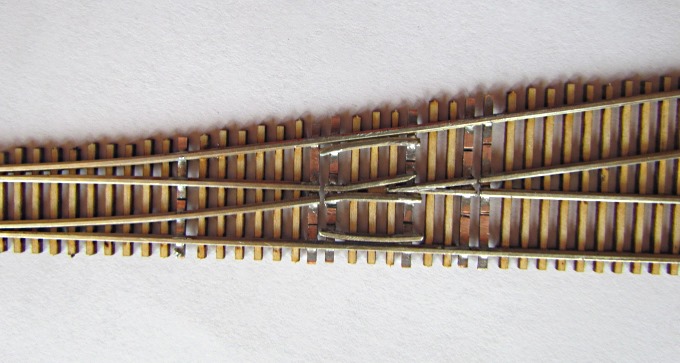
Here the ties have been glued to the rail with Pliobond.
The solder and PCB ties are still visible at this point but ...
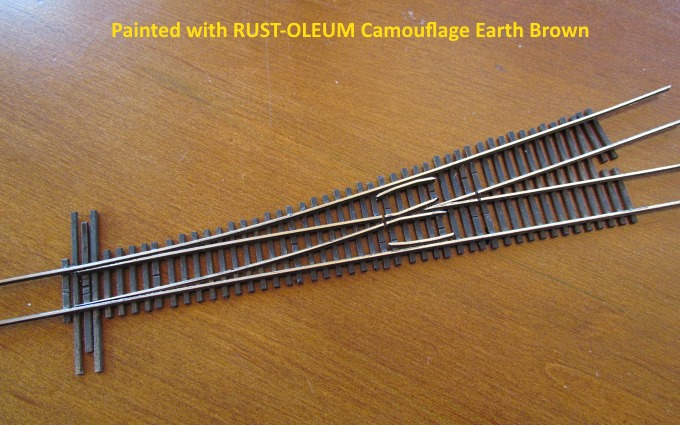
Once you hit the turnout with some spray paint and wipe the tops of the rails off ...
….. the glue, solder and PCB ties all blend in nicely together. Remember that the above is even larger than the n scale turnout and you are looking at it much closer than one will be viewing the layout.
I'm very happy with the decision to go with making my own turnouts using FastTracks tools and fixtures. Probably never would of tried it without them. Now saying that in the next couple pages you will see there are some alternatives one can choose using some of the tools or possibly none of them although I can't imagine not at least using the PointForm and StockAid tools, especially if you plan on making a large number of turnouts.
=========================================
...........................On..............e.........Next Page If There Is One