.................................. Return to Sumner's Home Page....
Return to N Scale RR Main Menu........ Return to 3D Printed Objects Menu
=========================================
...............Previous Page......................................Next Page If There Is One
=========================================
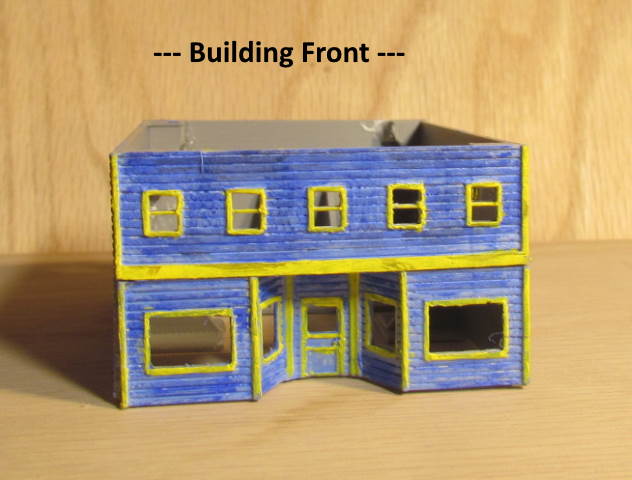
…......................g ------ N Scale Business Building ---
=========================================
You can find all the files to 3D print this object and others on my thingiverse.come account ( HERE ).
The idea for this building came from a building I rented in Laramie, Wyo in the early 70's while going to college there. It actually had two business spaces on the first floor and the second floor was all sleeping rooms. I lived in one of the business spaces and rented the other out to someone who used it for storage. I rented all the upstairs rooms mainly to other college students. It was probably the oldest building downtown in Laramie. On the other side of the street was Union Pacific's main line. The building shook every time a train went by. It is still there and Dottie and I visited it in 2018 on a motorcycle ride we took to Wyoming. It is a restaurant now with the two business parts connected with a walk-thru.
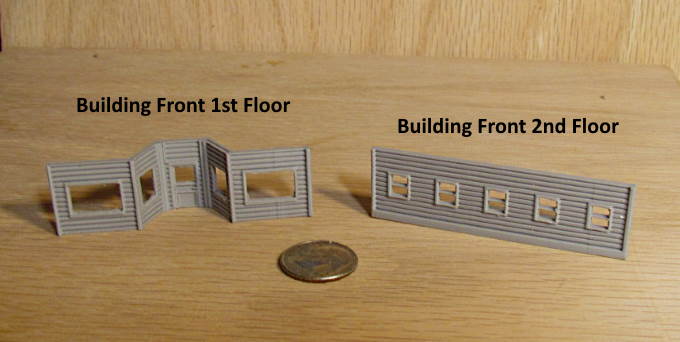
This building only has one business downstairs and you reach the upstairs with a stairway on the outside of the south wall where my building had a stairway up the back and wasn't wood siding like this one is. So not much in common between the real building and the fictitious one.
I have a file where you could try printing the building as a whole, minus the roof and you would need supports for where the overhang on the second floor is above the entrance on the first floor. I print it in sections and glue them together after painting them and that went quickly.
I did need to use supports in Cura for the large window openings on the front of the first floor but they popped right out. The prints were done with an Ender 3 Pro set on the highest quality in Cura which was used for the slicer. I didn't enable supports on any of the other prints with the smaller windows and the Ender handles those pretty well.
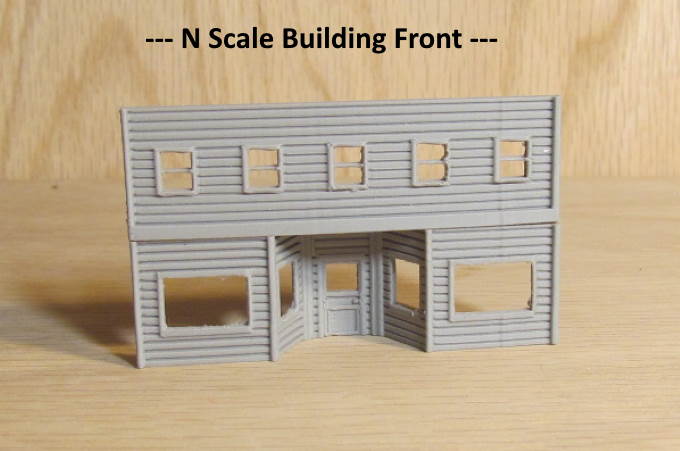
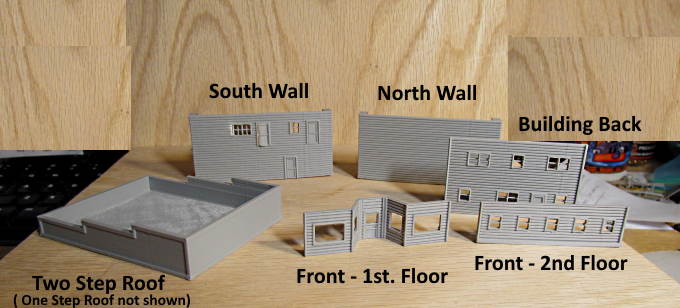
The front is in two parts and I glued them together after this picture was taken and after I painted them separately.
Above is the south wall and you will need to print stairs, walkway and railings to attach to the wall. You can find those print files ( HERE ).
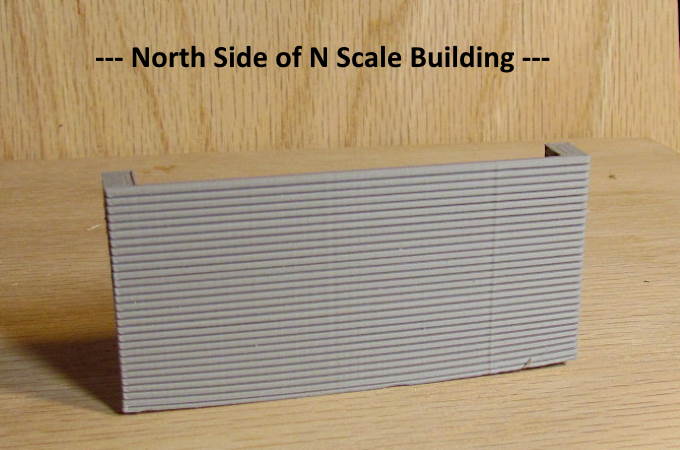
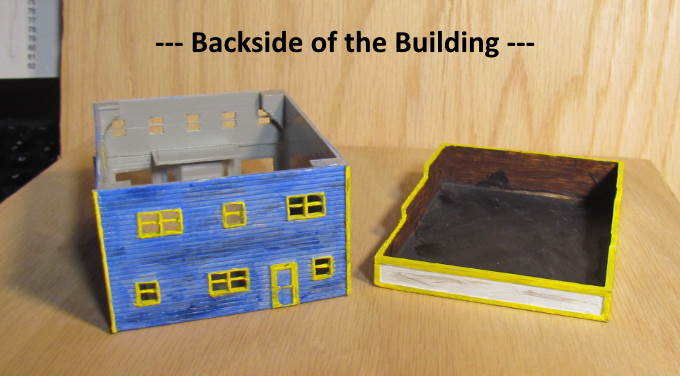
I left the north side wall bare as the building could be placed right alongside an adjoining building which was the case with the building I rented. You could also use either wall on either side of the building depending on your needs.
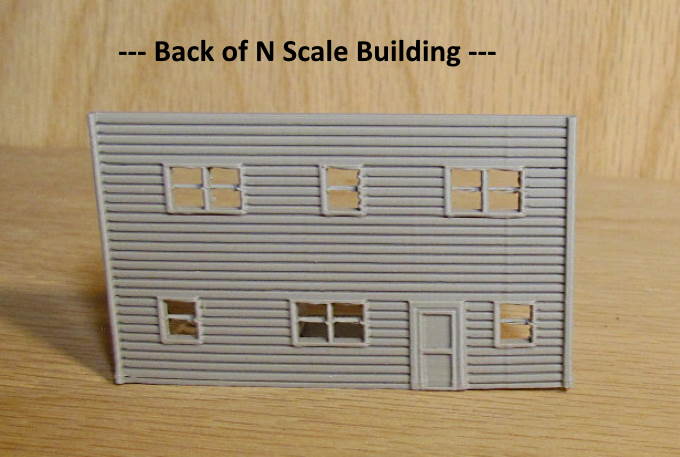
The back has a single entrance on the first floor and the upper windows would go with the two apartments located there. When these pictures were taken the prints were fresh out of the printer and I hadn't cleaned them up. Before painting I cleaned up the windows a little.
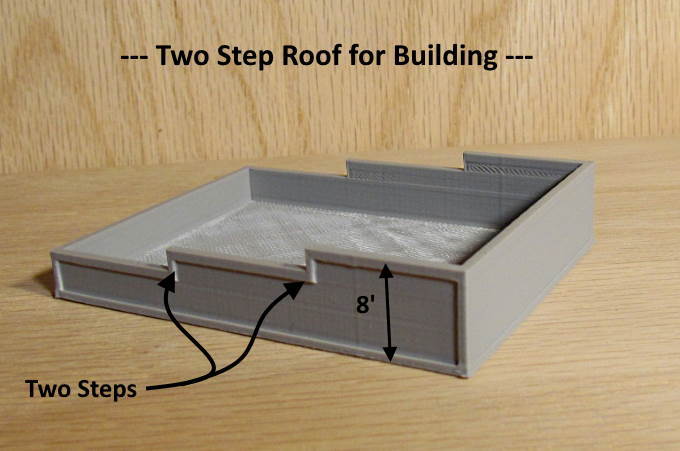
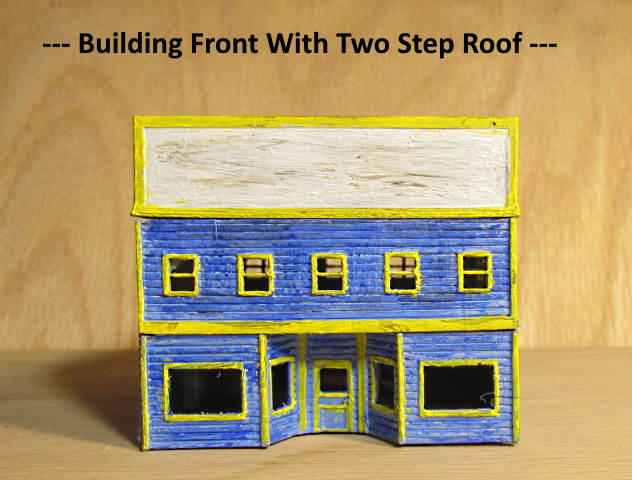
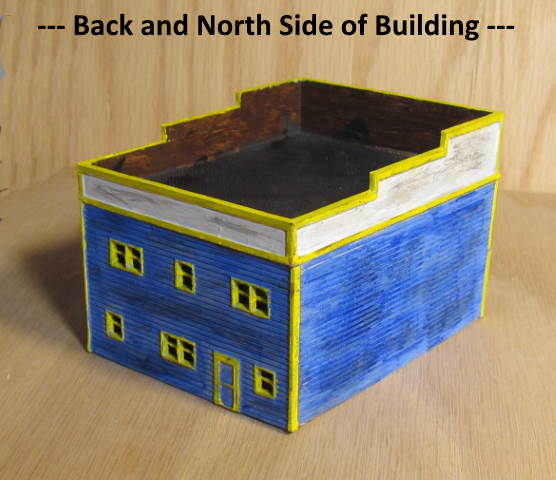
There is options for printing two different roofs for the building. I cal the one above the 'two step' roof as the parapet around the roof has two steps in it and is 8 feet high at the front.
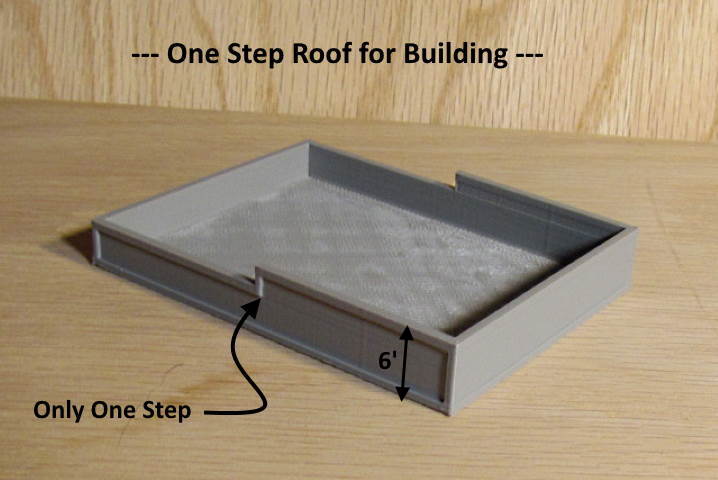
The one step roof is only 6 feet high. Use whichever you like the most. Later I'll probably design some items for the rooftop.
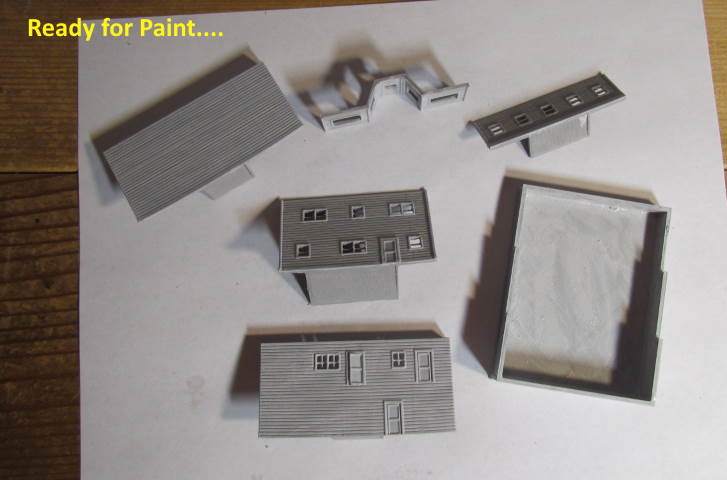
Here the components are ready for paint.
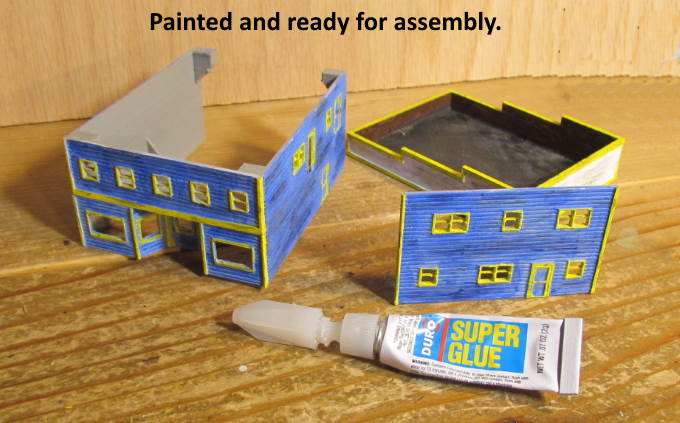
After they were painted I started gluing them together which went quickly with one screw-up. I glued the first floor of the front onto the second floor upside down. I didn't notice that until latter. Luckily I was able to cut it out and re-glue it. Above if you look closely you will see the entrance looks like it is just a window and not a door as the door is upside down.
I'm a pretty fast, quick and dirty painter. You can probably do better. I also still have to apply glazing to the window openings so in the latter pictures the roof has not been glued on. I'll use Micro Kristal Klear on the smaller windows and .005 clear Plastruct styrene on the larger ones.
Above the building has been glued together and is ready for the roof once the windows have been glazed. The first floor front still needs to be cut loose and inverted at this point.
.
At this point the first floor has been cut loose and inverted into the proper position. I still need to come up with a name for the building and not sure how I'm going to put it on. I've never tried doing my own stencils but might try that.
As noted in the picture above stairs, walkway and railings still need to be added to the south side wall. Again those files are ( HERE )
.
As mentioned earlier the north wall is bare as it would be if the building was right up against another building on this side. You could put 2 north walls on the building or 2 South walls or any combination you wanted and they will interchange.
Above is an example on how to apply the stairs, walkway and railings but you could do something else.
Overall I'm happy with my first attempt at designing a building using Fusion 360 and it went pretty quick actually. I have files for walls that are 22' X 50' that I designed. I can quickly cut them into any size smaller and then cut window and door openings into them and make a window or door in a couple minutes. I also have the option to print doors individually that can be plugged/glued into an opening in a wall.
You can find all the files to 3D print this object and others on my thingiverse.come account ( HERE ).
=========================================
...........................On..............e.........Next Page If There Is One