........................Endeavour Index Page............Plumbing Mods Index Page
..................................Previous
Page..............................
Next
Page If There Is One
=========================================
.................................--- New Thru-Hulls Part 2 --
=========================================
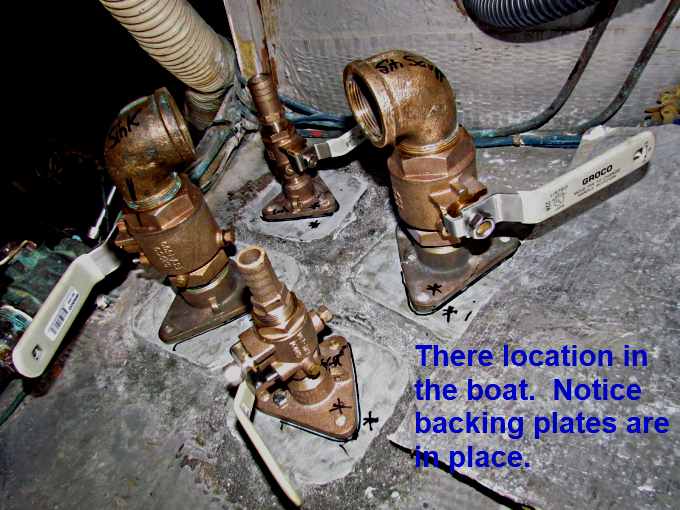
With the backing plates bonded to the hull the next step is to install the new fittings.
If the Endeavour would have had the setup shown above we could of screwed the valves off of the flange and put on new valves and would have been done. We could of saved some money and gone back with something similar to what the boat had from the factory but we wanted better even though we probably wouldn't be the owners of the boat when it came time to do this again. So someone down the road is going to benefit from this improved installation.
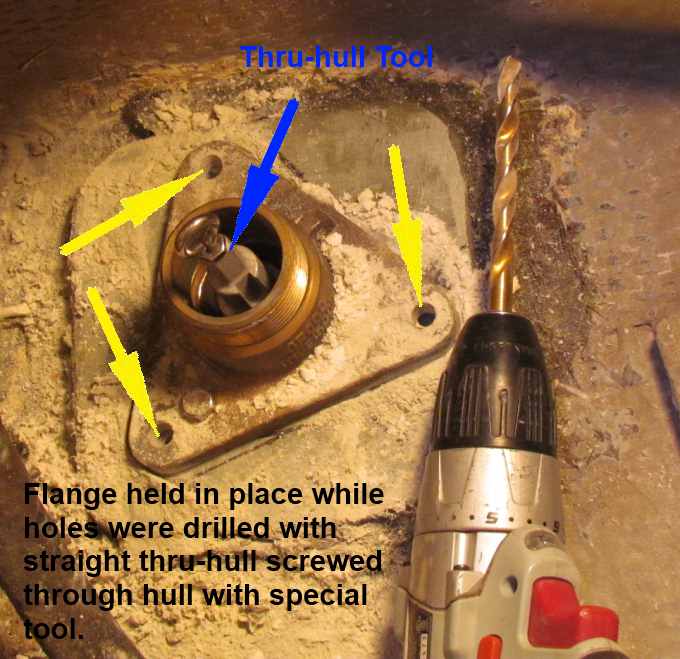
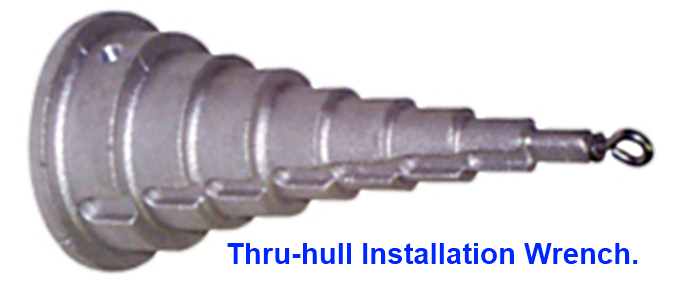
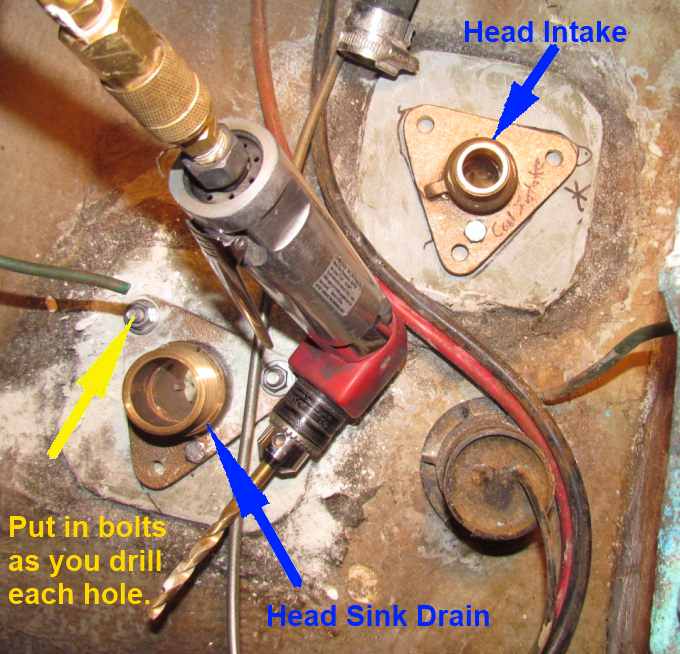
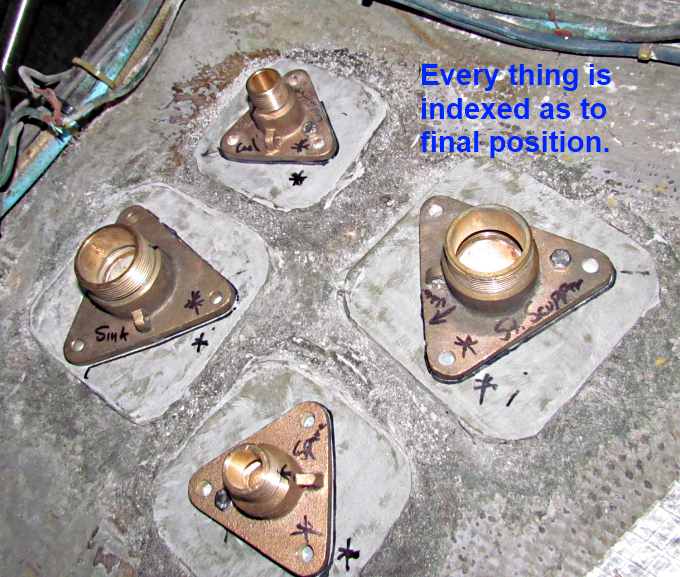
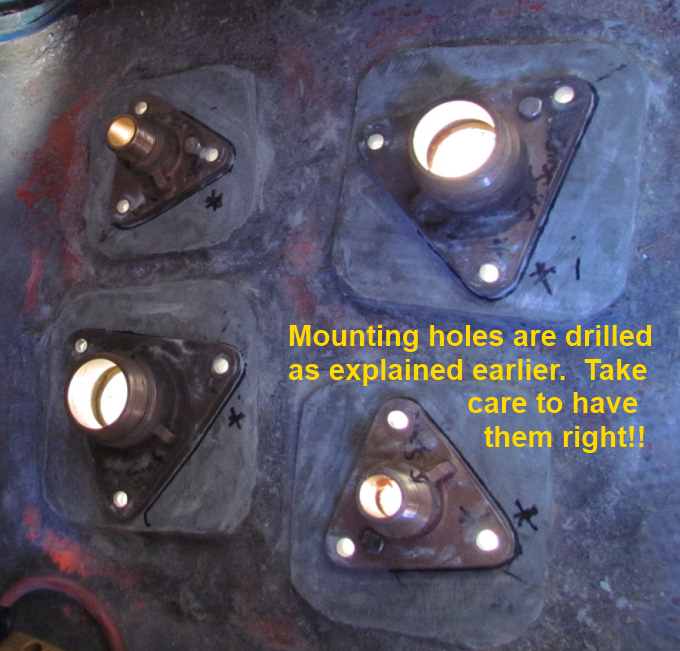
Using a thru-hull wrench, see next picture, we screwed new thru-hull fittings into the bottom of the flange from outside the boat and then drilled the mounting holes. One very important thing that is not show above was to drill one hole and then put a screw through the hull and snug a nut down to keep the flange from moving before drilling the next hole. After drilling the second hole put a screw in it before drilling the final hole. These need to be accurate and also at 90 degrees to the hull. Take your time and do this right.
I took the picture above after the holes had been drilled and the screws removed.
Make sure the wrench you buy is made to work with the fittings you are also buying.
Above you can see the nuts on two screws for the flange at the bottom left. Ready to drill the final hole. Also note the fittings have been named and indexed where I wanted them with an outline mark and “X's”.
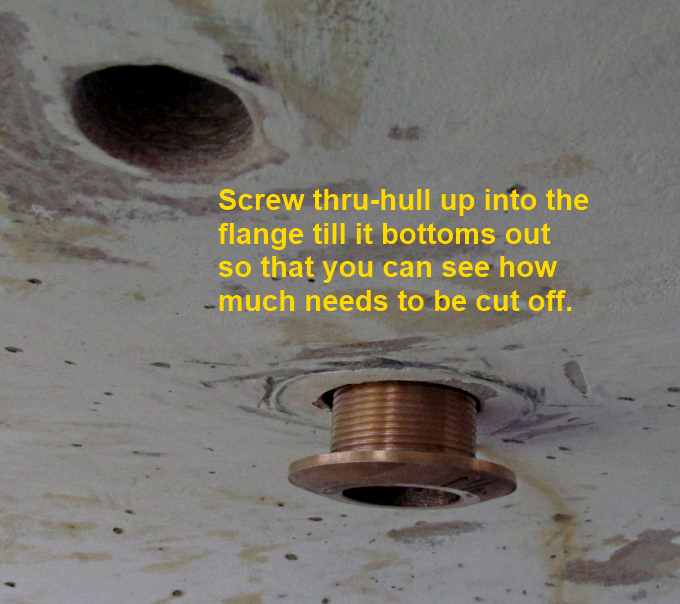
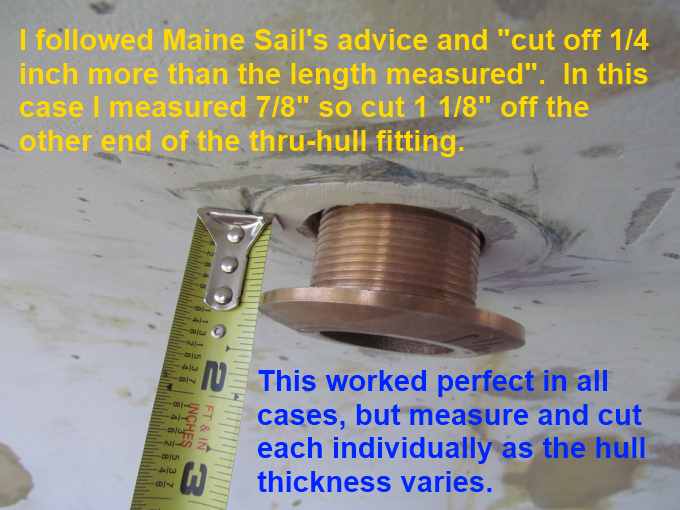
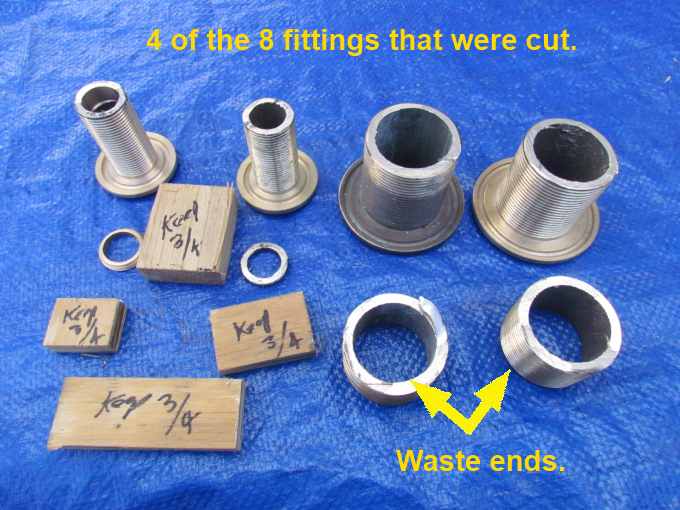
You are going to have to cut the thru-hulls to length so pay attention to Maine Sail's site and to the info in the pictures above and below.
Measuring like what is shown above and below worked fine.
.
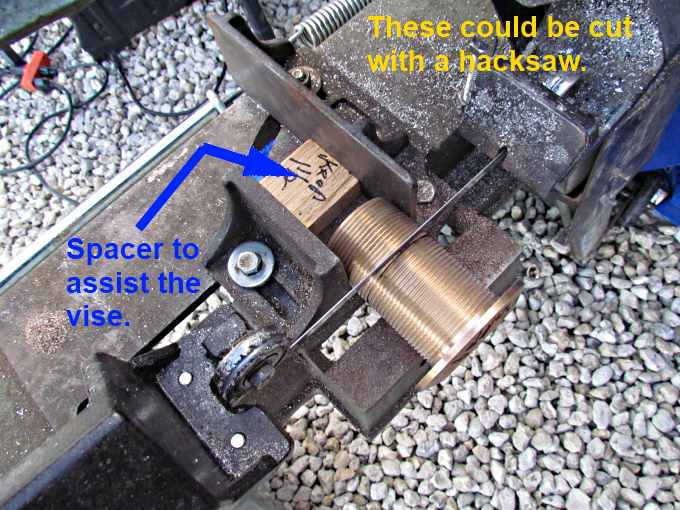
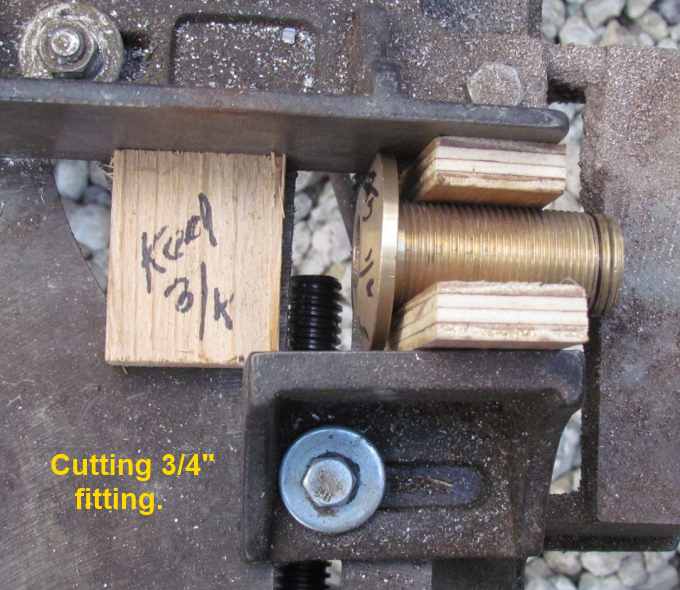
I had my band saw on site but these could also of been cut by hand in a vise with a hacksaw.
.
Four cut with four to go.
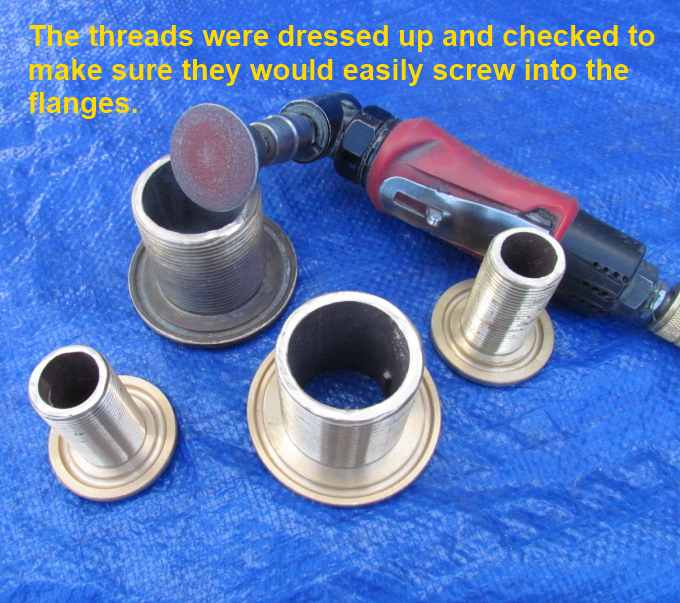
Make sure you can easily screw the cut fitting into the bottom of the flange it will be paired with.
.
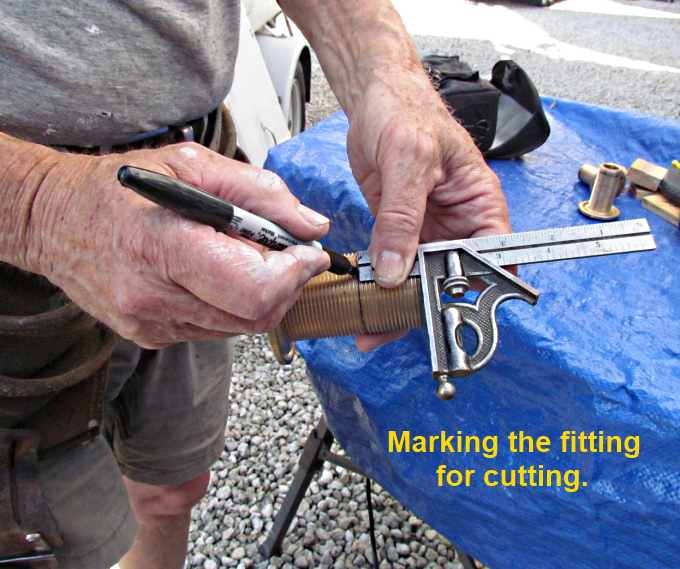
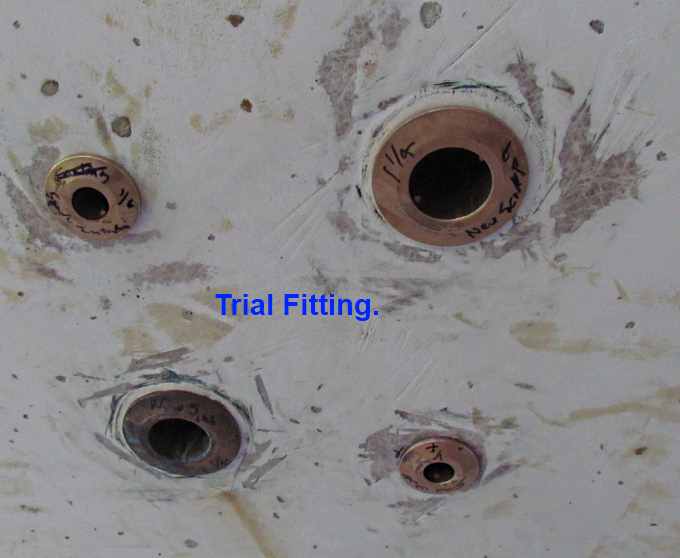
Take the fittings into the boat and position the complete fitting and mark with vertical marks on the flange and the valve the way you want them indexed in the boat. You can't see the vertical marks but they are there. You want to make sure when you tighten the valves down the final time with plumber tape or sealer that the valve handle is where you can operate it and that the hose barbed nipple is going to be pointed to where the hose is.
.
.
.
You want to make sure the holes on both sides of the hull are chamfered so that the sealant forms a o-ring like gasket seal there. Don't use a drill bit.
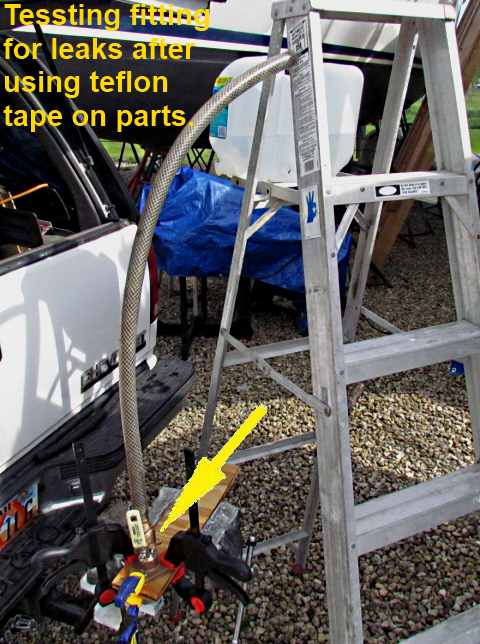
The next step is to install the valves on the fittings and the hose barbed nipple into the valves a final time with plumber tape or sealer depending on what you like to use. At this point I tested the taped joints above the flange by putting on a length of hose on the barb fitting that was equal in length to a little more than the depth the thru-hull would be below the waterline.
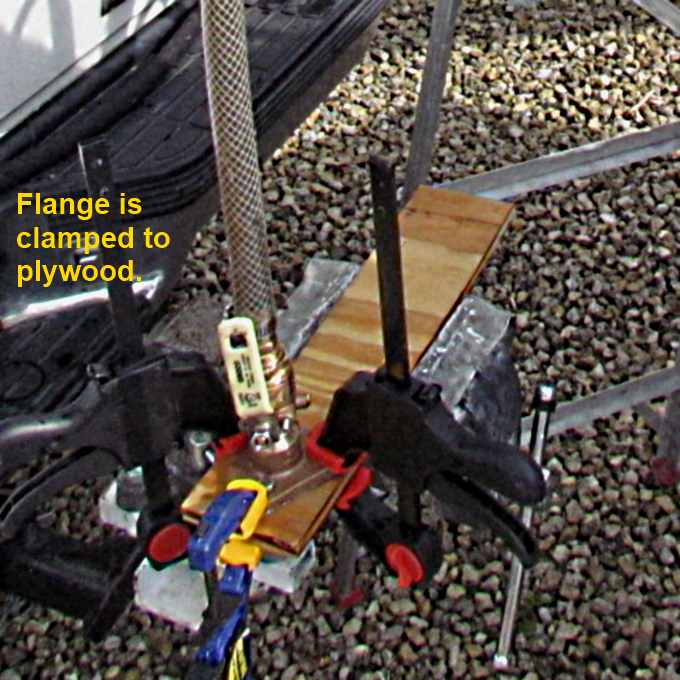
With the hose clamped to a piece of plywood I filled the hose and opened the valve to check for any leaks and there were none. Maybe a needless step but assembling and checking for leaks outside the boat is much easier than trying to install the fittings in the boat where you have limited room to swing a pipe wrench.
=========================================
............................................................................. Next Page If There Is One