..............................Endeavour Index Page............Plumbing Mods Index Page
...........................................Previous
Page..............................
Next
Page If There Is One
=========================================
.................................--- New Thru-Hulls Part 1 --
=========================================
When we bought the Endeavour the thru-hulls were not in good shape. Some closed and some didn't. We knew we were going to have to replace them if we wanted a safe boat. I didn't look forward to this job as these are a critical part of your boat's overall safety. They can't leak and if a hose were to fail in the boat you need them to close. It ended up being a long job, at least for this old guy, but not that hard.
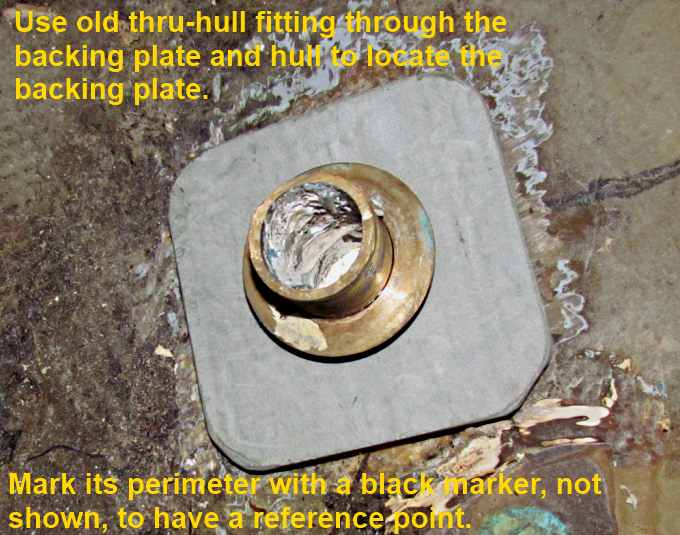
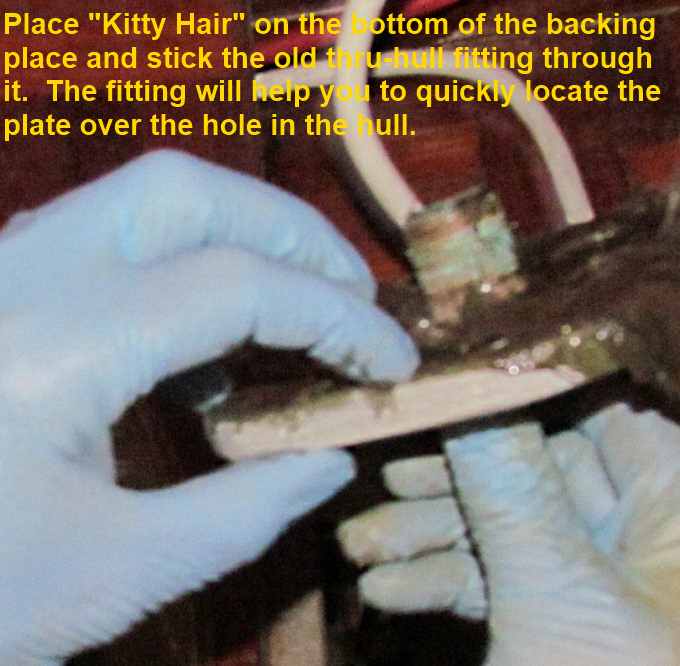
Before you go any further you need to go to Maine Sail's site ( HERE ) for more info on doing this job. I'm not sure I would of tackled the work without his excellent documentation. Hopefully between what you read and see there and here you will feel confident to tackle this job. Most of my steps are the same as his or similar. I did use the old thru-hulls to help position the backing plates from inside the boat which was a slight deviation from his documentation.
If you decide to take this job on yourself remember that doing it right is imperative for you and your crews safety. Also we aren't dealing with extreme water pressures here as far as sealing goes. The thru-hulls on our boat are all in less than 5 feet of water with the draft being 4'-6”. Water pressure at 5 feet is just a tad over 2 psi so nowhere near the water pressure in your house's plumbing. Still pretend it is 40 psi and you will do a good job!!
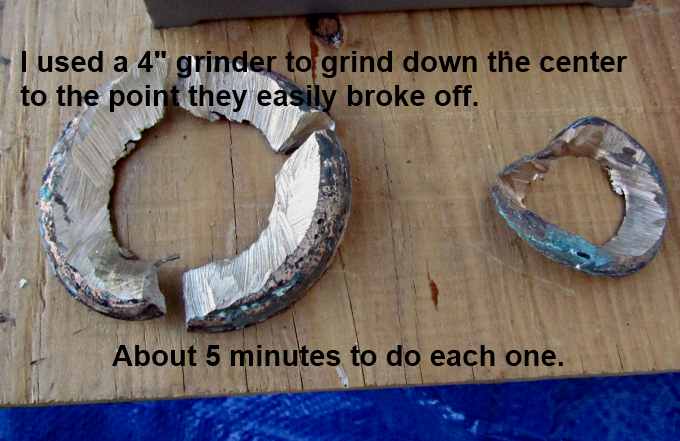
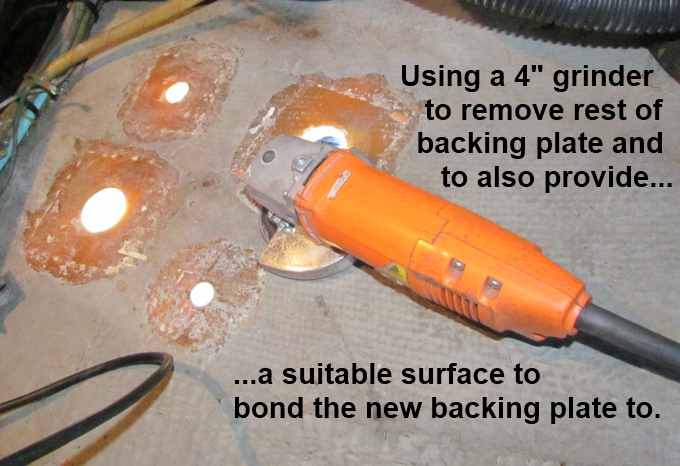
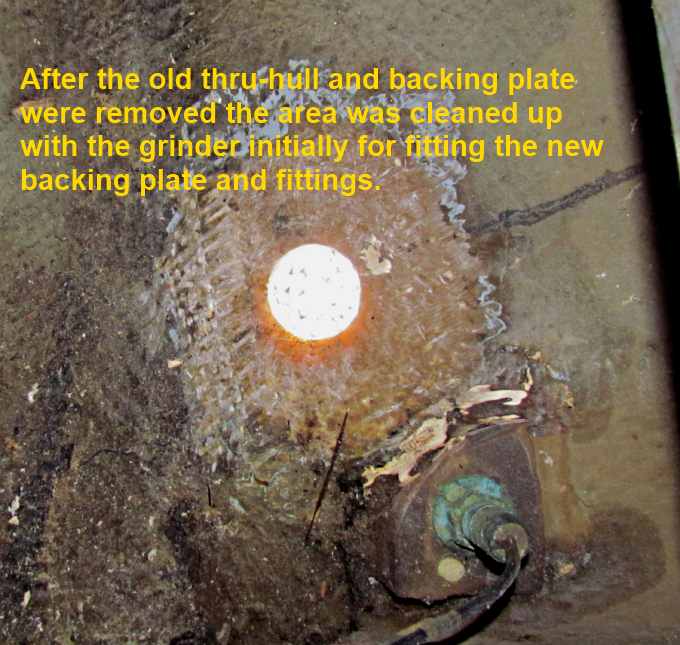
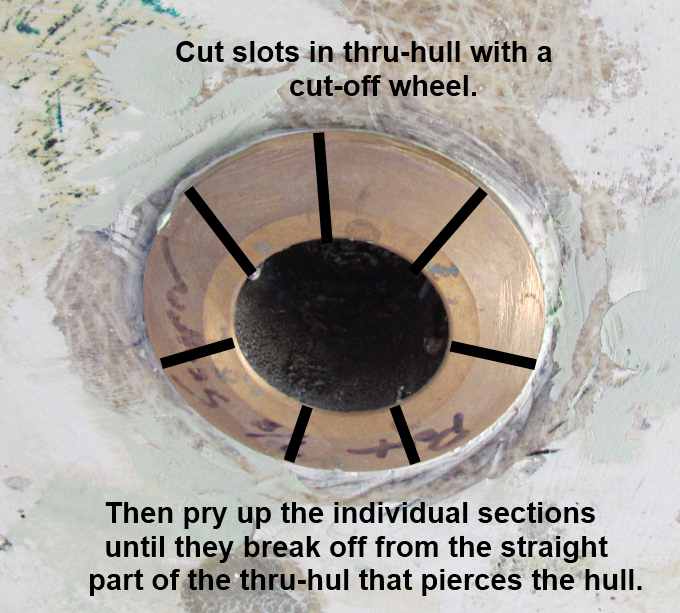
Instead of trying to screw the thru-hulls out I took a grinder to them and had most out in under 5 minutes. Some people make multiple cuts like above (don't go into the hull) and then break the individual pieces out.
I made a couple cuts and then ground the center down and then broke the pieces off the center of each thru-hull fitting.
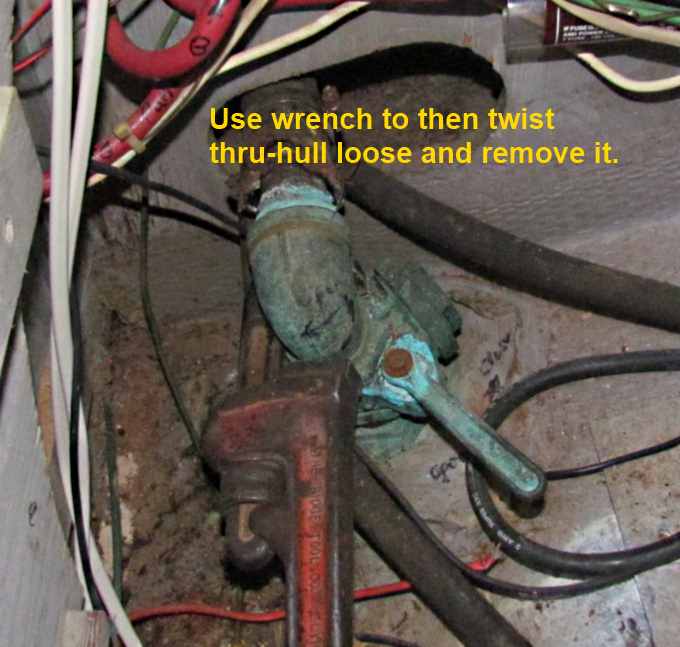
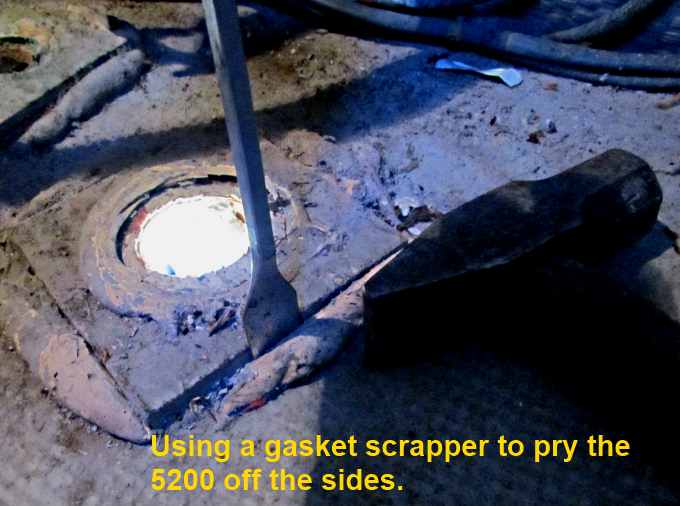
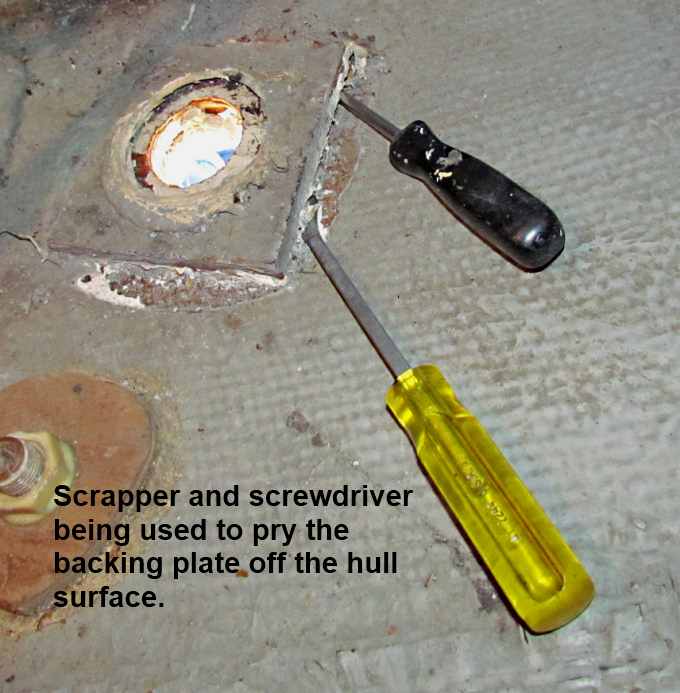
With the mushroom off some of the thru-hulls just pulled out from the inside. A couple were still held in place with what was probably 5200. These I twisted with a wrench and broke the sealer free and then pulled the fitting out.
There were plywood backing plates in the boat. Some probably from when the boat was made and some most likely added later. Most were still fairly sound which surprised me but still I wanted to switch to fiberglass backing plates similar to what Maine Sail recommends.
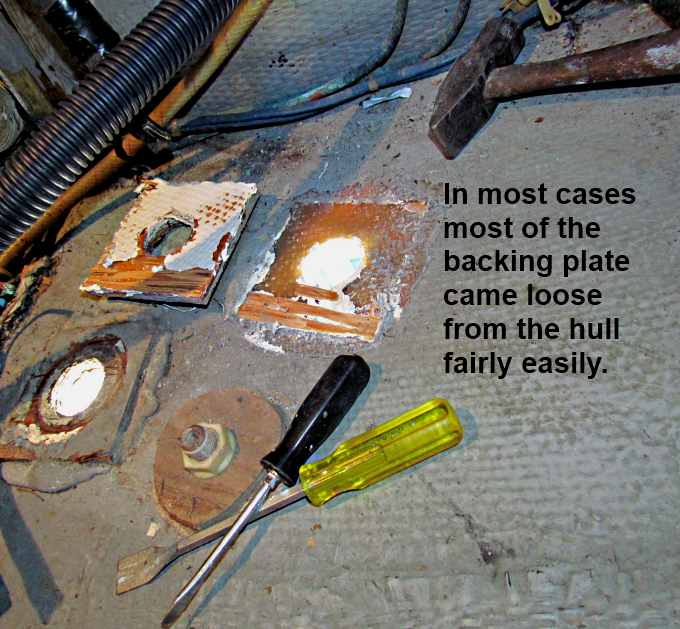
I thought this was going to be a terrible job but in most cases it went pretty fast (see the pictures and notes).
.
.
.
.
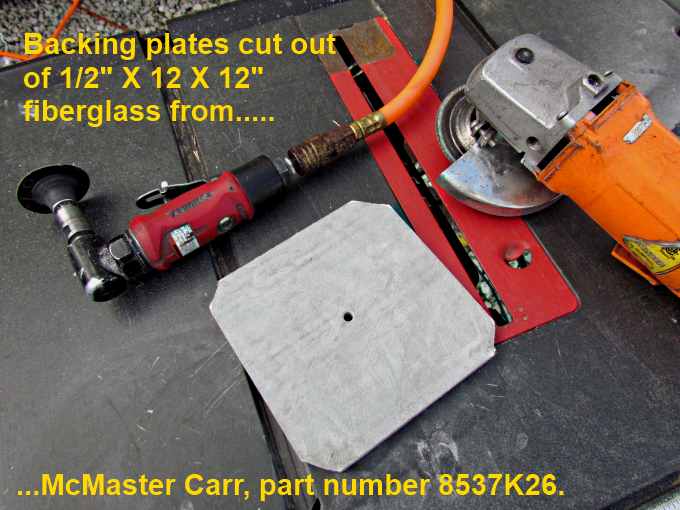
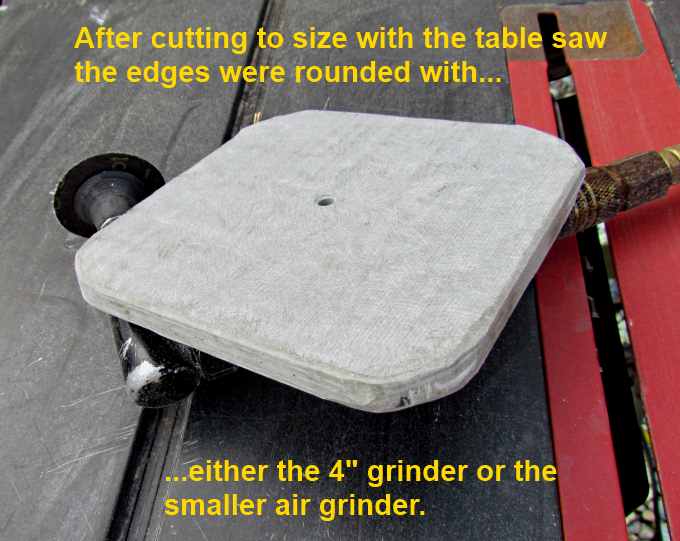
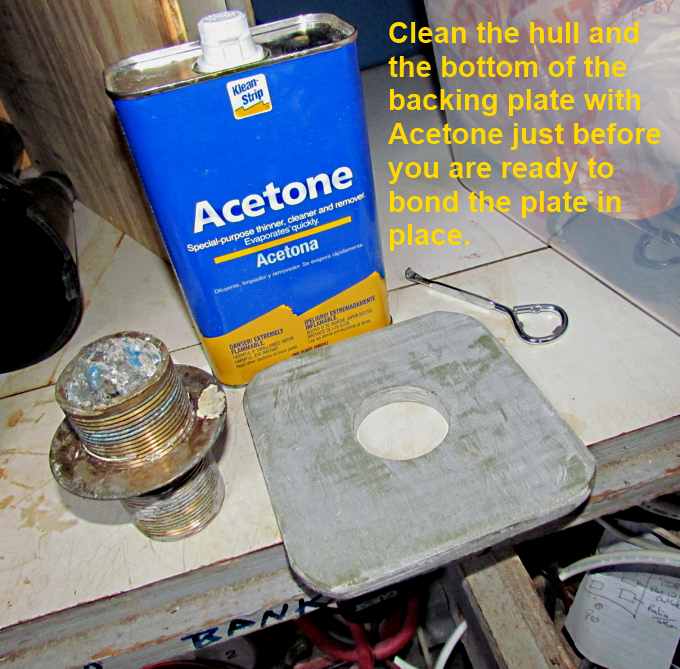
Maine Sail cut out round backing plates using large hole saws. I cut out square ones on the table saw and then rounded the corners and …..
….... also rounded the edges some for a better fit to the hull. Of note is the fact that the hull didn't have a sharp radius to it and these laid very flat against the hull.
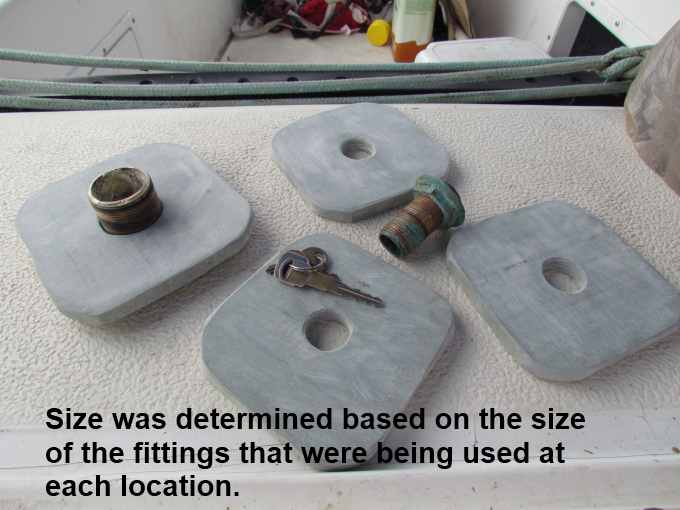
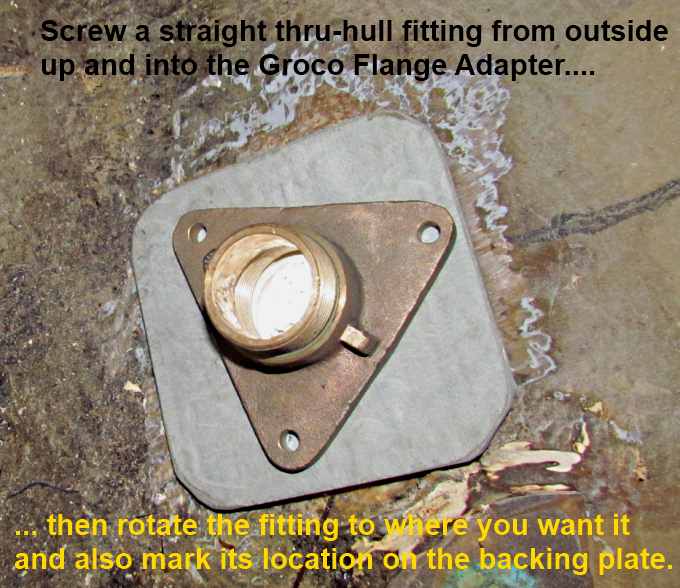
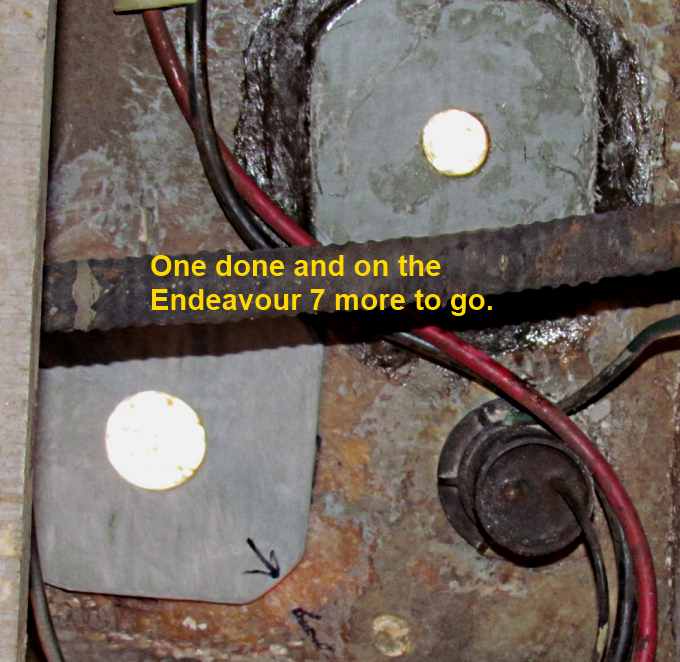
Above you can see the old thru-hulls that I held onto as they helped to locate the backing plates later when it came time to bond them to the hull.
.
.
.
.
.
.
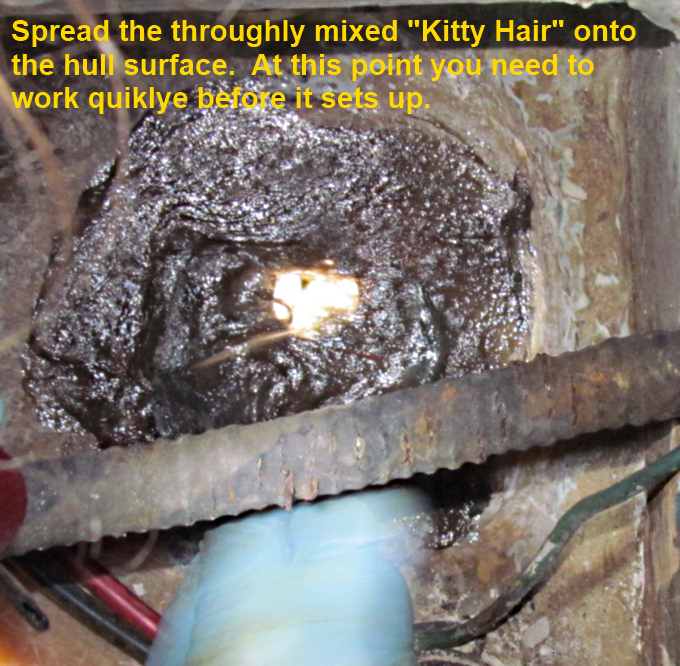
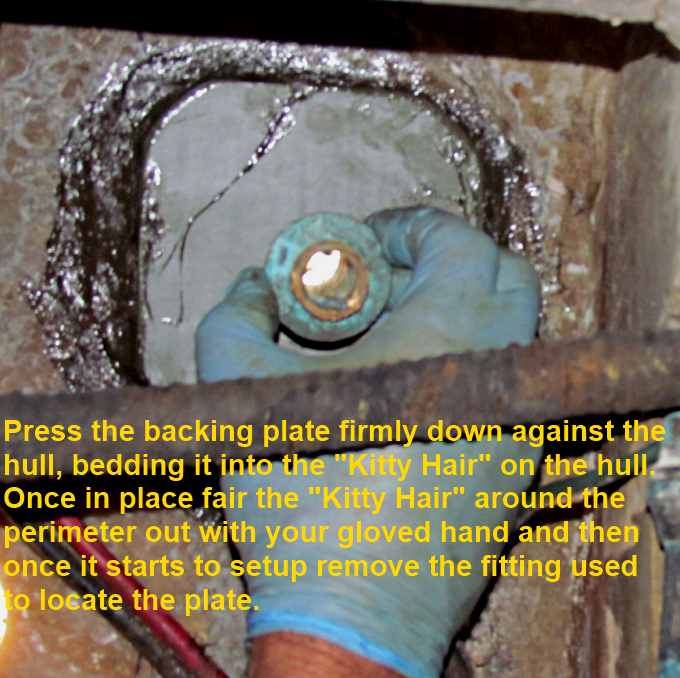
Sorry about the poor picture, but the hull side also gets a good coating of “Kitty Hair” pressed onto it. Don't just spread the “Kitty Hair” on but press it on spreading in one direction as you apply it.
.
.
=========================================
............................................................................. Next Page If There Is One