........................Endeavour Index Page............Plumbing Mods Index Page
..................................Previous
Page..............................
Next
Page If There Is One
=========================================
.............................--- Raw Water Intake Strainer Mods --
=========================================
I didn't like the way the strainer for the the raw water pump intake was mounted and also the gaskets in in were pretty shot even though it hadn't been leaking.
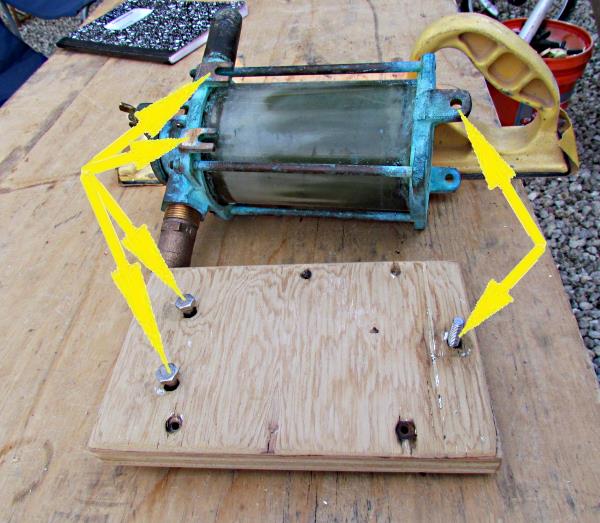
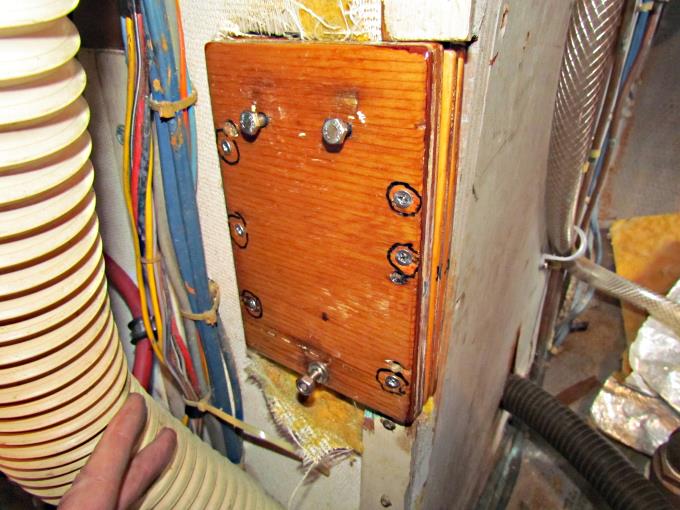
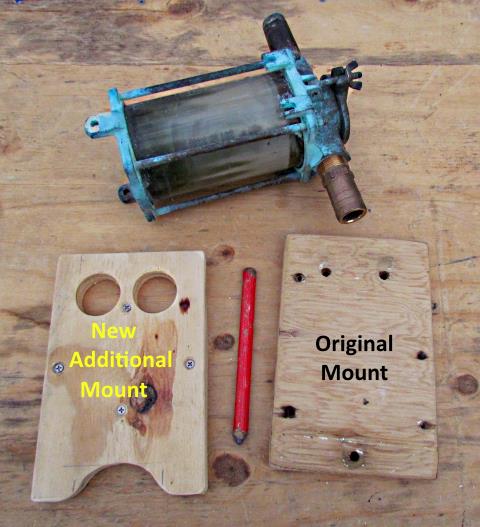
The strainer had been mounted to the board on the right above and it had been screwed into the starboard wall in the engine compartment. The way it was mounted you couldn't really tighten the mounting bolts and it had obviously been there for years but it was time for something better. The additional board to the left was made and it would attach to the wall under the other board. The holes and notches would allow adjustment and tightening of the mounting bolts.
The strainer hangs from the two bolts to the left and is then held tight by the one bolt to the right. You can now tighten the two bolts for a snug slide on fit and the back sides of them, with their washers and nuts, locate in the two holes of the new piece.
The opening at the bottom of the new piece allows you to now get a wrench on the head of the bolt under the mount and you can tighten it on the side shown.
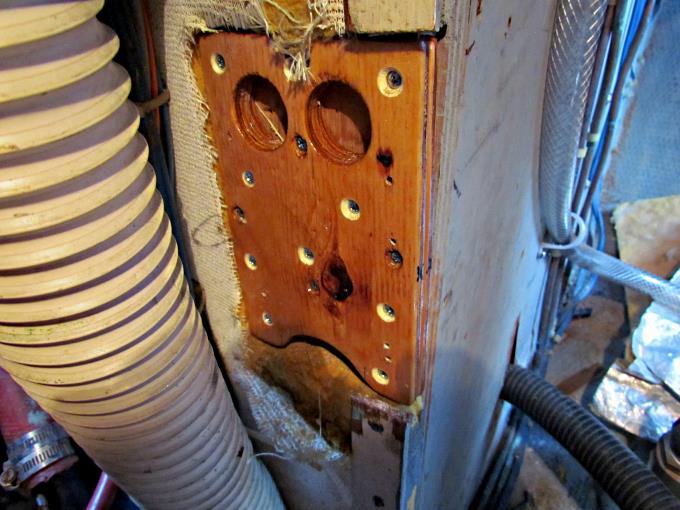
Above you can see the back side. The new mount is screwed to the engine wall first and then the original piece is screwed to it and the strainer mounted.
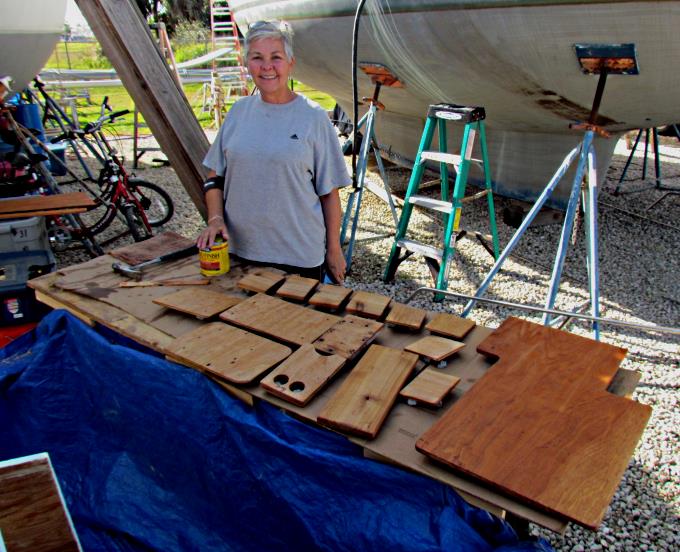
Dottie stained and put clear coats on those pieces at the same time she was doing othes.
Above the new piece is mounted.
Then the upper bolts are adjusted for a tight slip fit of the strainer and that piece is mounted to the other with screws.
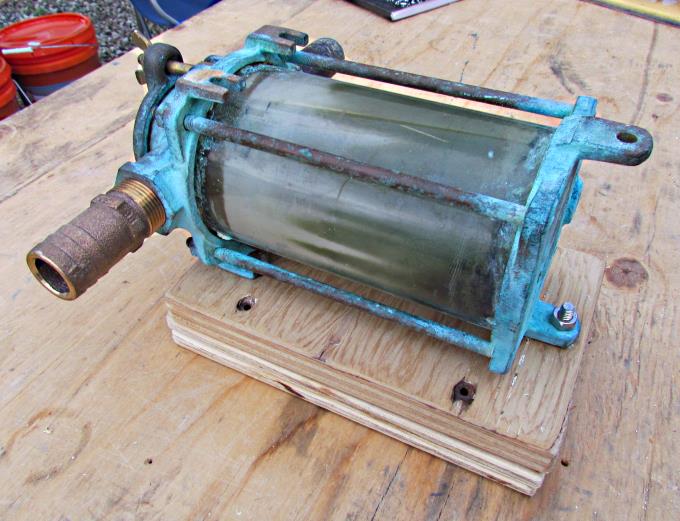
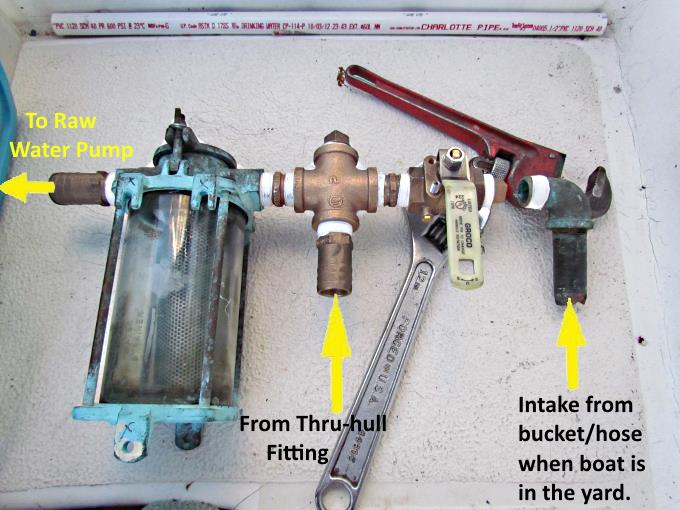
Here the strainer has been mounted along with new fittings that will improve the plumbing. The 90 degree fitting to the right is only screwed on and used to provide intake water while running the boat on the stands in the boatyard. On the water it is removed and a plug screws into that valve on the right side of it. To the left of the valve is a 'cross' fitting and the bottom of it is attached to the thru-hull below it.
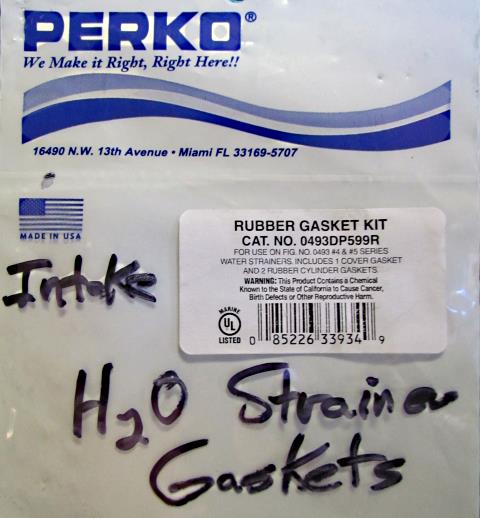
Above is the gasket kit that was purchased to rebuild the strainer. We also bought a couple extra.
The intake water use to come up from the thru-hull and turn 90 degrees into the strainer. Next I will explain why there is now a 'cross' fitting where the 90 was before. To the right side of the ball valve you can see that it is plugged while on the water but a fitting can be connected while in the yard to make it easier to run the diesel with a water supply to cool it.
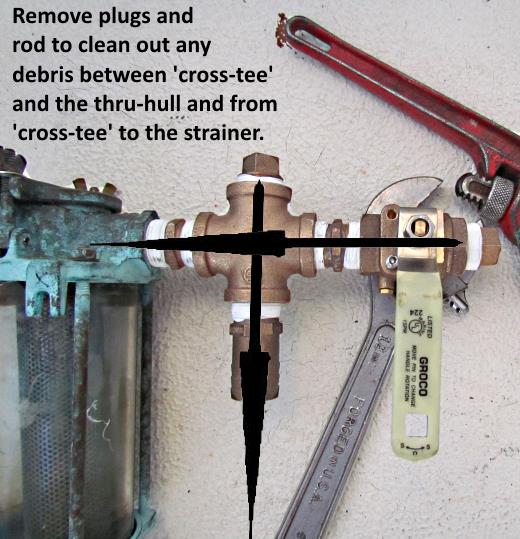
When I took the strainer off the boat had been running cool on the way to the yard but sill there was blockage in the strainer and also between the thru-hull and the strainer. The 'cross' fitting should help to now clean out any blockage on the water. The plug on the top can be removed and you can now rod out the section from there down to and out the thru-hull. In addition you can remove the plug to the right of the valve and open the valve and rod out from there over to the strainer inlet.
Of course the strainer is designed to pop the top cap on it open so that you can remove the strainer from the inside. I cleaned up the glass as before you couldn't really see through it very well.
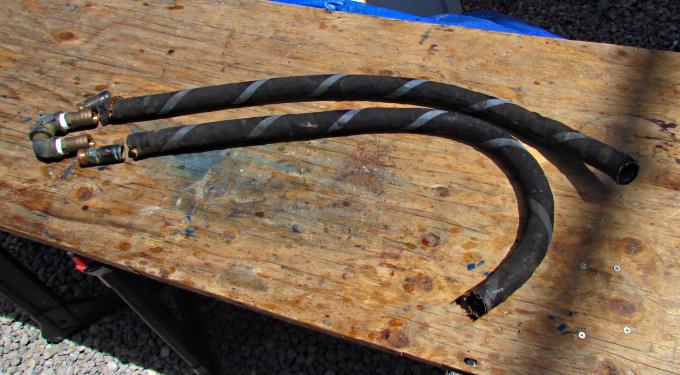
Another item that was replaced at this time was the hoses for the output of the raw water part of the cooling system that route the water to the exhaust hose. The hoses were pretty much shot and ....
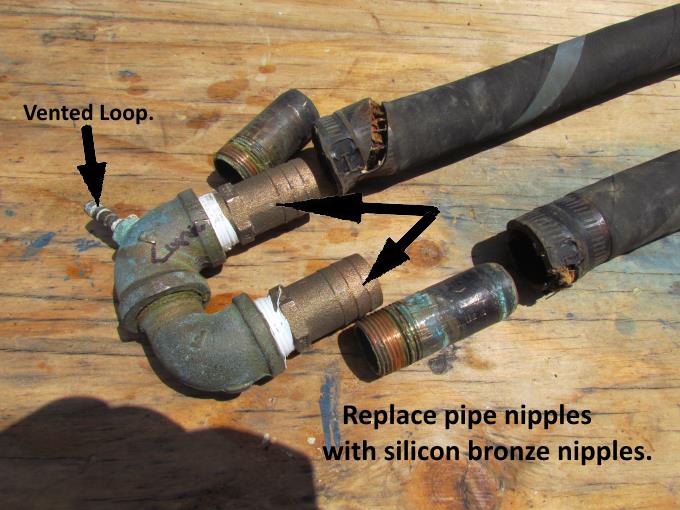
..... I didn't like the fact that they had used pieces of pipe for nipples to and from the vented loop section. Those were replaced with proper silicon bronze nipples. Copper pipe had also been used over at the strainer side and those also were replaced. More money spent but it is a better boat now.
=========================================
............................................................................. Next Page If There Is One